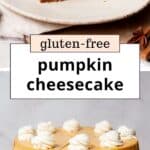
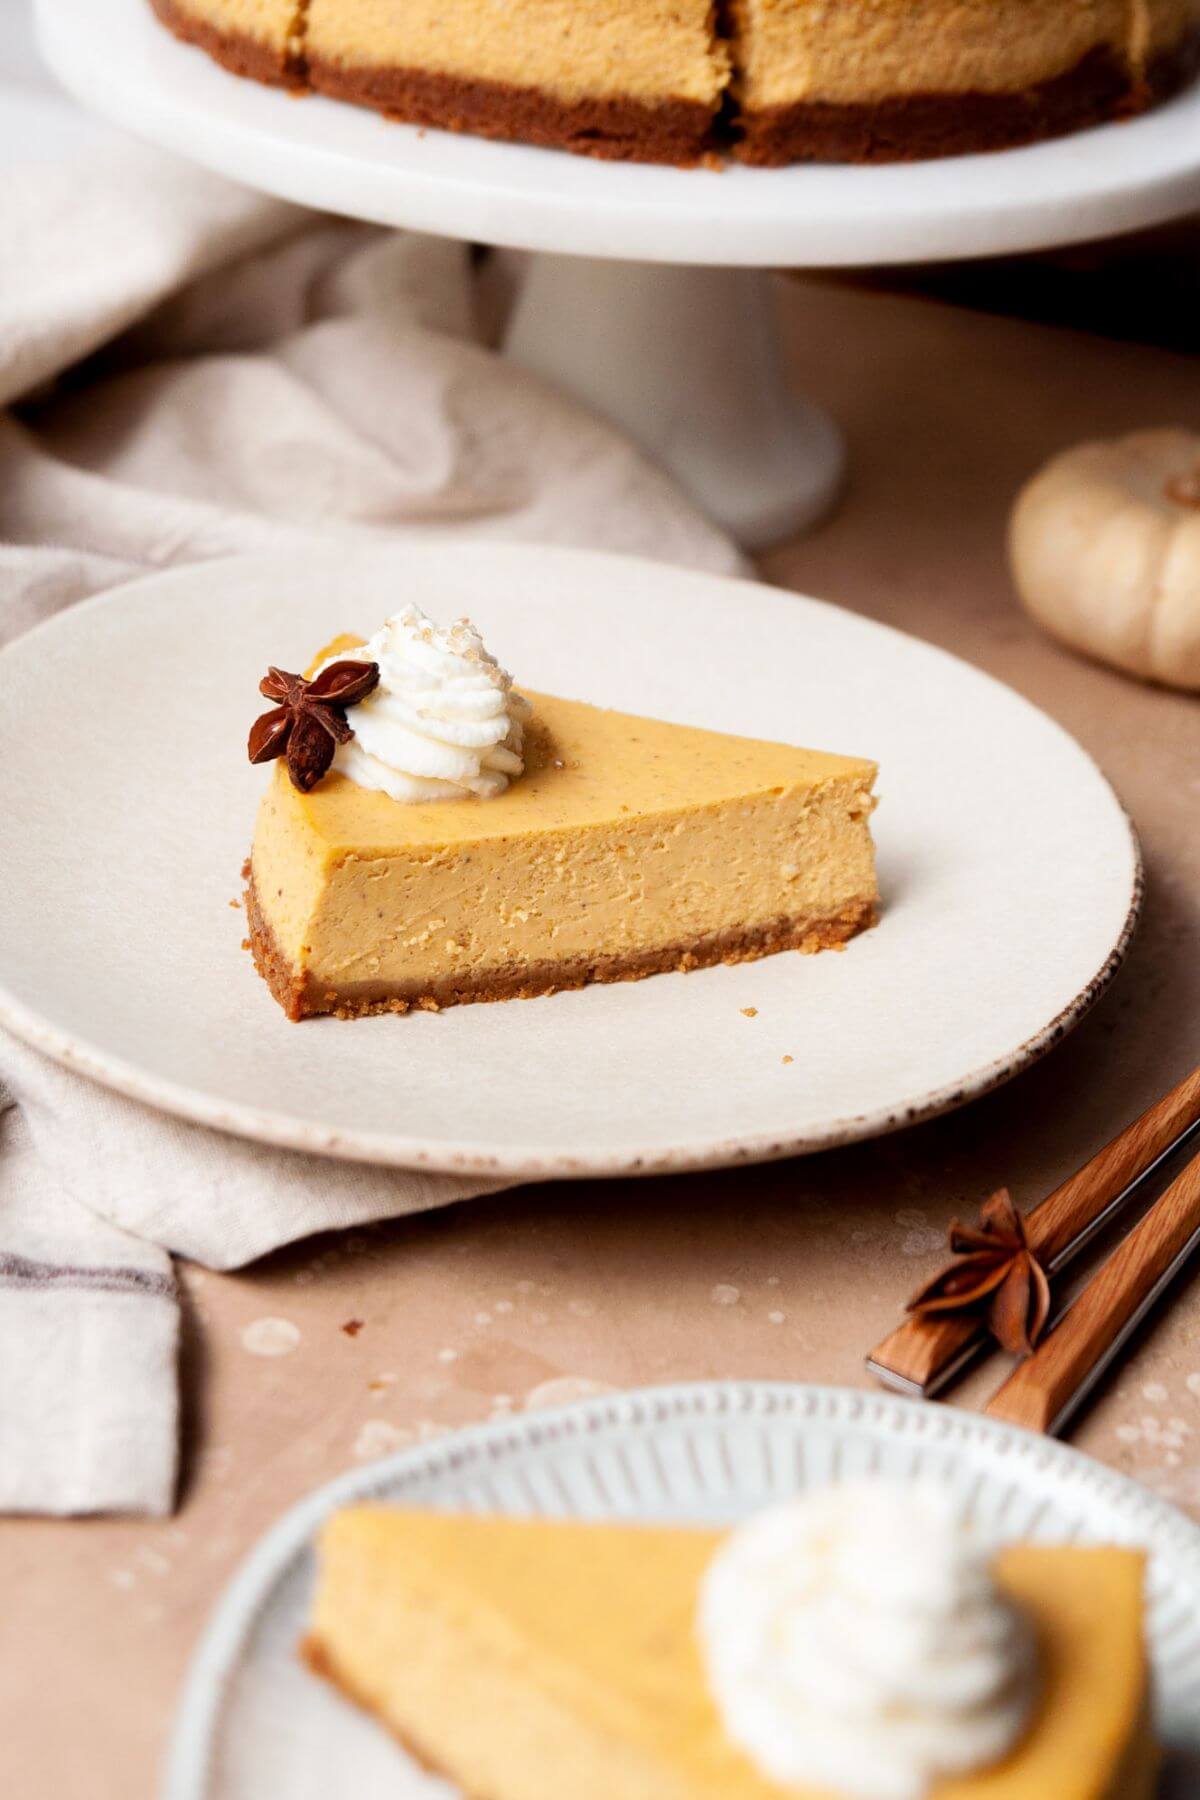
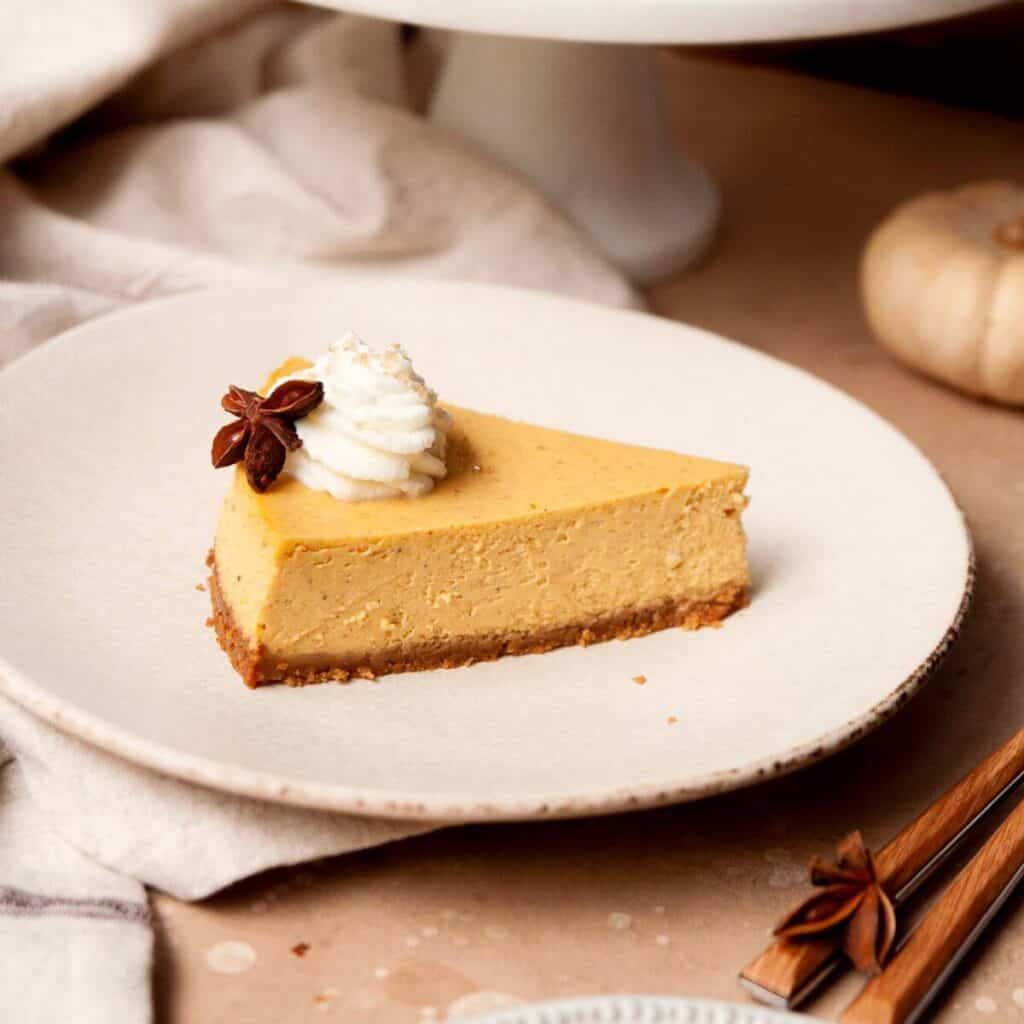
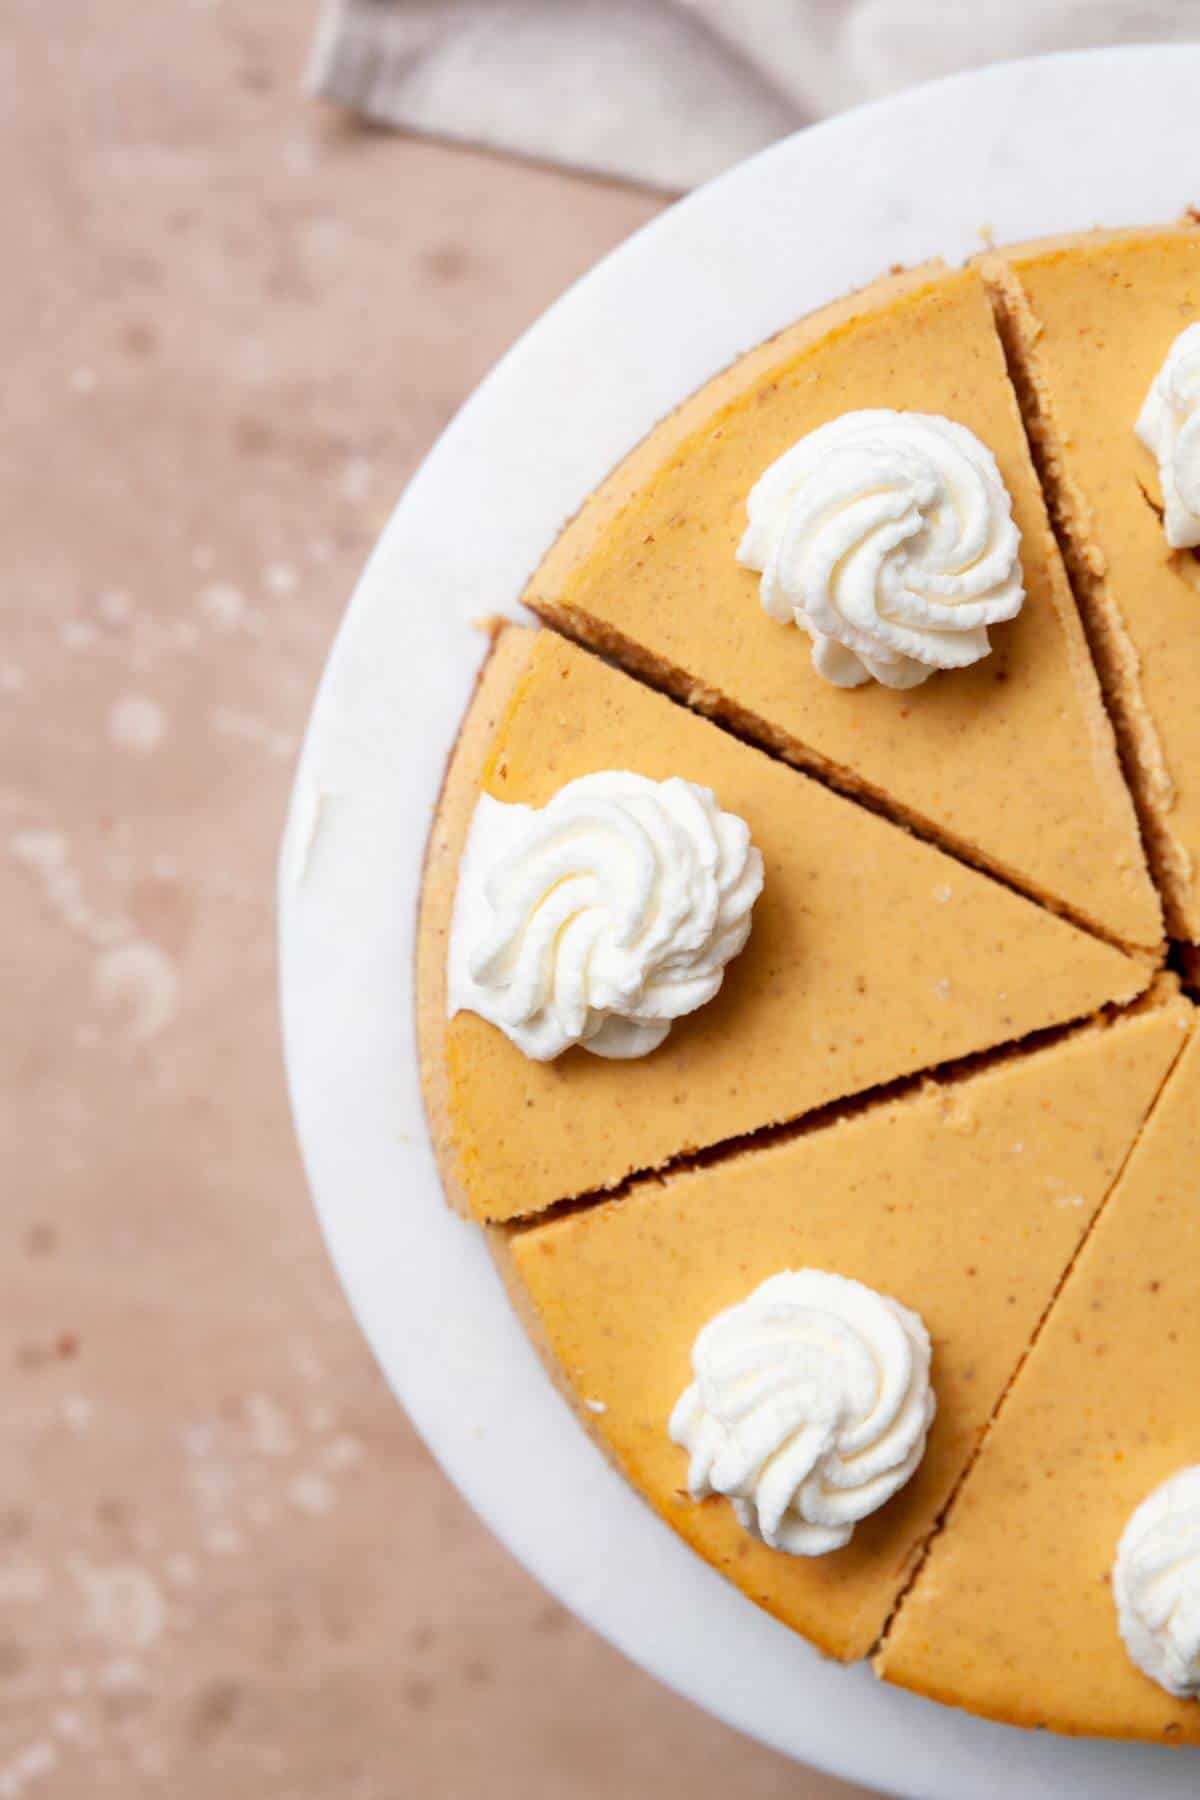
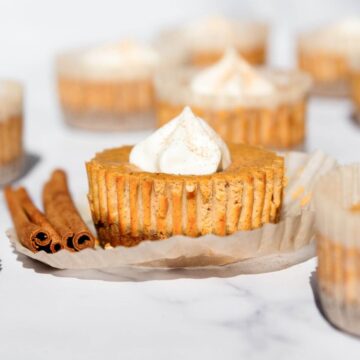
This gluten-free pumpkin cheesecake is creamy, perfectly spiced, and made lighter with Greek yogurt and light cream cheese. The buttery graham cracker crust makes it taste just as indulgent as the classic. Trust me - nobody can even tell it's gluten-free.
A Quick Look At The Recipe
- ✅ Recipe Name: Gluten-Free Pumpkin Cheesecake (Made with Greek Yogurt)
- 🕒 Ready In: About 1 hour + chill time
- 👪 Serves: 10-12 slices
- 🍽 Calories: ~245 per slice
- 💪 Protein: ~8g per slice
- 🥣 Main Ingredients: Greek yogurt, light cream cheese, pumpkin purée, eggs, pumpkin pie spice, gluten-free graham crackers
- 📖 Dietary Info: Gluten-free, lighter than the classic, high protein
- ⭐ Why You'll Love It: A smooth, cozy pumpkin cheesecake made lighter with Greek yogurt, baked on a buttery gluten-free graham crust, and designed to chill beautifully ahead of time - perfect for easy fall entertaining.
SUMMARIZE & SAVE THIS CONTENT ON
I grew up baking pumpkin treats with my mom in the kitchen, and this cheesecake brings back all those cozy fall memories. Now I'm the one hosting, and it's become the dessert I bring to every Friendsgiving and Thanksgiving dinner. It still tastes rich and warm and classic - but the Greek yogurt keeps it lighter, so you can enjoy a big slice after a big holiday meal and not feel knocked out for the rest of the night.
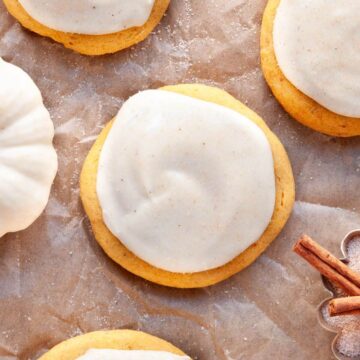
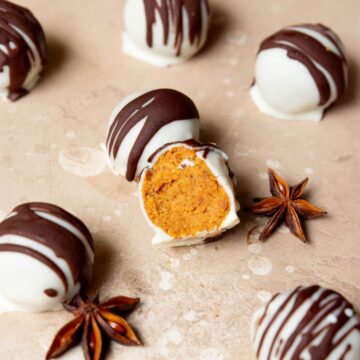
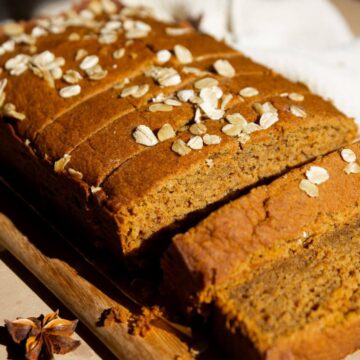
If you love pumpkin season as much as I do, you'll also adore my Soft Gluten-Free Pumpkin Cookies, Healthy Pumpkin Oatmeal Bars, and Mini Pumpkin Protein Cheesecake Bites - they're all cozy, lightly sweet, and perfect for gluten-free fall baking.
Jump to:
- A Quick Look At The Recipe
- Why You'll Love This Recipe
- Ingredients You'll Need
- Easy Substitutions & Variations
- How to Make Gluten-Free Pumpkin Cheesecake (Step-by-Step)
- 1 Minute Video Tutorial
- Expert Tips
- Troubleshooting Guide
- Storage & Freezing Tips
- Frequently Asked Questions
- More Gluten-Free Pumpkin Recipes You'll Love
- 📖 Recipe
- 💬 Comments
⭐️⭐️⭐️⭐️⭐️
Just made this recipe for Thanksgiving yesterday & it turned out amazing! I used the simple Mills honey cinnamon graham crackers with it & highly recommend them. Everyone was raving about it! It was completely gone at the end of the night. Thank you so much for sharing this! I will definitely be using it again 🙂
- Clarissa
Why You'll Love This Recipe
- Gluten-free done right: If you've been looking for a gluten-free pumpkin cheesecake recipe that tastes like the classic, this is it.
- Lighter but still creamy: The blend of Greek yogurt and light cream cheese delivers a classic, silky cheesecake texture without feeling overly heavy.
- Warm fall flavor: Made with real pumpkin purée and pumpkin spice for the perfect cozy, pumpkin-pie-meets-cheesecake flavor.
- Higher in protein: Each slice has about 8 grams of natural protein from the Greek yogurt.
- Make-ahead friendly: Chill it overnight, and it's even better the next day - ideal for Thanksgiving, Friendsgiving, or any fall gathering.
- Crowd favorite: It's rich, smooth, spiced just right, and nobody will guess it's gluten-free.
Ingredients You'll Need
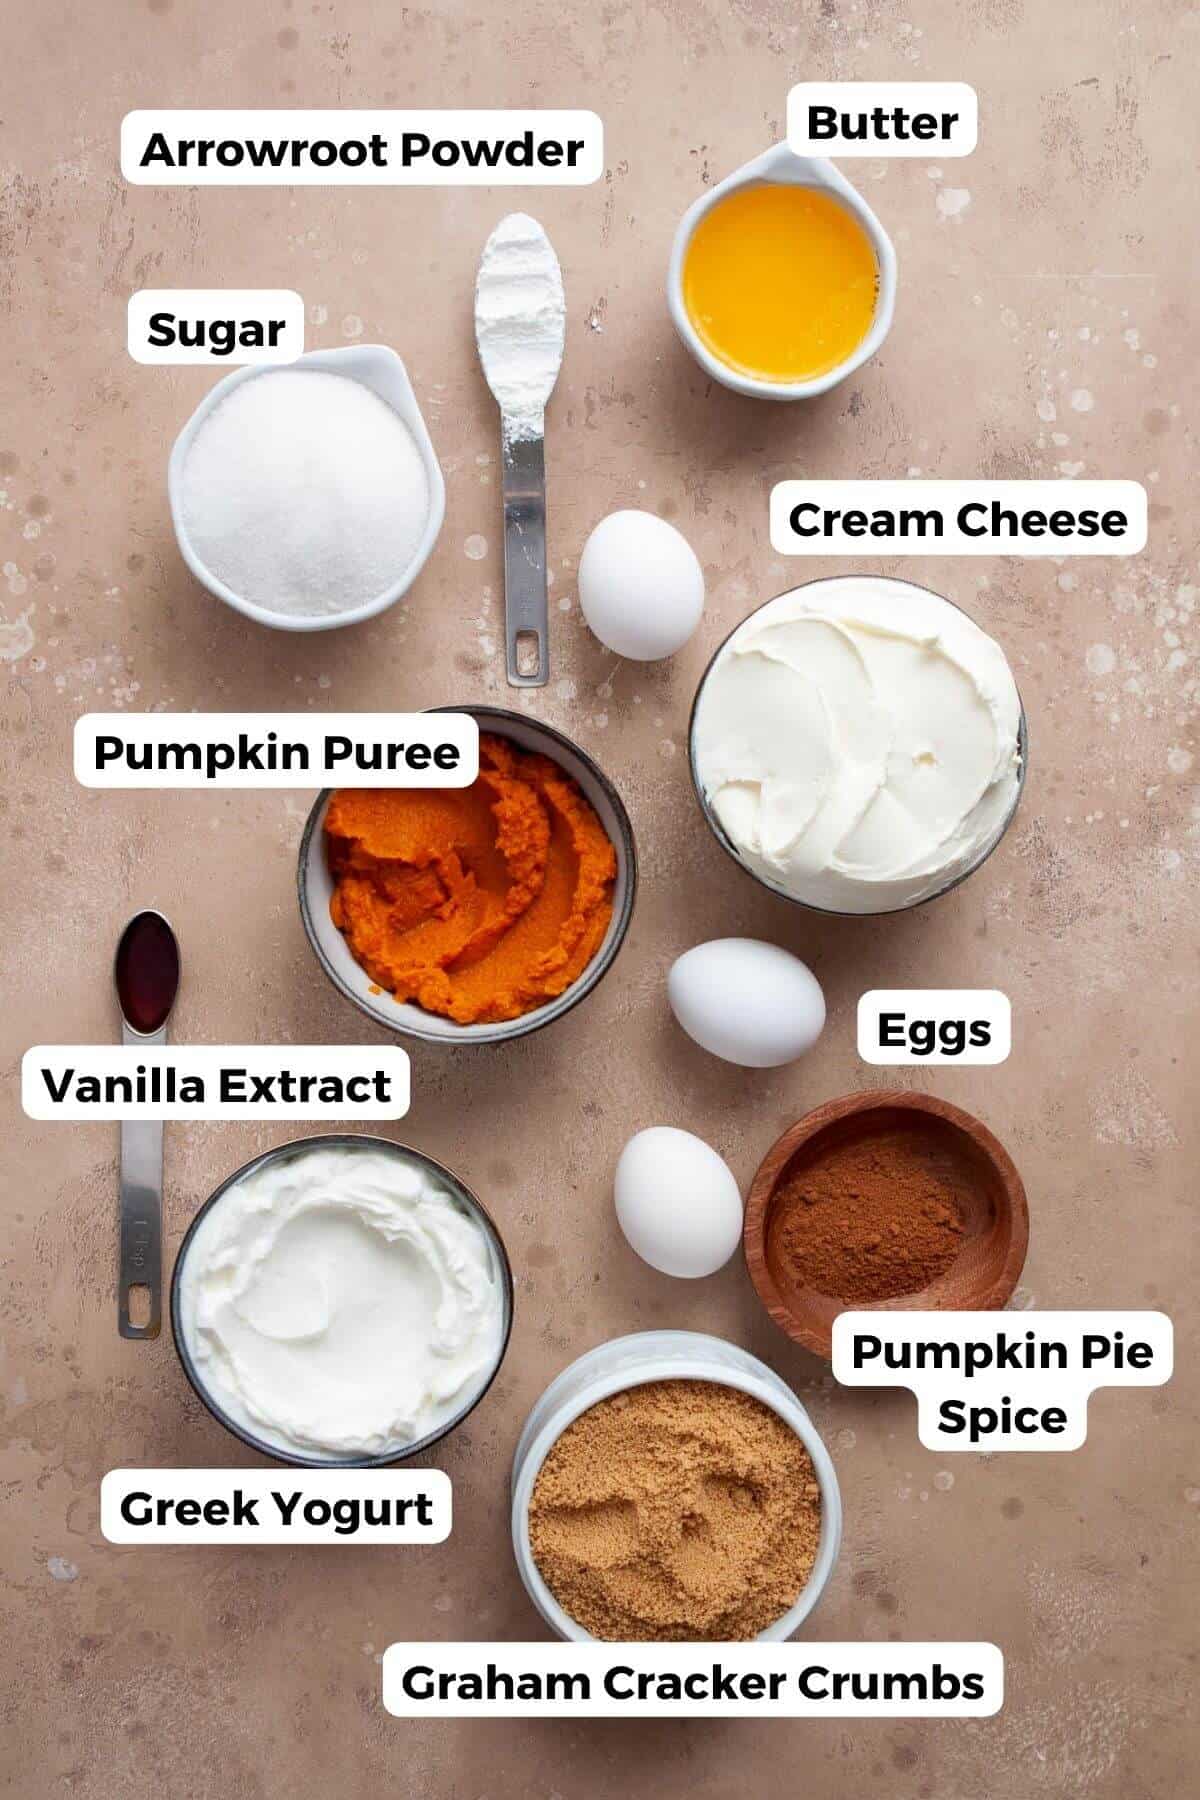
- Gluten-Free Graham Crackers: These make the base of the buttery crust. I've tested this with both gluten-free graham crackers and honey-cinnamon cookies (like the Simple Mills ones), and both work great as long as they blend into fine crumbs and pack tightly.
- Butter: Melted butter binds the crust and gives it a rich, toasty flavor. I always use unsalted butter so I can control the overall saltiness.
- Light Cream Cheese: Gives the cheesecake its classic smooth, creamy texture with a lighter spin.
- Greek Yogurt: The secret to keeping this cheesecake lighter and naturally higher in protein. I recommend 2% or 5% for the best texture, compared to non-fat. It's the same trick I use in my gluten-free key lime pie.
- Pumpkin Purée: Plain canned pumpkin (not pumpkin pie filling). Some brands are watery, so if your purée looks loose, gently blot it with paper towels-this keeps the cheesecake ultra-smooth and prevents cracking.
- Sugar: Sweetens the filling and keeps the flavor clean. I tested alternatives like coconut sugar, but granulated sugar gave the best cheesecake filling.
- Eggs + Egg Yolk: Help the cheesecake set while keeping the filling silky.
- Pumpkin Pie Spice: The cozy fall blend that gives the cheesecake its warm flavor-cinnamon, nutmeg, ginger, and cloves all in one.
- Vanilla Extract: Adds warmth and rounds out the pumpkin and spice.
- Arrowroot (or Cornstarch): Helps thicken the filling without flour.
Scroll to recipe card for quantities!
Easy Substitutions & Variations
- Use full-fat cream cheese: You can swap the light cream cheese for full-fat.
- Swap Greek yogurt for sour cream: If you're out of Greek yogurt, sour cream works 1:1 and gives the cheesecake a slightly tangier feel.
- Try a different crust: You can switch out the gluten-free graham crackers for gluten-free gingersnaps, GF Oreo cookies, or honey-cinnamon cookies (like Simple Mills).
- Make the filling dairy-free: I have not tested a dairy-free pumpkin cheesecake with dairy-free cream cheese, so I recommend choosing a naturally dairy-free recipe like my Healthy Pumpkin Oatmeal Bars if you're dairy-free!
- No arrowroot? Cornstarch and tapioca flour both work the same way here. Each helps the filling set smoothly without any flour in the cheesecake.
- Make pumpkin cheesecake bars: Press the crust into an 8x8 or 9x9 pan, pour the filling over, and bake for 30-40 minutes. Chill for the same amount of time, slice, and enjoy.
Need to substitute an ingredient?
Ask AI for suggestions on how to substitute the particular ingredient.
How to Make Gluten-Free Pumpkin Cheesecake (Step-by-Step)
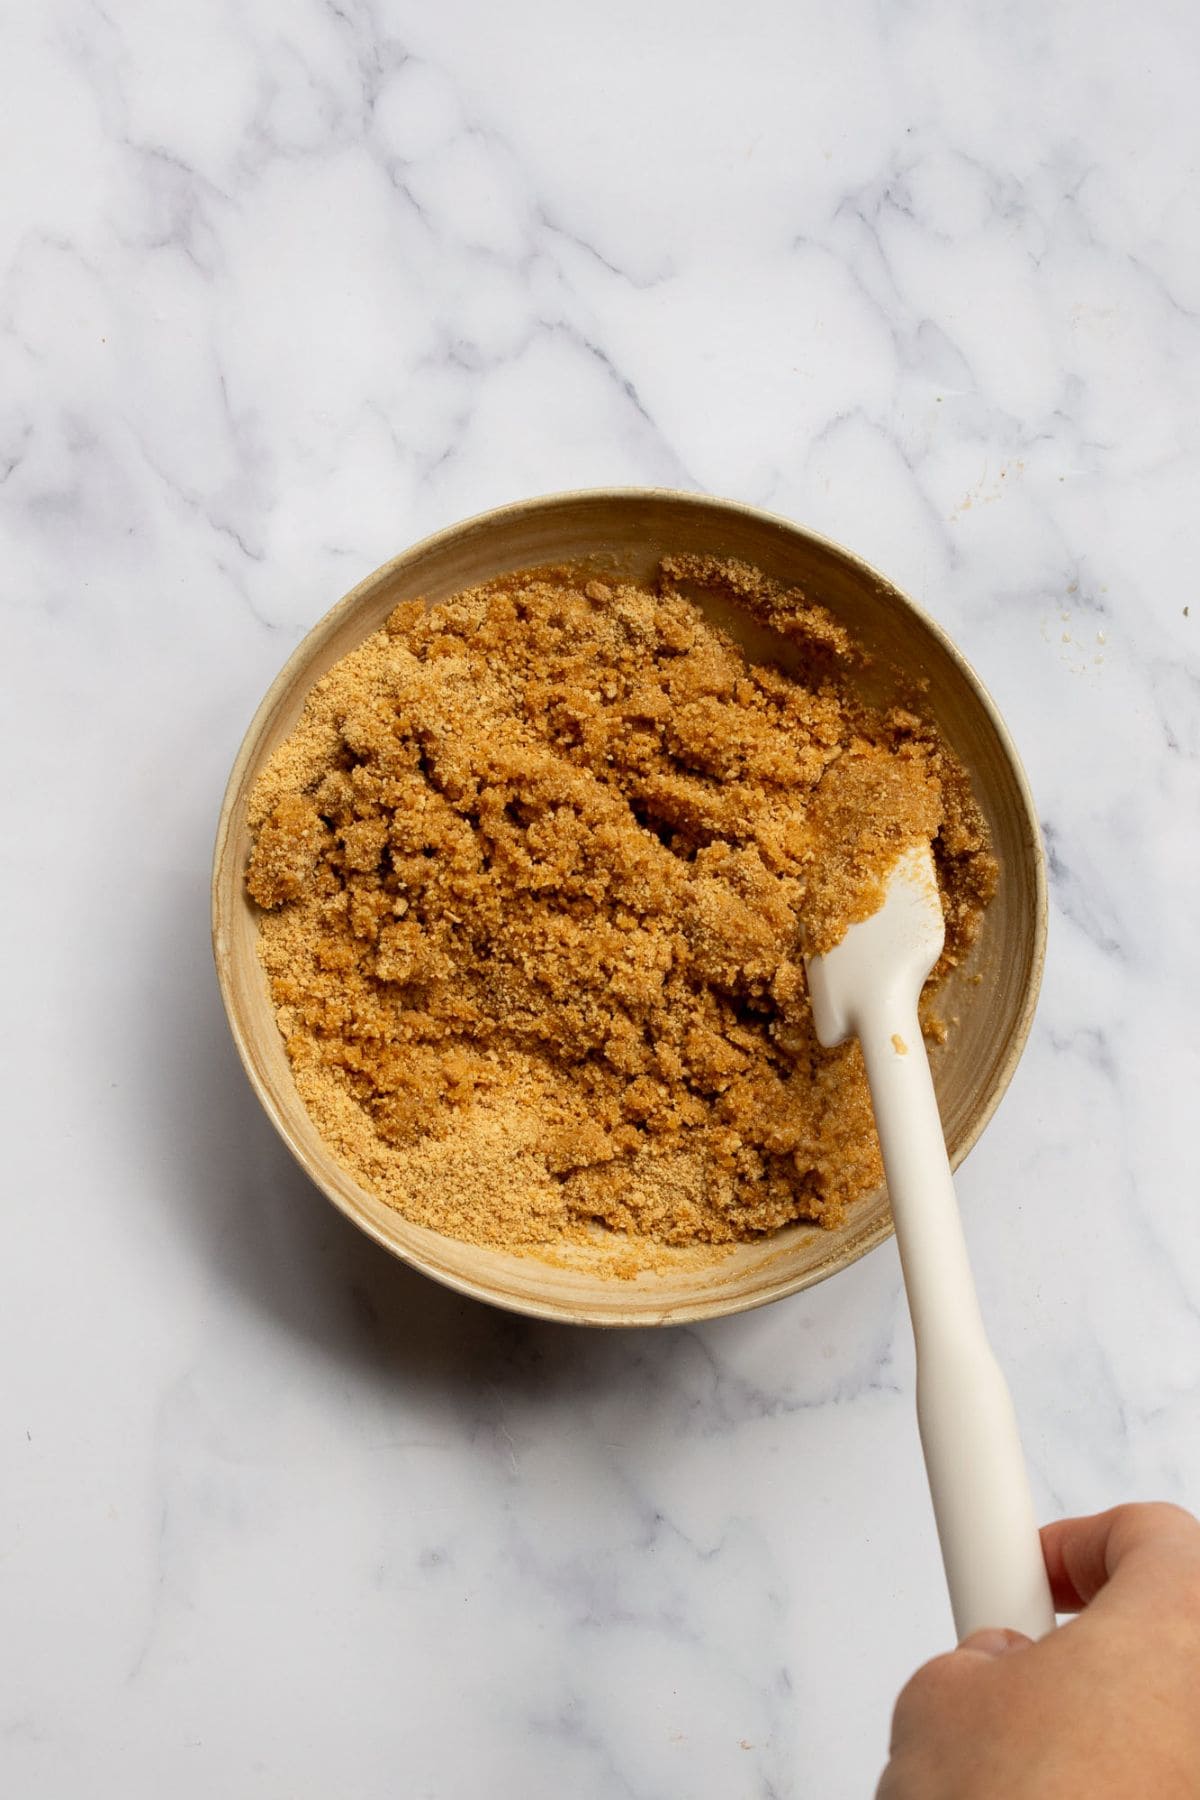
- Step 1: Pulse the gluten-free graham crackers in a food processor until they form fine crumbs, then mix in the melted butter until the mixture looks like wet sand.
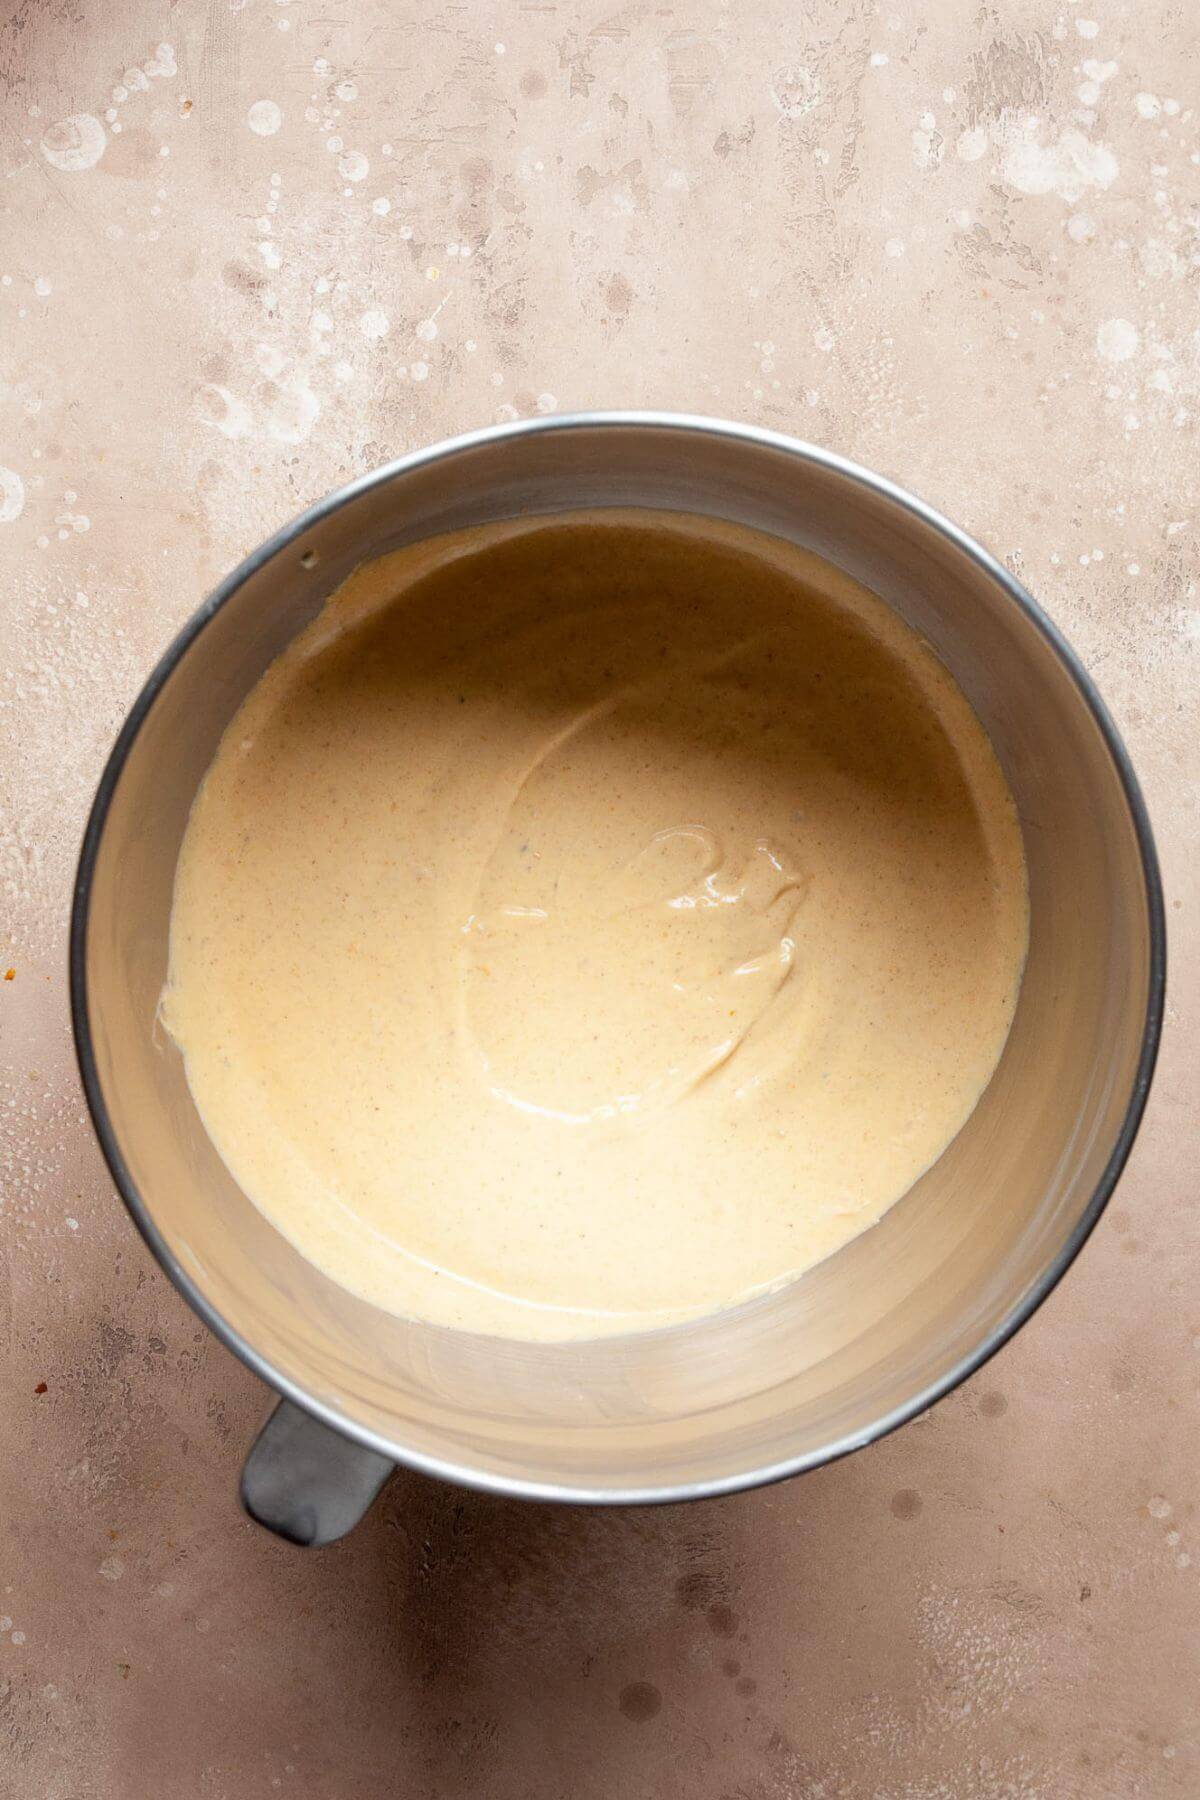
- Step 2: In a large bowl, beat the softened cream cheese until smooth (1-2 minutes). Add the Greek yogurt, pumpkin purée, eggs, egg yolk, vanilla, pumpkin spice, and arrowroot. Mix on low until just combined and smooth (30-60 seconds), scraping the bowl as needed. Don't overbeat!
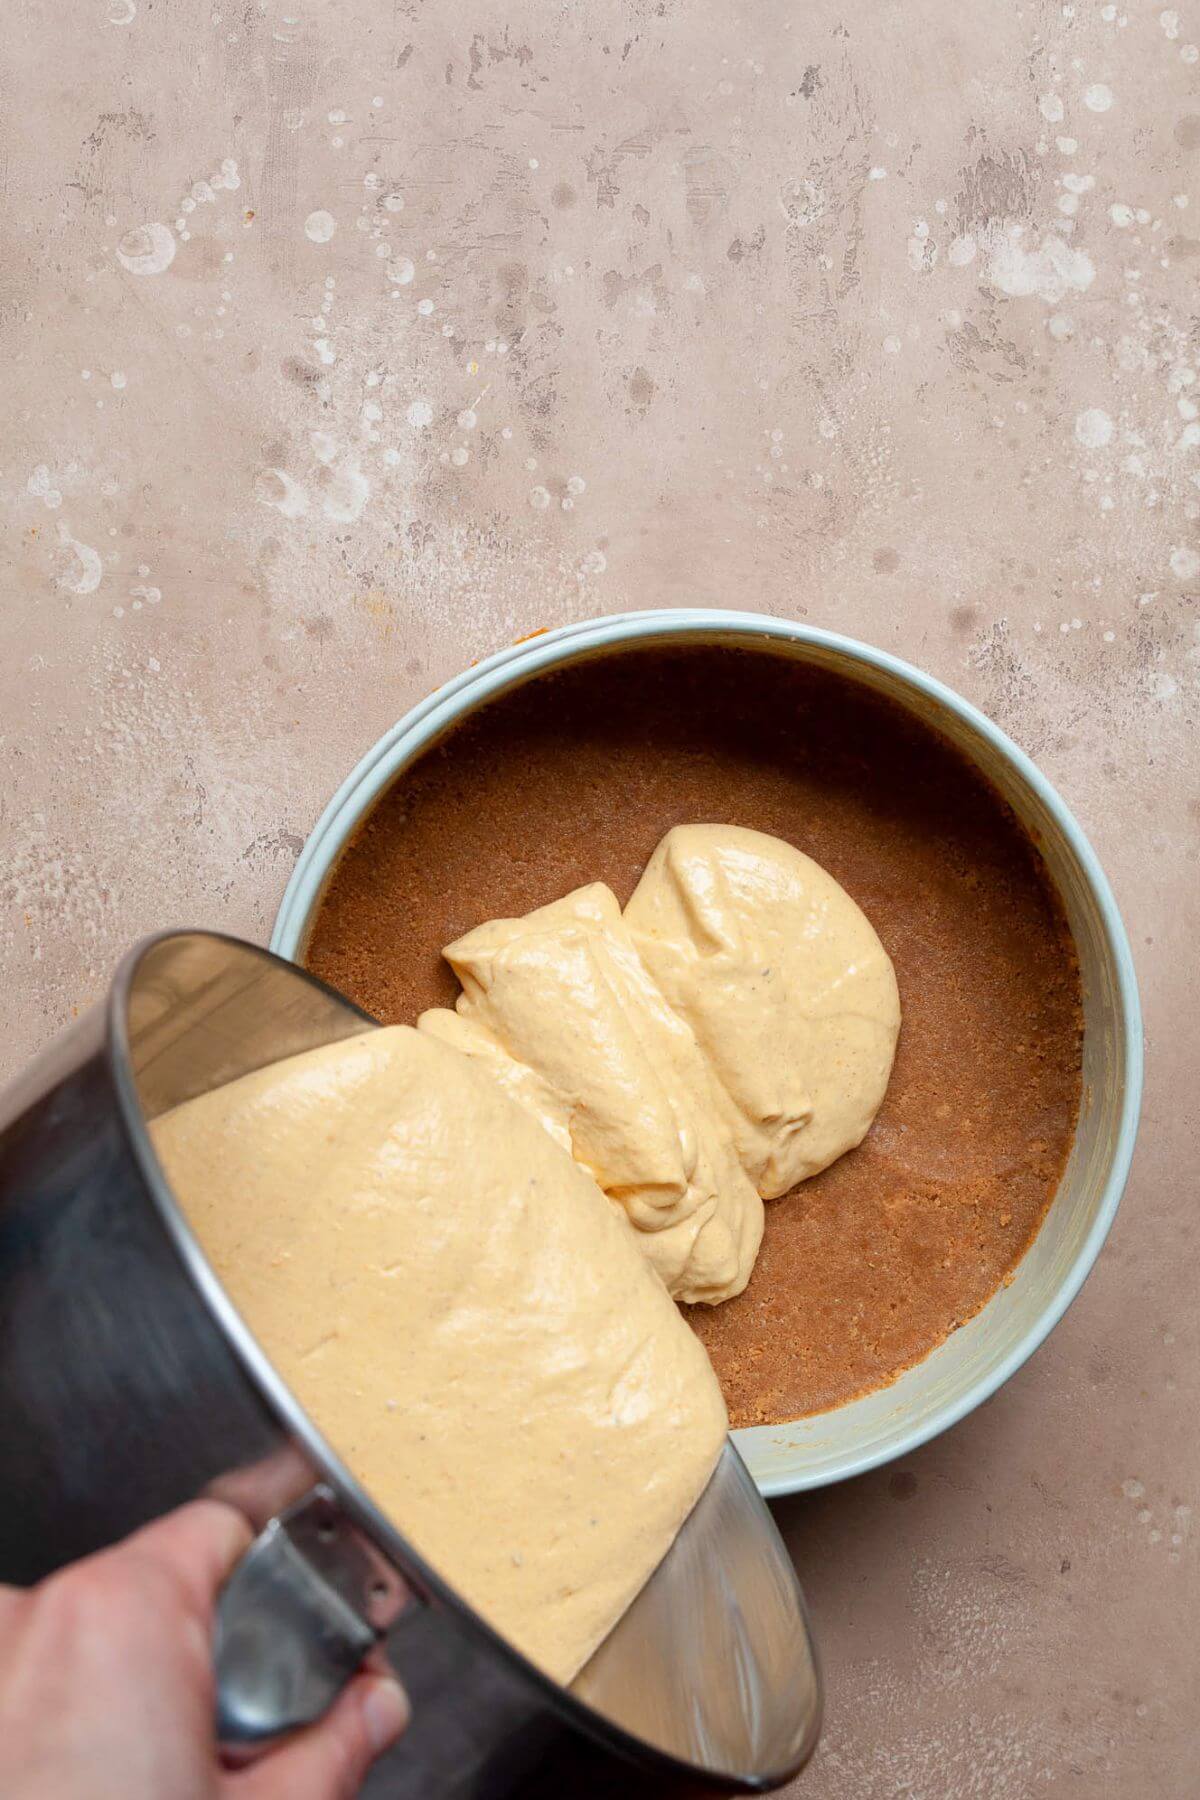
- Step 3: Pour the filling into the par-baked crust.
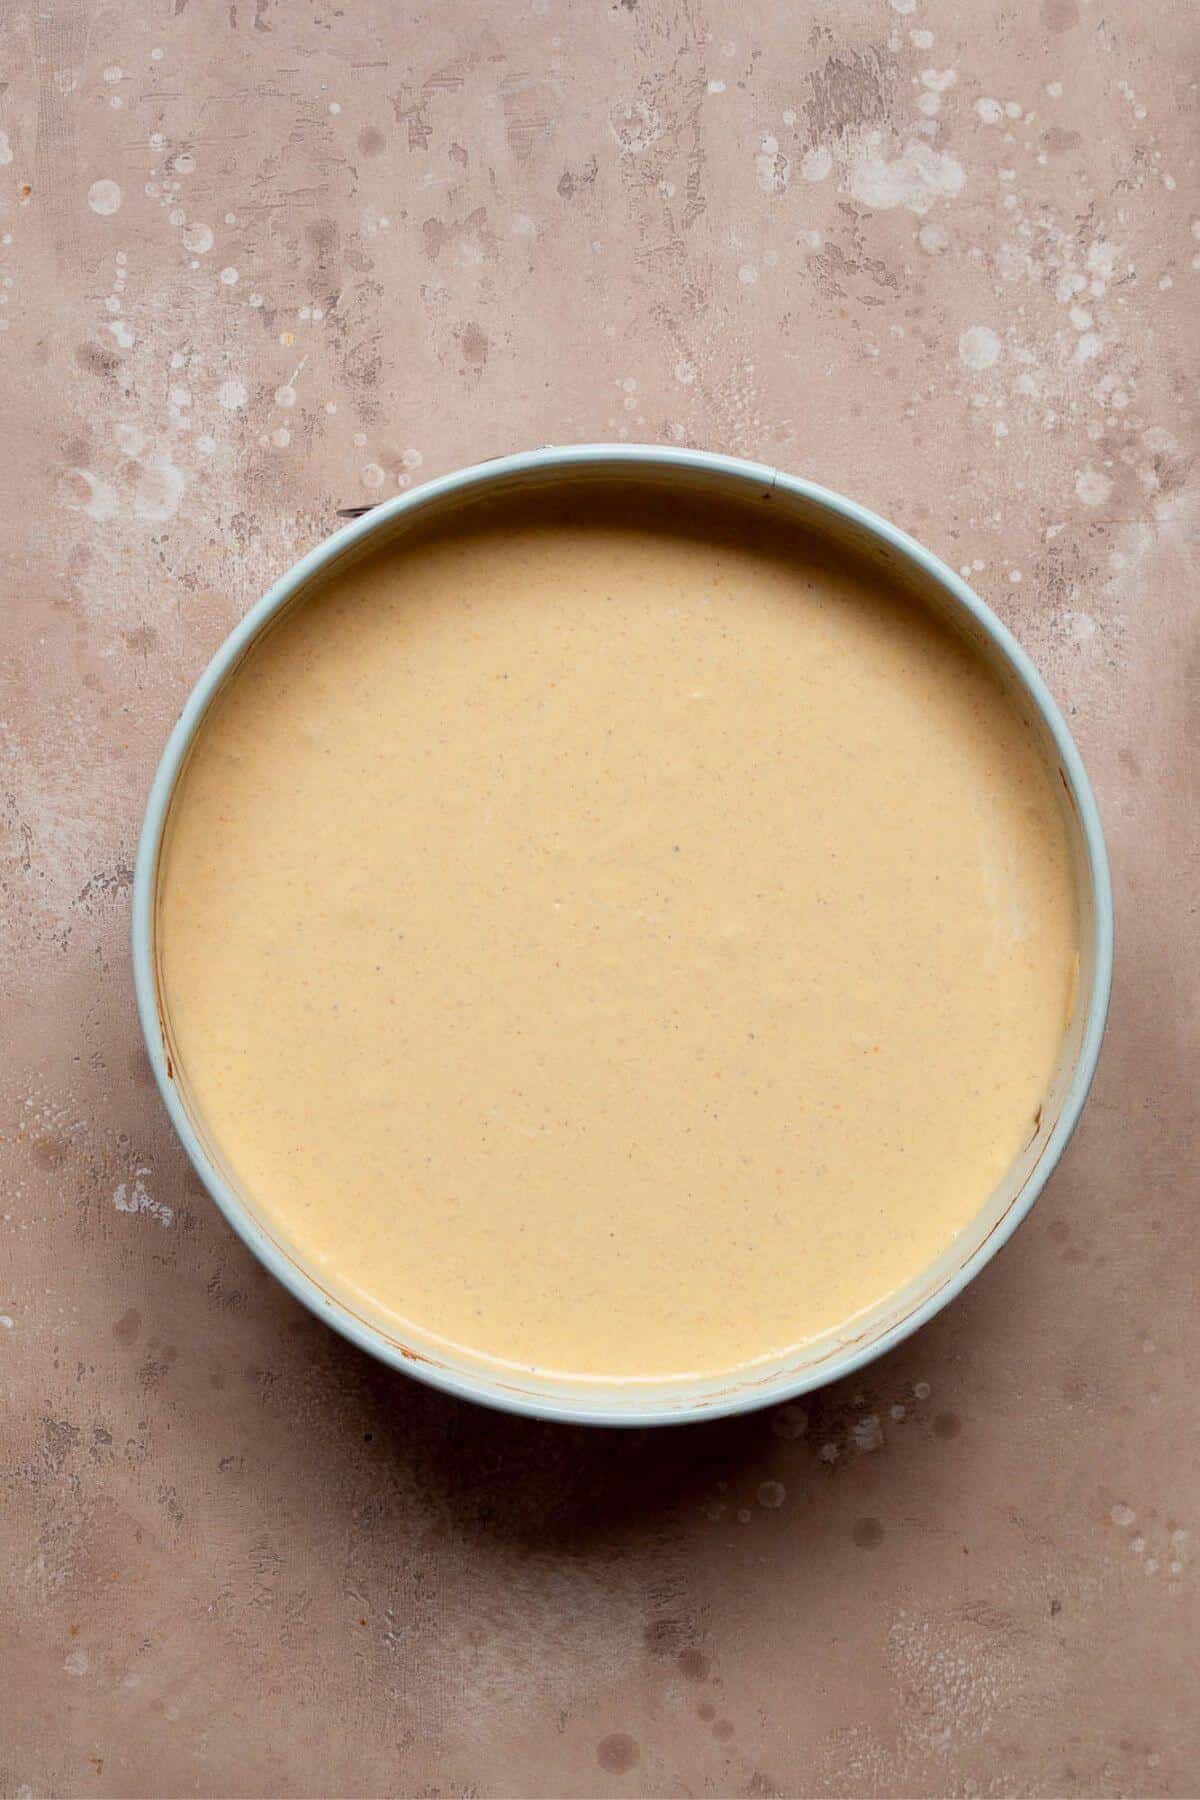
- Step 4: Smooth the top so it's evenly spread, then gently tap the pan to release any air bubbles.
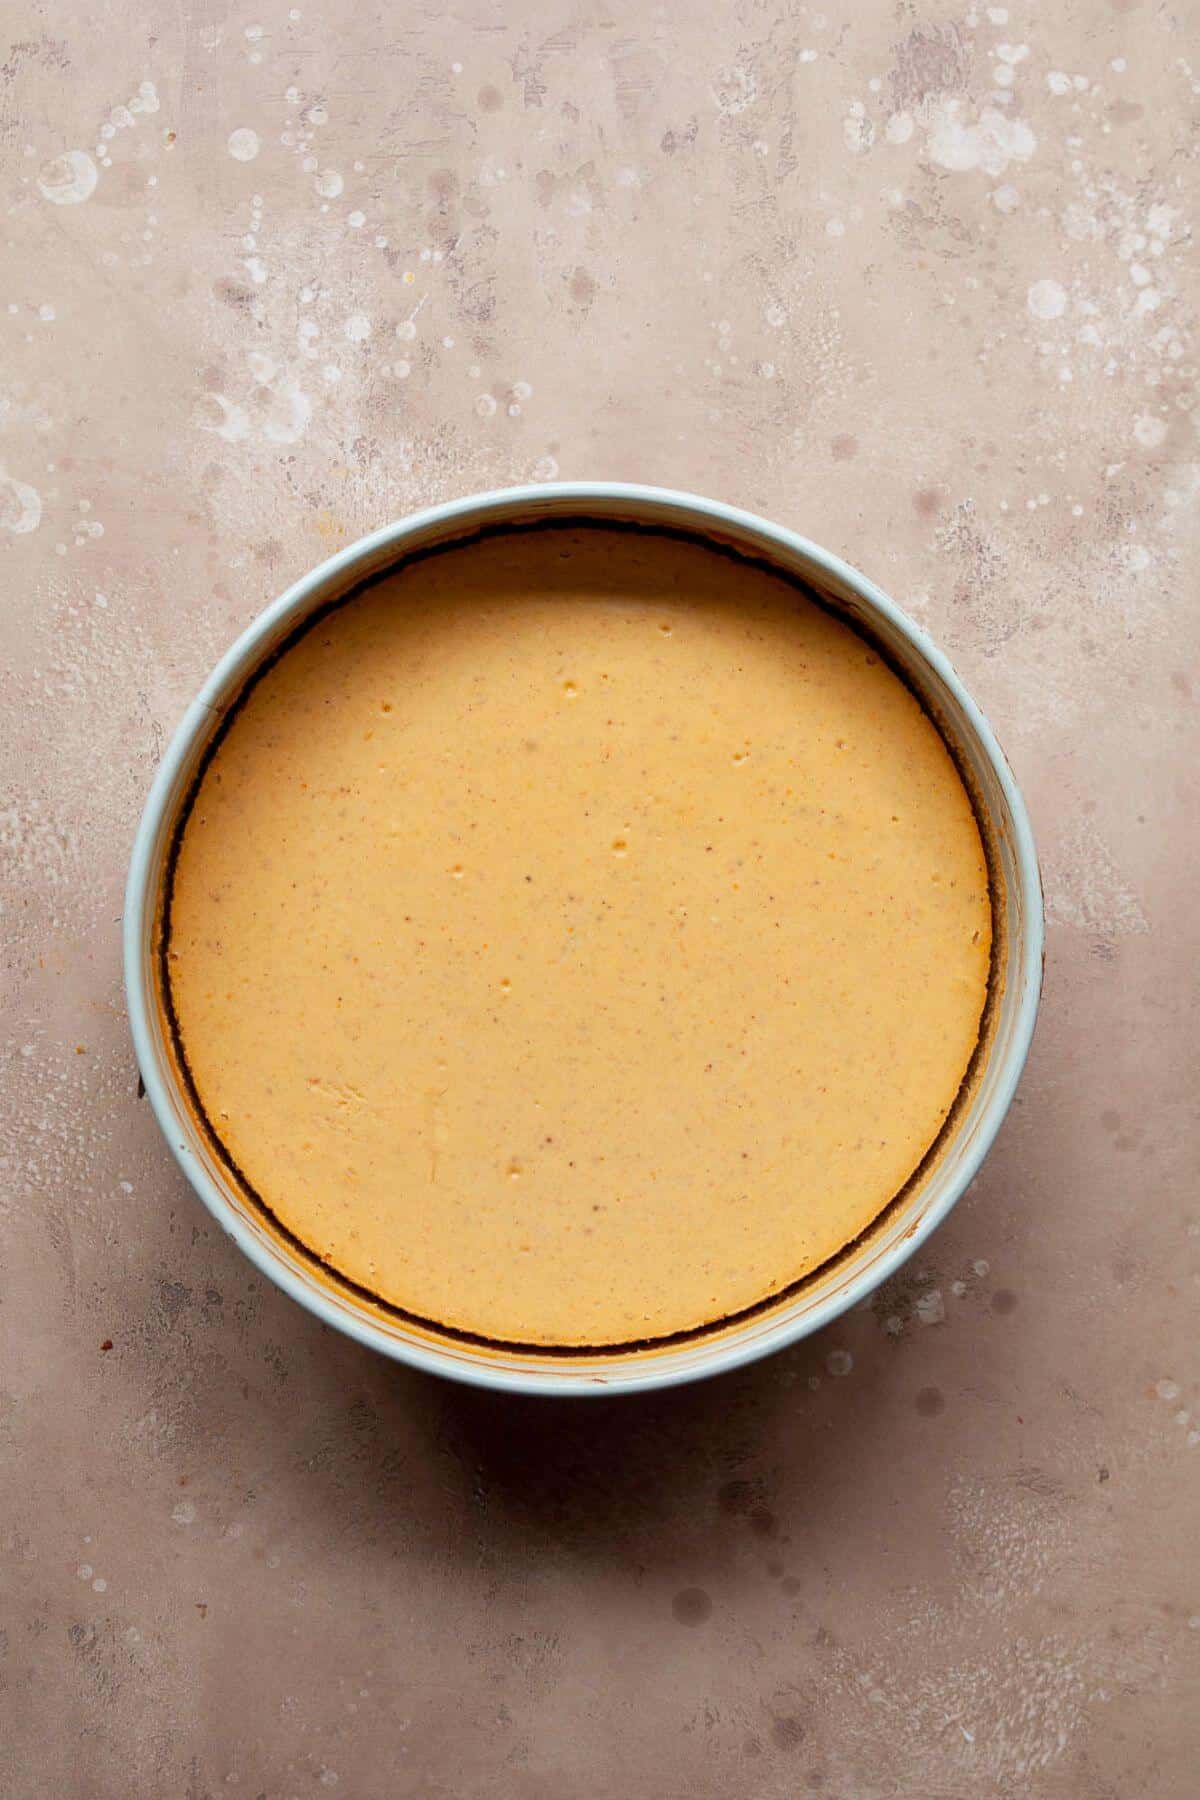
- Step 5: Bake again in a water pan at 325ºF for 45-55 minutes, until the center is just set. It should still jiggle slightly, like jello.

- Step 6: Turn off the oven and let the cheesecake cool inside with the door cracked for 1 hour. Move it to the fridge and chill for at least 4 hours or overnight. Keep chilled, top with whipped cream, and enjoy!
1 Minute Video Tutorial
Expert Tips
- Use room-temperature ingredients: Cold cream cheese or eggs can make the filling lumpy. Let everything sit out for 30-60 minutes before mixing for the smoothest texture.
- Don't overmix the filling: Overbeating adds too much air, which causes cracks as the cheesecake bakes. Mix on low speed just until the batter is smooth and combined.
- Bake in a water bath: It keeps the temperature gentle and prevents the edges from overcooking.
- Look for the perfect "jiggle": The cheesecake is done when the center has a soft wobble-like jello. If it's fully firm, it's overbaked.
- Chill overnight if possible: Cheesecake needs time to fully set. Chill for at least 4 hours, but overnight gives the cleanest slices and the best texture.
Troubleshooting Guide
Here are the most common issues I've run into - and how to fix them.
- My cheesecake cracked: This usually means the filling was overmixed, overbaked, or cooled too quickly. Mix on low, look for that slight "jiggle," and always cool it slowly in the oven with the door cracked.
- The center is still too soft: It likely just needs more chill time. Greek yogurt can take longer to fully set. Chill for at least 4 hours, but overnight is best.
- The edges look dry or overcooked: Your oven might run hot. Try baking at 315-320ºF next time or moving the rack down one level.
- The crust is crumbly and won't hold together: The crumbs may not have been fine enough or needed a touch more butter. They should look like wet sand and pack tightly when pressed.
- There are pockets or lumps in the filling: The cream cheese or eggs may have been too cold. Make sure all filling ingredients are fully room temperature before mixing.
Storage & Freezing Tips
- Store in the Fridge: This gluten-free cheesecake keeps well in the fridge for up to 5 days. The texture stays smooth and creamy when chilled, and the flavors deepen after the first day.
- Freeze the whole cheesecake: Let it cool and chill completely, then wrap tightly in plastic wrap and a layer of foil. Freeze for up to 2 months. Thaw in the refrigerator overnight for the best texture.
- Best way to thaw: Always thaw slowly in the fridge - never on the counter - to keep the cheesecake creamy and prevent the crust from getting soft.
Frequently Asked Questions
Yes! This recipe uses a mix of Greek yogurt and light cream cheese instead of sour cream. Greek yogurt keeps the cheesecake creamy, lighter, and naturally higher in protein.
Gluten-free graham crackers, gluten-free gingersnaps, gluten-free honey cinnamon cookies, and Oreo-style GF cookies all work well. The key is blending them into very fine crumbs so the crust packs tightly.
Cracks usually happen from overmixing, overbaking, or cooling too fast. Mix on low, bake until the center slightly jiggles, and cool in the oven with the door cracked for 1 hour.
Definitely, cheesecake tastes even better the next day. Chill for at least 4 hours, but overnight gives the best flavor and cleanest slices.

More Gluten-Free Pumpkin Recipes You'll Love
If you loved this lighter pumpkin cheesecake, here are a few more recipes to try next:
Did you make this recipe?
If you make this recipe, be sure to comment and rate it down below. Also, don't forget to tag me @healthfulblondie on Instagram and use the hashtag #healthfulblondie so I can see your delicious creation and share it with my followers!
📖 Recipe

Gluten-Free Pumpkin Cheesecake
Ingredients
Graham Cracker Crust:
- 1 ½ cups graham cracker crumbs, gluten-free (about 10 sheets)
- 5 tablespoon salted butter, melted
Pumpkin Cheesecake:
- 16 oz cream cheese, room temperature (regular or low fat if desired)
- 1 ¼ cup plain or vanilla Greek yogurt, room temperature
- ⅔ cup canned pumpkin puree, not pumpkin pie filling!
- ⅔ cup granulated sugar
- 2 eggs + 1 yolk, room temperature
- 1 teaspoon vanilla extract
- 1 tablespoon pumpkin pie spice, (yes Tablespoon)
- 1 tablespoon arrowroot starch, or cornstarch or tapioca flour
Instructions
- Preheat oven to 350ºF and grease a 9" springform pan (I like using butter). Now, wrap the bottom and sides of the springform pan in 2 layers of large pieces of aluminum foil. Set it to the side. A water bath will give you the perfect cheesecake without cracks - I recommend using it!
- Add the graham crackers to a food processor and pulse until they are crumbs. Add in melted butter and pulse until combined. You can also use a plastic bag and pound with a rolling pin until they are crumbs, then mix the crumbs and melted butter in a bowl.
- Add to the bottom of the springform pan, and use your fingers or the back of a measuring cup to flatten it into an even layer. Bake for 8 - 10 minutes. Then, let it cool for 5 - 10 minutes while you make the filling.
- Reduce the oven temperature to 325ºF. Set a kettle of water to boil.
- While the crust cools, add cream cheese to a large mixing bowl and beat with a handheld electric mixer until smooth for about 1 - 2 minutes. Add greek yogurt, pumpkin puree, sugar, eggs, egg yolk, vanilla extract, pumpkin spice, and arrowroot powder. On the lowest setting, mix again until smooth for 30 - 60 seconds. Scape the sides of the bowl as needed. Do not overbeat, but it must be smooth.
- Add the cheesecake pan inside a large roasting pan. Then pour the cheesecake filling onto the cooled crust and use a spatula to smooth out the top.
- Pour the boiling water into the large roasting pan until the water is halfway up the sides of the pan. Bake at 325ºF for 45 - 55 minutes or until the filling is just set - it should jiggle slightly (like jello) but look firm and set.
- Turn the oven off, open the door, and allow the cheesecake to cool in the oven for about 1 hour in the water bath before transferring it to the fridge. Chill for at least 4 hours or overnight.
- Keep cheesecake chilled before serving, top with whipped topping dollops, and enjoy!


Susan says
This was delicious. So easy to make and by far the best, creamiest cheesecake I've ever made. Thank you.
Tati Chermayeff says
WOW - susan! Thank you so much for this review!! I am so excited to hear this and hope you get to try other recipes on my blog 🙂
Clarissa says
Just made this recipe for Thanksgiving yesterday & it turned out amazing! I used the simple mills honey cinnamon graham crackers with it & highly recommend. I also added two additional teaspoons of the pumpkin spice because that’s what I tend to do with all my recipes since my family loves a stronger spice taste. Everyone was raving about it. It was completely gone at the end of the night. Thank you so much for sharing this! I will definitely be using it again 🙂
Christine says
Loved this easy recipe. You can't tell it is gluten free (I put my husband up to the taste test). Will make it again for Thanksgiving! Thanks!