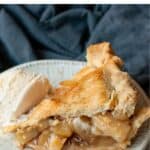

This easy gluten-free apple pie is the classic holiday dessert everyone loves - buttery, flaky, and completely homemade with a warm cinnamon apple filling. It tastes just like traditional apple pie, but 100% gluten-free with a perfectly golden double crust. Serve warm with ice cream for the ultimate treat.

A Quick Look At The Recipe
- ✅ Recipe Name: Easy Gluten-Free Apple Pie Recipe (Flaky Double Crust!)
- 🕒 Ready In: About 1 hour 15 minutes
- 👪 Serves: 10-12 slices
- 🍽 Calories: ~300 per slice
- 🥣 Main Ingredients: Gluten-free flour, cold butter, buttermilk, Granny Smith apples, coconut sugar, cinnamon, tapioca or arrowroot
- 📖 Dietary Info: Gluten-free; dairy-free option available
- ⭐ Why You'll Love It: All the nostalgic apple pie flavor you love, made 100% gluten-free with a buttery, flaky crust and no soggy bottom!
SUMMARIZE & SAVE THIS CONTENT ON
Every fall, I look forward to baking this gluten-free apple pie - the kind of cozy, cinnamon-filled dessert that makes your whole kitchen smell like the holidays. After years of tweaking my gluten-free crust and testing it on very honest friends and family, this is the double-crust recipe I trust every single time. It's buttery, flaky, and no one ever realizes it's gluten-free.
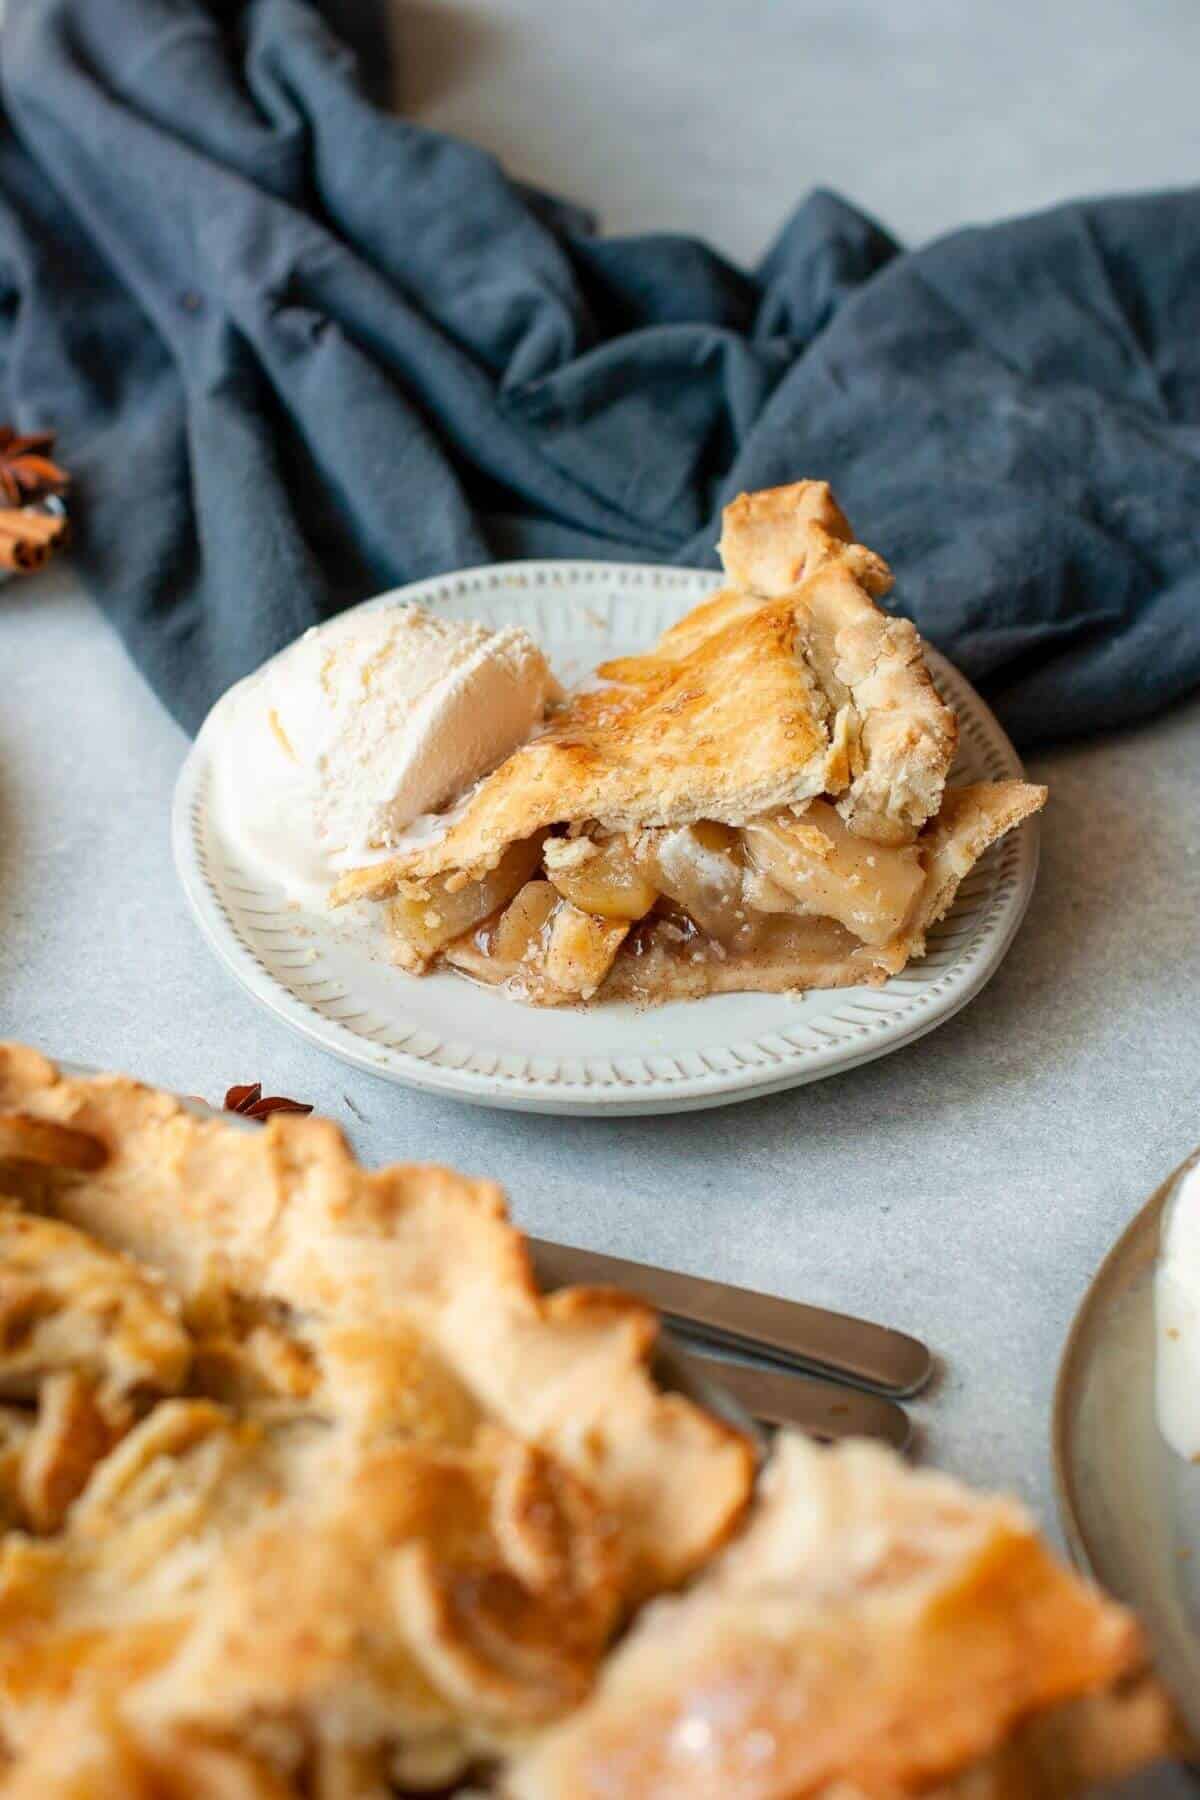
The filling is just as good: warm, gooey cinnamon apples that bake down perfectly without turning mushy or watery. Whether you're gluten-free or baking for someone who is, this pie tastes just like the classic version you grew up with. Serve it warm with a scoop of vanilla ice cream and get ready for the "wait… this is gluten-free?" reactions.
If you love cozy fall desserts (that are also gluten-free), try my Healthy Apple Crisp, Baked Gluten-Free Apple Cider Donuts, or Apple Pie Oatmeal Cookies next!
Jump to:
- A Quick Look At The Recipe
- Why You'll Love This Recipe
- Ingredients You'll Need
- Easy Substitutions & Variations
- How to Make Gluten-Free Apple Pie (Step-by-Step)
- 1 Minute Video Tutorial
- Expert Tips
- Best Apples for Gluten-Free Apple Pie
- Troubleshooting Guide
- Storage Tips
- Frequently Asked Questions
- More Gluten-Free Dessert Recipes You'll Love
- 📖 Recipe
- 💬 Comments
⭐️⭐️⭐️⭐️⭐️
I LOVE THIS APPLE PIE!!! I cannot believe that it is gluten-free. We made it last Thanksgiving and will be making it again. So good!
- Jennifer
Why You'll Love This Recipe
- Secretly Gluten-Free: Tastes just like classic apple pie - no one will guess it's gluten-free.
- Flaky Double Crust: Buttery, melt-in-your-mouth crust that bakes up golden every time.
- Warm & Gooey Filling: Cozy cinnamon apples that bake down perfectly - never mushy or watery.
- Easy for Any Baker: Straightforward steps, simple ingredients, and beginner-friendly techniques.
- Perfect for Holidays: The ultimate Thanksgiving, Christmas, or fall weekend baking project.
Ingredients You'll Need
Here are all the ingredients you need to make the perfect gluten-free double-crusted apple pie:

For the Apple Filling:
- Apples: A mix of Granny Smith + Honeycrisp (or Pink Lady) gives the perfect sweet-tart balance and holds shape during baking.
- Coconut Sugar (or Brown Sugar): Naturally sweetens the filling and helps it caramelize.
- Cinnamon & Allspice: Warm, cozy spices that make the pie smell like fall.
- Tapioca Flour (or Arrowroot): Thickens the filling so it's gooey-not watery-once baked.
- Lemon Juice & Zest: Brightens the filling and keeps the apples tasting fresh.
- Egg White: For brushing the top crust to make it bake up glossy, golden, and crisp.
For the Homemade Gluten-Free Pie Crust:
- Gluten-Free All-Purpose Flour: A cup-for-cup flour with xanthan gum is essential for structure and a flaky crust.
- Cold Unsalted Butter: Cut into small cubes. Cold butter = steam pockets = extra flaky gluten-free crust.
- Sugar: Just a pinch for flavor and browning.
- Salt: Balances sweetness and enhances the buttery taste..
- Buttermilk: Adds richness and helps hydrate the dough for a smooth, rollable texture.
Scroll to recipe card for quantities!
Easy Substitutions & Variations
- Make it Dairy-Free: Use cold vegan butter sticks + dairy-free milk with 1 teaspoon vinegar (or lemon juice) instead of buttermilk.
- No Buttermilk? Mix ½ cup milk with 1 teaspoon lemon juice; let sit 5 minutes.
- Coconut Sugar Swap: Use light brown sugar 1:1.
- Tapioca Substitute: Arrowroot works the same. Avoid cornstarch (it turns gummy).
- Apple Options: Granny Smith + Honeycrisp is ideal; Pink Lady or Braeburn is also great. Avoid Red Delicious, they get mushy!
- Add Crunch: Sprinkle raw sugar on top before baking for a sparkly, crisp finish.

Need to substitute an ingredient?
Ask AI for suggestions on how to substitute the particular ingredient.
How to Make Gluten-Free Apple Pie (Step-by-Step)

- Step 1: Cut the butter into small cubes and freeze or chill it. Cold butter = flaky crust.

- Step 2: Pulse the flour, sugar, and salt with the cold butter in a food processor until crumbly, or cut the butter into the flour with two knives.

- Step 3: Mix in the buttermilk and add 1-2 tablespoon of ice water if the dough is too dry.
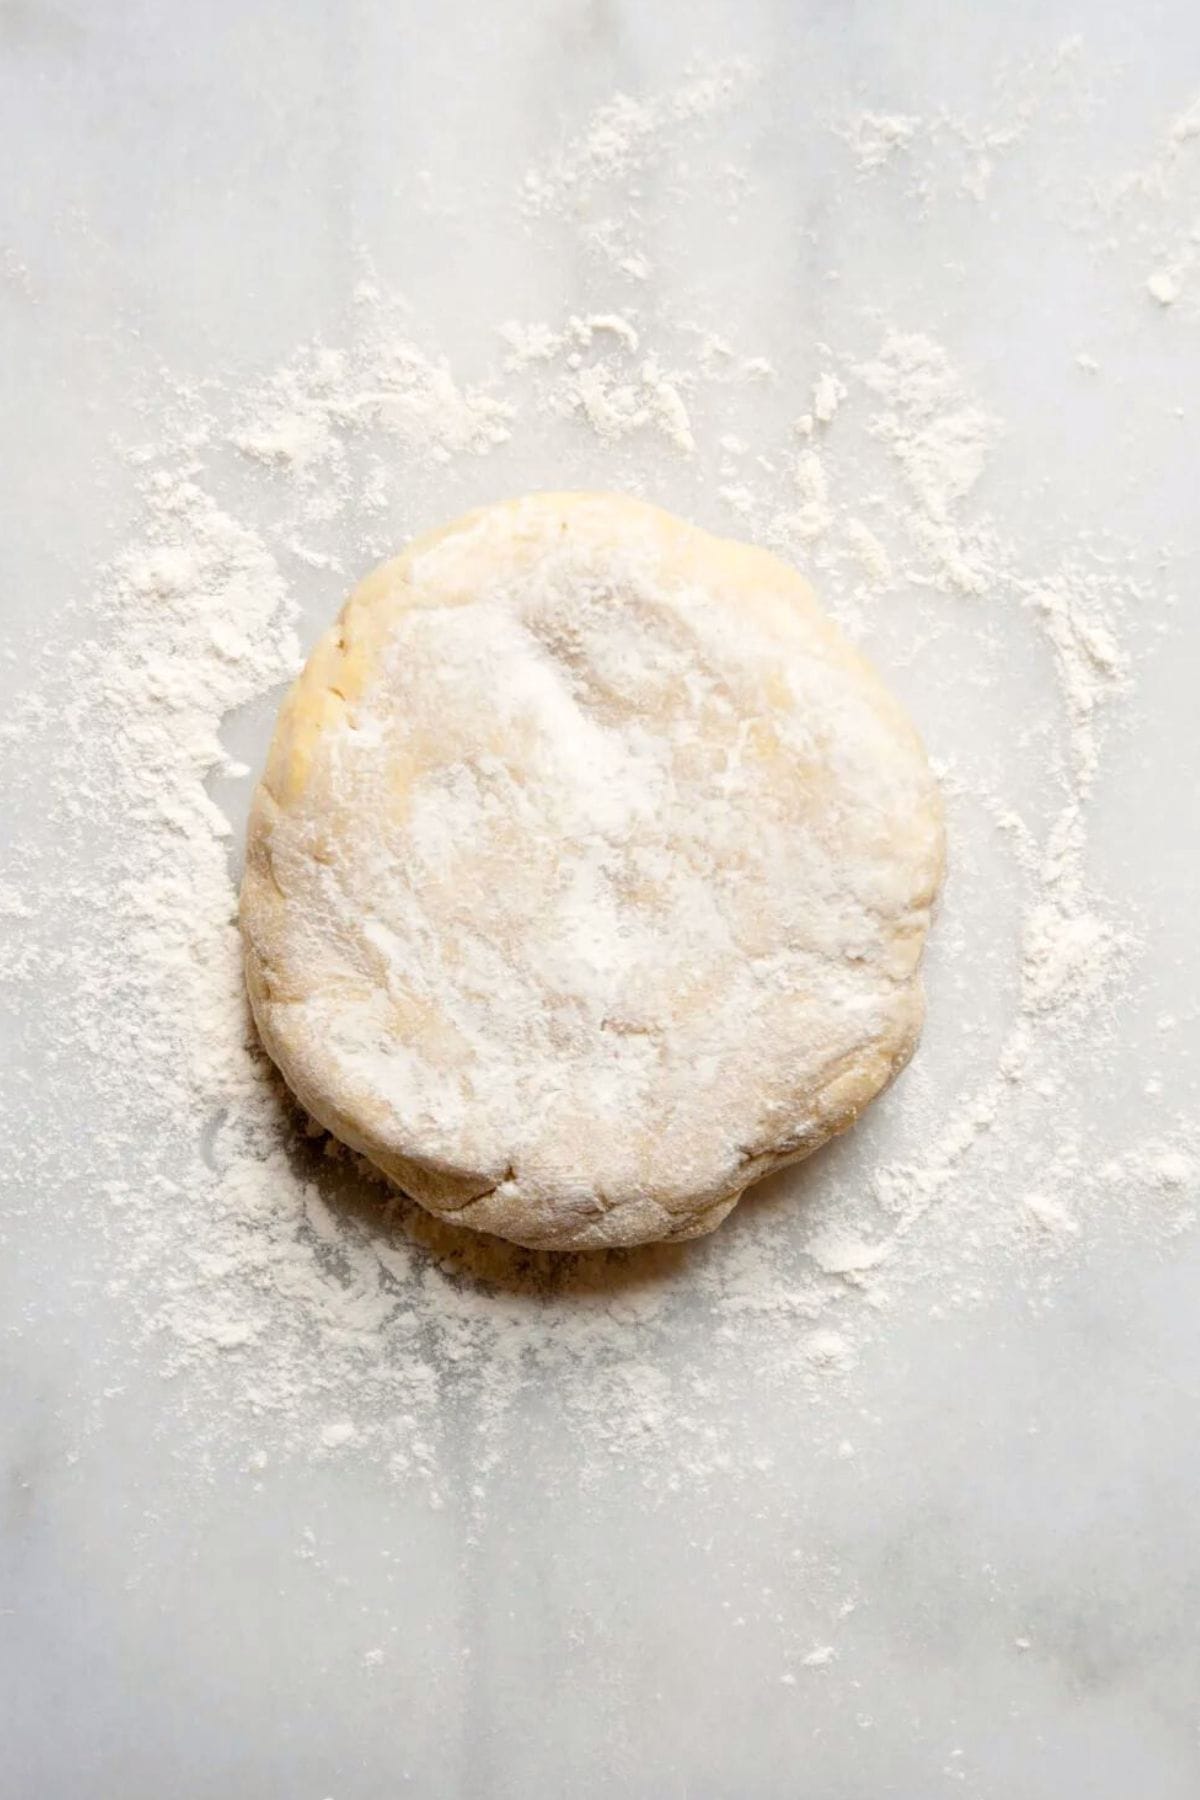
- Step 4: Divide the dough into two disks (for faster chilling) or one disk (if you are prepping it the night before), wrap, and chill for 1 hour.

- Step 5: Roll out both dough disks on a lightly floured surface. If cracking, fold and reroll.

- Step 6: Toss apples with sugar, spices, lemon, and thickener. Add to a 9-inch pie dish; top with second crust. Crimp edges, cut vents, and brush with egg white.

- Step 7: Bake at 400°F for 20 minutes, then 375°F for 30-35 minutes. Tent (cover) the edges with aluminum foil if they are browning too quickly.
1 Minute Video Tutorial
Expert Tips
- Use a 1:1 gluten-free flour blend with xanthan gum. It helps the dough hold together and creates a flaky crust instead of a crumbly one.
- Keep the butter extra cold. Cold butter melts in the oven, creating steam pockets that give the gluten-free crust real flakiness.
- Use two types of apples. A mix of tart (Granny Smith) and sweet (Honeycrisp or Pink Lady) gives the best flavor and prevents a mushy filling.
- Bake on the lower oven rack. This helps crisp the bottom crust and prevents it from turning soggy.
- Let the pie cool before slicing. The filling thickens as it cools, giving you clean, perfect slices. (Hardest step… worth it!)
Best Apples for Gluten-Free Apple Pie
The best apples for gluten-free apple pie are firm, crisp, and hold their shape when baked. Here are my top picks:
- Granny Smith: Tart, sturdy, and the best choice to prevent a watery filling.
- Honeycrisp: Sweet, crisp, and bakes beautifully without turning mushy.
- Pink Lady: Bright, tangy flavor with a firm texture.
- Braeburn: Sweet-tart and aromatic with great structure.
- Fuji: Sweeter and softer, best when paired with a firmer apple like Granny Smith.
Best combo: Granny Smith + Honeycrisp
Avoid: Red Delicious or McIntosh - they tend to turn mushy.
Troubleshooting Guide
Here are the most common issues I've run into - and how to fix them.
- Crust Cracking: If your dough cracks when rolling, let it warm up for 5 minutes and add 1-2 teaspoons of buttermilk or cold water if it feels dry.
- Crumbly Pie Dough: This usually means the butter got too warm or the dough wasn't chilled long enough - chill 10-15 minutes and try again.
- Soggy Bottom Crust: Bake the pie on the bottom rack and ensure the oven is fully preheated; the high initial heat helps set the crust.
- Watery Apple Pie Filling: Use firm baking apples (Granny Smith + Honeycrisp) and thicken with tapioca or arrowroot - they keep the filling glossy and gooey.
- Pale Crust: Brush the crust with egg white or milk before baking, and add 5-10 extra minutes uncovered if it needs more color.
Storage Tips
- Store in the fridge: This gluten-free apple pie keeps well for 3-4 days in an airtight container. The crust stays flaky, and the cinnamon-apple filling actually gets even cozier by day two.
- Freeze the whole pie: Let it cool completely, then wrap tightly in plastic wrap and a layer of foil. Freeze for up to 3 months. Thaw overnight in the fridge.
- Reheat beautifully: Warm slices in a 325°F oven for 10 minutes (or a few minutes in the air fryer) to crisp the crust again.
Frequently Asked Questions
A 1:1 gluten-free flour blend with xanthan gum works best. It gives the crust structure, prevents crumbling, and bakes up flaky.
Bake the pie on the bottom oven rack and start with a fully preheated oven. The high initial heat helps the bottom crust crisp before the apples release juices.
Yes-use cold vegan butter in the crust and dairy-free milk (I like almond milk or oat milk mixed with 1 teaspoon lemon juice) to replace the buttermilk.
Yes - assemble and bake it the day before. Store covered in the fridge. The flavors deepen, and the crust stays flaky.
Yes. Peeled apples bake more evenly and create the classic, smooth filling texture.

More Gluten-Free Dessert Recipes You'll Love
If you loved this gluten-free apple pie, here are a few more recipes to try next:
Did you make this recipe?
If you make this recipe, be sure to comment and rate it down below. Also, don't forget to tag me @healthfulblondie on Instagram and use the hashtag #healthfulblondie so I can see your delicious creation and share it with my followers!
📖 Recipe

Easy Gluten-Free Apple Pie Recipe
Ingredients
Gluten-Free Pie Crust:
- 3 + ½ cups all-purpose gluten-free flour, spooned & leveled
- 1 teaspoon xanthan gum, only use if flour doesn't have it
- 2 teaspoon salt
- 2 tablespoon sugar
- 16 tablespoon unsalted butter
- ⅓ cup cold buttermilk *
- 3 - 4 tbs ice water
Filling:
- 3 medium granny smith apples
- 3 medium red apples, Macintosh or Honeycrisp
- ⅔ cup coconut sugar
- 2 tablespoon tapioca flour or arrowroot starch
- 1 tablespoon lemon juice
- 1 teaspoon of lemon zest
- 1 teaspoon ground cinnamon
- ¼ teaspoon all-spice
- ¼ teaspoon salt
Additional:
- 1 egg white, beaten
Instructions
Pie Dough:
- Keep the butter cold. Cut it into small cubes and chill in the freezer or fridge.
- Mix dry ingredients. In a food processor, add the flour, xanthan gum (if needed), salt, and sugar. Pulse twice.
- Cut in the butter. Add the cold butter and pulse in 1-second bursts until the mixture looks crumbly with small, flour-coated butter pieces. (Or rub the butter in with your fingers.)
- Add the buttermilk. Transfer to a bowl, drizzle in the buttermilk, and mix with your hands. If the dough feels dry, add 1-2 tablespoons of ice water.
- Chill the dough. Form into a ball, divide into two 4-inch disks, wrap well, and chill for at least 1 hour (or up to 2 days). If too stiff later, let rest 5-10 minutes before rolling.
Shape the Bottom of Pie Crust:
- Preheat oven to 400°F.
- Roll out the first dough disk. Lightly flour your surface and roll from the center outward. If cracks appear, fold the dough in thirds and reroll.
- Check the size. The dough should be about 2 inches larger than your 9-inch pie dish.
- Fit into the dish. Gently lay the dough into the pie plate, press into the bottom and sides, trim extra dough, and chill while you make the filling.
Make the Pie Filling:
- Slice the apples. Peel, core, and cut into ½-inch slices.
- Mix ingredients. Add the apples to a bowl with the sugar, spices, lemon, and tapioca/arrowroot. Toss to coat.
Assemble Pie:
- Roll the top crust. Roll out the second dough disk the same way as the first.
- Fill the pie. Add the apple filling to the chilled bottom crust
- Add the top crust. Place the second crust over the apples.
- Seal the edges. Fold extra dough underneath to form a thick rim, then flute or crimp.
- Vent and brush. Cut 4 slits on top, brush with egg white, and sprinkle with sugar if you like.
Bake the Pie:
- Start hot. Bake at 400°F for 20 minutes.
- Reduce heat. Lower to 375°F and bake 30-35 minutes, until the crust is golden and the filling is bubbling.
- Protect edges. Cover the crust with foil if it browns too quickly.
- Cool. Let the pie cool 1-2 hours before slicing so the filling can set.


Lauren says
Way easier to make than I thought it would be and it was DELICIOUS!! A new family favorite.
Tati Chermayeff says
You're the best Lauren 🙂
Jennifer says
I LOVE THIS APPLE PIE!!! I cannot believe that it is gluten free. We made it last Thanksgiving and will be making it again. So good!
Tati Chermayeff says
This made my day, Jennifer! Happy you loved this recipe as much as me. I will be making it this Thanksgiving for my family.
Andrea says
So good and actually not that hard to make which I was happily surprised by....!