
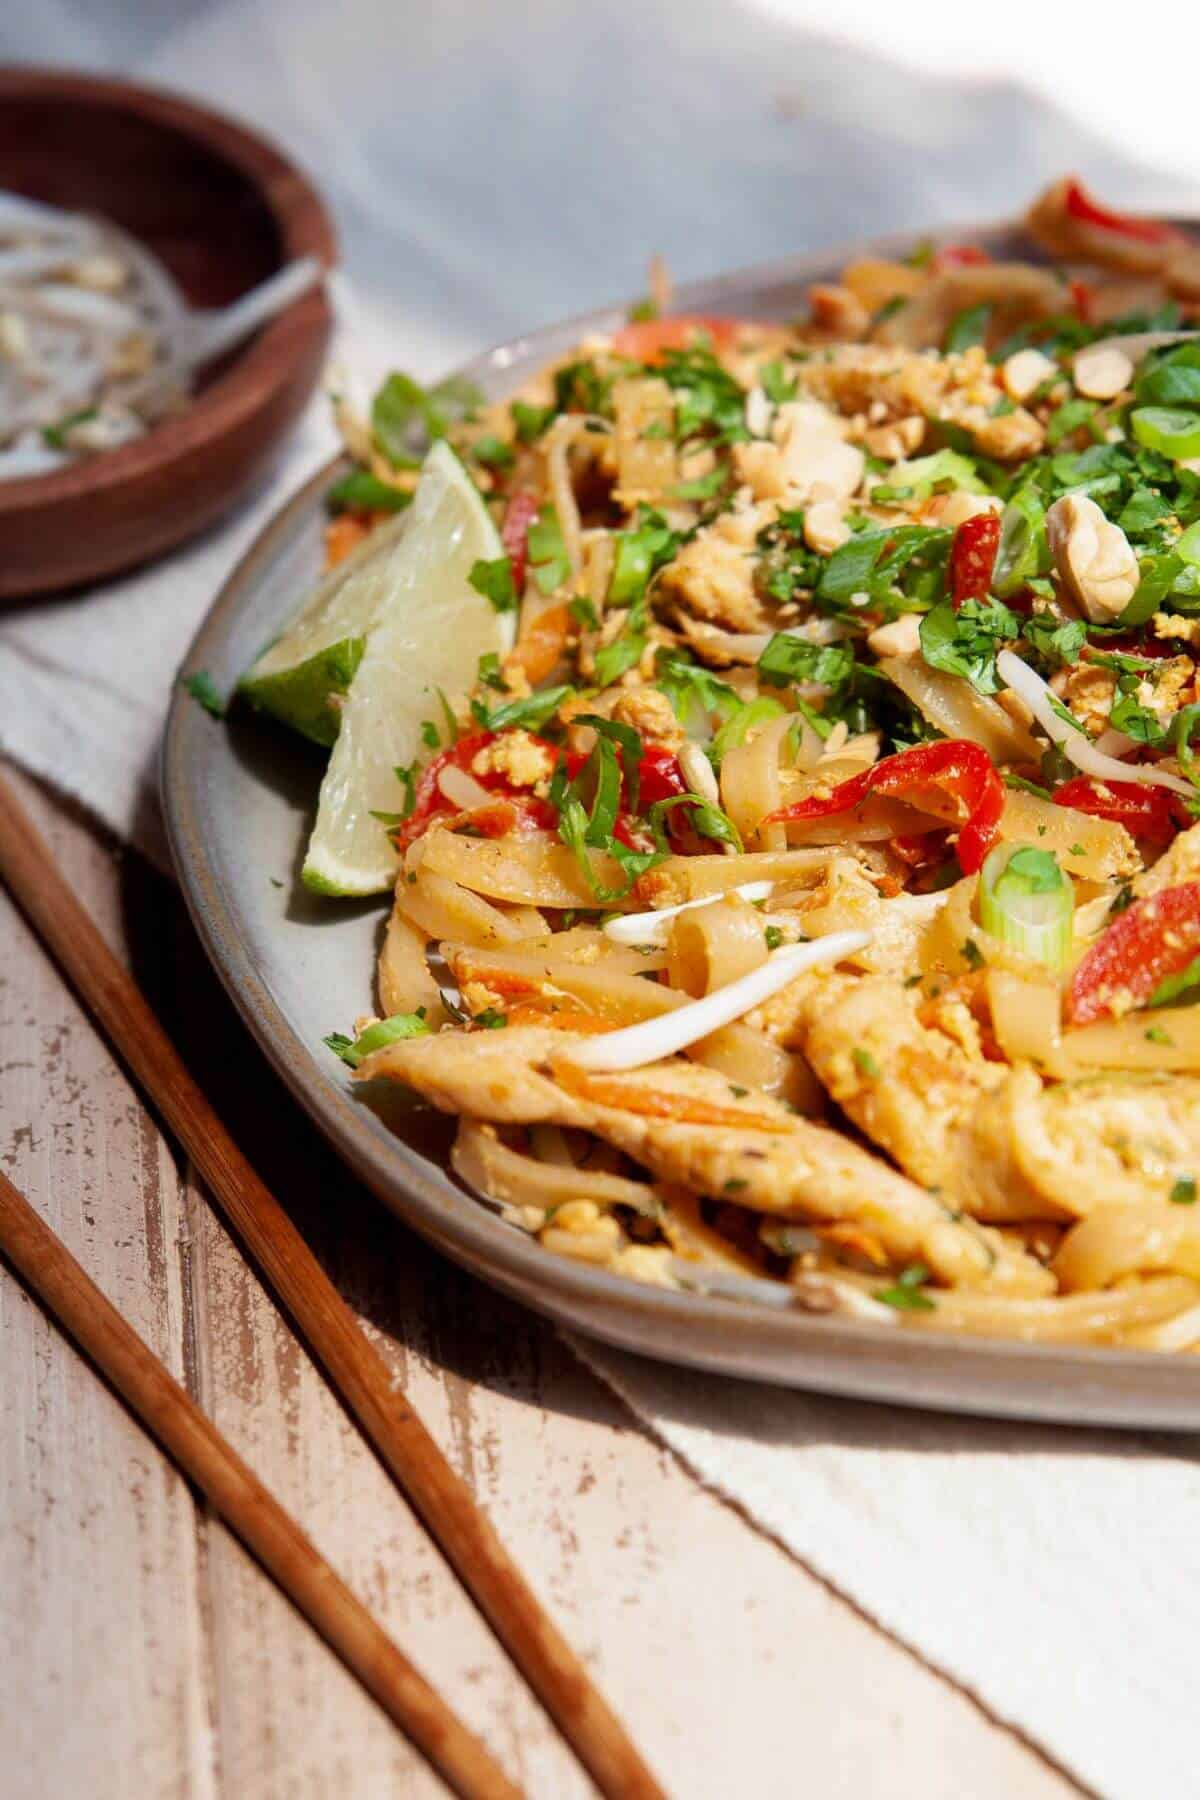
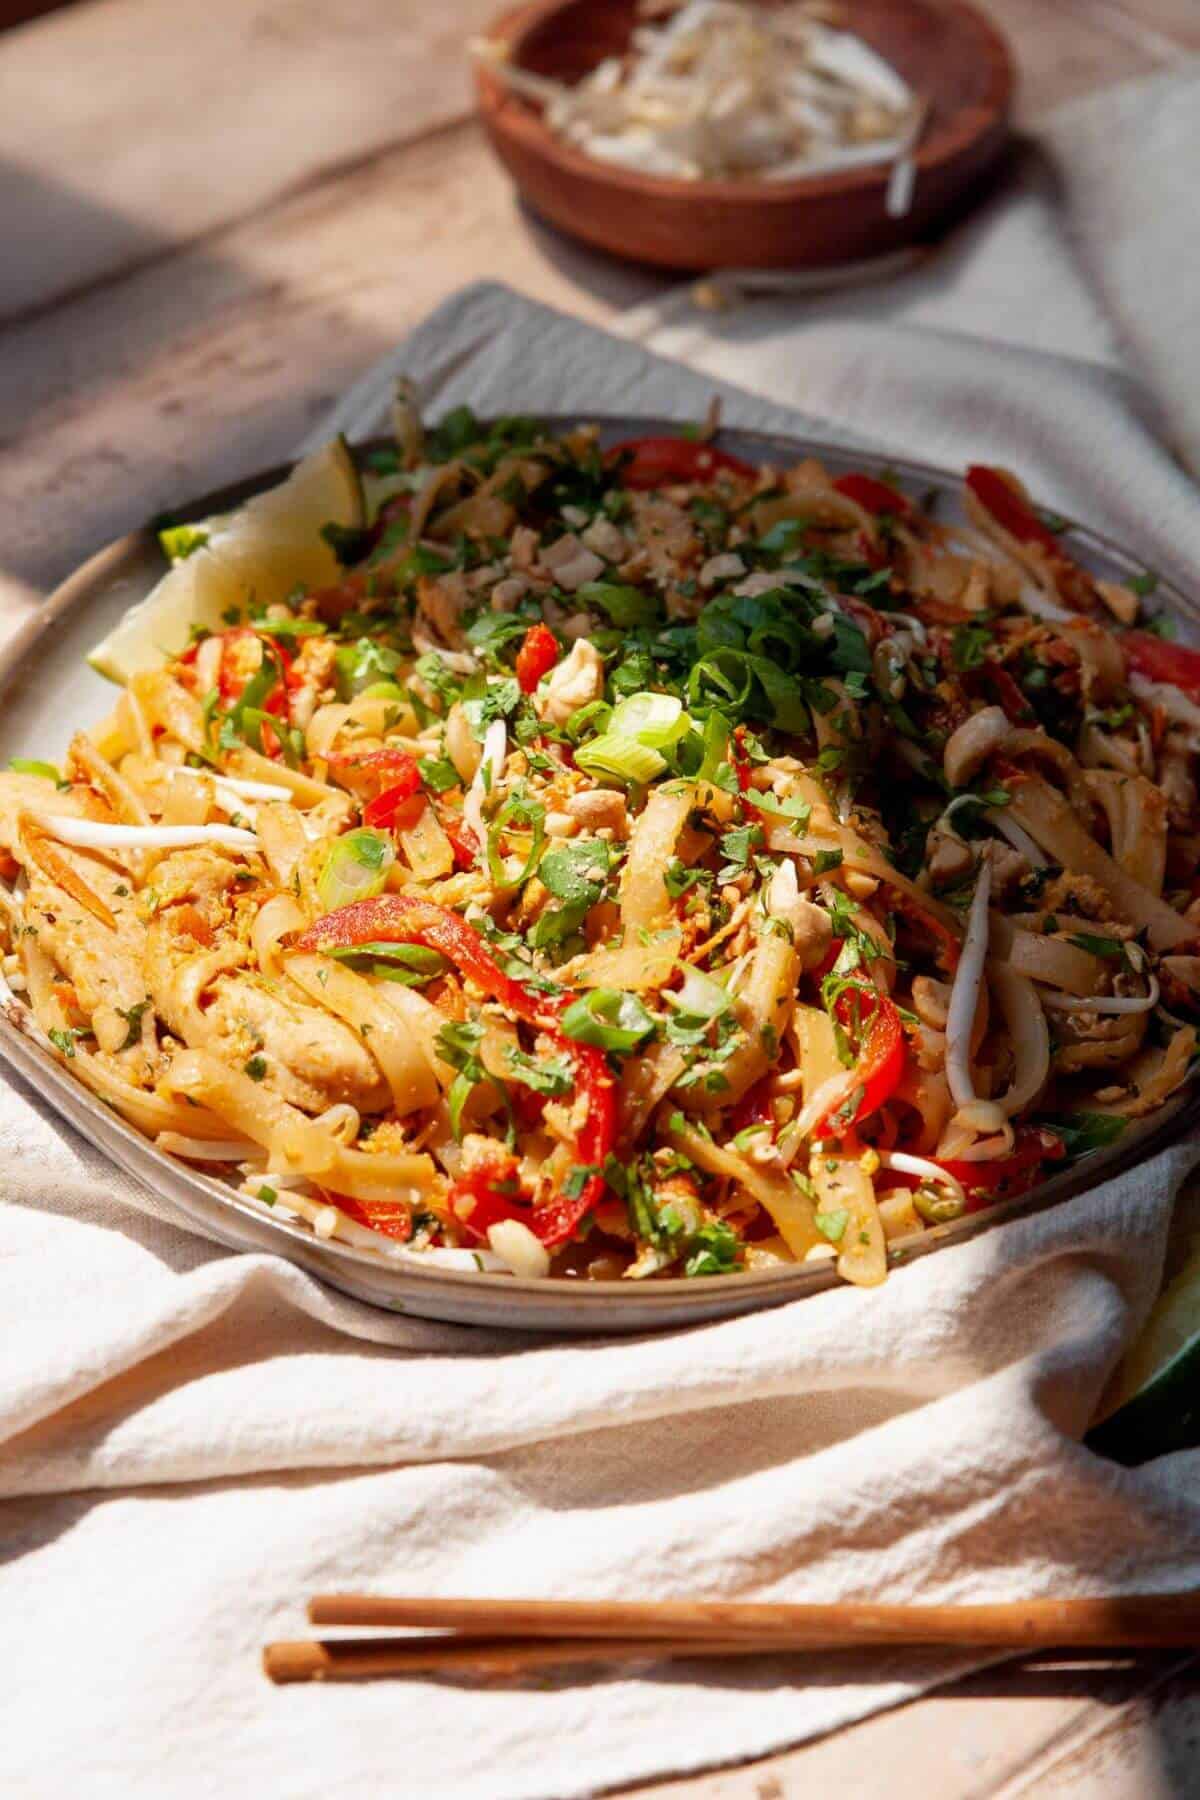
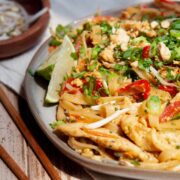
Skip the takeout tonight-this healthy chicken pad Thai is fresher, lighter, and ready in just 25 minutes. Made with chewy rice noodles, juicy chicken, crisp veggies, and a tangy-sweet sauce, it's a better-than-takeout meal made in one pan-the ultimate gluten-free weeknight dinner and meal prep!
A Quick Look At The Recipe
- ✅ Recipe Name: Healthy Chicken Pad Thai (Under 30 Minutes!)
- 🕒 Ready In: 25 minutes
- 👪 Serves: 4 servings
- 🍽 Calories: 470 per serving
- 💪 Protein: 38g per serving
- 🥣 Main Ingredients: Rice noodles, chicken breast, eggs, carrots, bell pepper, scallions, garlic, tamari or soy sauce, fish sauce, lime, cilantro, peanuts
- 📖 Dietary Info: High-protein, gluten-free, no added sugar, meal-prep friendly, one-pan
- ⭐ Why You'll Love It: Quick, high-protein (38g), gluten-free pad Thai that's ready in 25 minutes.
SUMMARIZE & SAVE THIS CONTENT ON
Pad Thai has always been one of my favorite takeout dinners, but the restaurant versions are usually loaded with extra oil, sugar, and random ingredients. This homemade Healthy Chicken Pad Thai skips all of that but keeps the bold, crave-worthy flavors you love-fresh, balanced, and made with simple ingredients you can actually feel good about.
What makes this recipe the best is how balanced and weeknight-friendly it is. You still get chewy rice noodles, crisp veggies, tender chicken, and that glossy, tangy-sweet sauce-but all in one pan and under 30 minutes. Plus, each serving packs in 38g of protein, so it's filling enough to stand on its own. I love pairing it with my Thai Mango Salad or Spicy Cucumber Salad for something fresh on the side, and if you're craving another takeout-inspired favorite, try my Air Fryer Teriyaki Chicken Recipe.
Jump to:
- A Quick Look At The Recipe
- Why You'll Love This Recipe
- Ingredients You'll Need
- Traditional vs. Healthier Pad Thai
- Easy Substitutions & Variations
- Need to substitute an ingredient?
- How to Make Healthy Chicken Pad Thai (Step-by-Step)
- Top Recipe Tips
- What to Serve with Chicken Pad Thai:
- Frequently Asked Questions
- Storage Tips
- More Healthy Asian-Inspired Recipes You'll Love
- 📖 Recipe
- 💬 Comments
⭐️⭐️⭐️⭐️⭐️
This was seriously so so good!! It is absolutely making it into the rotation. Highly recommend!
- Abby
Why You'll Love This Recipe
- Better than takeout: All the bold, crave-worthy pad Thai flavor without the extra oil, sugar, or mystery ingredients.
- Quick & easy: One-pan dinner that's ready in just 25 minutes with easy-to-find ingredients
- High protein: Each serving packs 38g of protein to keep you full and fueled.
- Naturally gluten-free: Made with rice noodles and tamari-no special store runs required.
- No added sugar: Bright, tangy-sweet sauce without ketchup or refined sugar.
- Meal-prep friendly: Stores well for 4 days and reheats perfectly with a splash of water.
Ingredients You'll Need
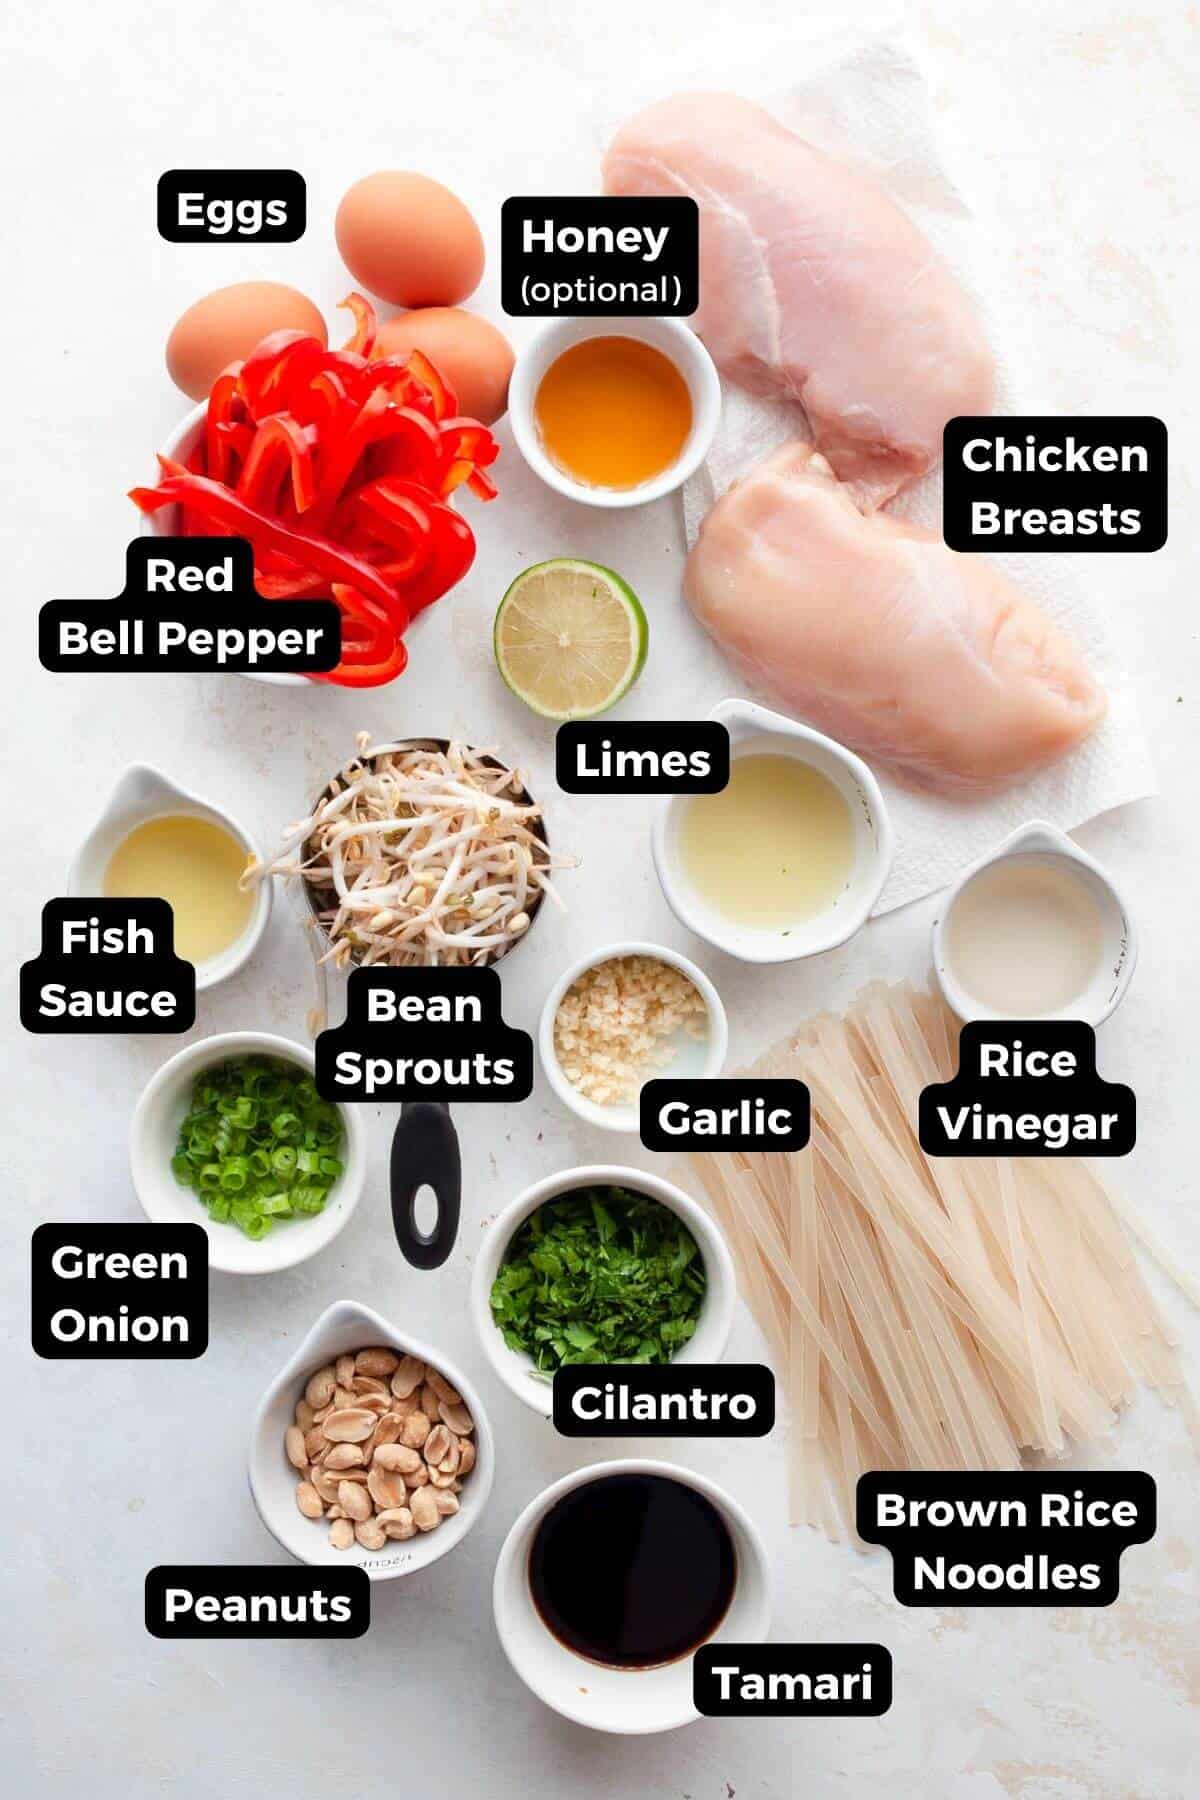
- Rice noodles - The classic base for pad Thai. I recommend medium-width brown rice noodles for the best chewy texture. Cook them slightly under so they finish perfectly in the pan.
- Chicken breast - A lean, high-protein option that keeps the dish light yet filling. Chicken thighs also work well if you prefer more flavor and tenderness.
- Eggs - Scrambled directly into the noodles for that signature pad Thai texture and richness.
- Vegetables - Carrots, bell pepper, and scallions add color, crunch, and balance. Feel free to add snap peas, broccoli, or bean sprouts.
- Pad Thai sauce - A simple, no-fuss blend of tamari (or soy sauce), fish sauce, lime juice, and garlic. It's tangy, savory, and naturally balanced without added sugar or ketchup.
- Toppings - Chopped peanuts for crunch and fresh cilantro to brighten everything up.
Scroll to recipe card for quantities!
Traditional vs. Healthier Pad Thai
Traditional pad Thai: Made with tamarind paste, palm sugar (or brown sugar), more oil, and often a mix of shrimp, chicken, or tofu. It's delicious, but usually higher in sugar, sodium, and calories.
This healthier version: Still has the chewy rice noodles, chicken, eggs, and crisp veggies you love-but with no added sugar, less oil, brown rice noodles for extra fiber, and simple pantry staples. You get the same tangy, savory-sweet flavor, just lighter and more balanced.
Easy Substitutions & Variations
- Protein swaps: Use chicken thighs for extra flavor, and swap in shrimp for a lighter option.
- Make it vegetarian: Go vegetarian with tofu. For a fun twist, try cutting up my Crispy Vegan Tofu Schnitzel and tossing it in.
- Nut-free: Skip the chopped peanuts or swap with roasted sunflower seeds or sesame seeds for crunch.
- Extra veggies: Add broccoli, snap peas, zucchini, or bean sprouts to boost the freshness and crunch.
- Noodle alternatives: For a lower-carb version, try shirataki noodles-note the texture will be different.
- Make it spicy: Add red pepper flakes or a drizzle of sriracha for heat.
- More authentic touch: Stir in a teaspoon of tamarind paste if you want the classic tang of traditional pad Thai.

Need to substitute an ingredient?
Ask AI for suggestions on how to substitute the particular ingredient.
How to Make Healthy Chicken Pad Thai (Step-by-Step)

- Step 1: Trim the chicken breasts and slice them into thin strips.
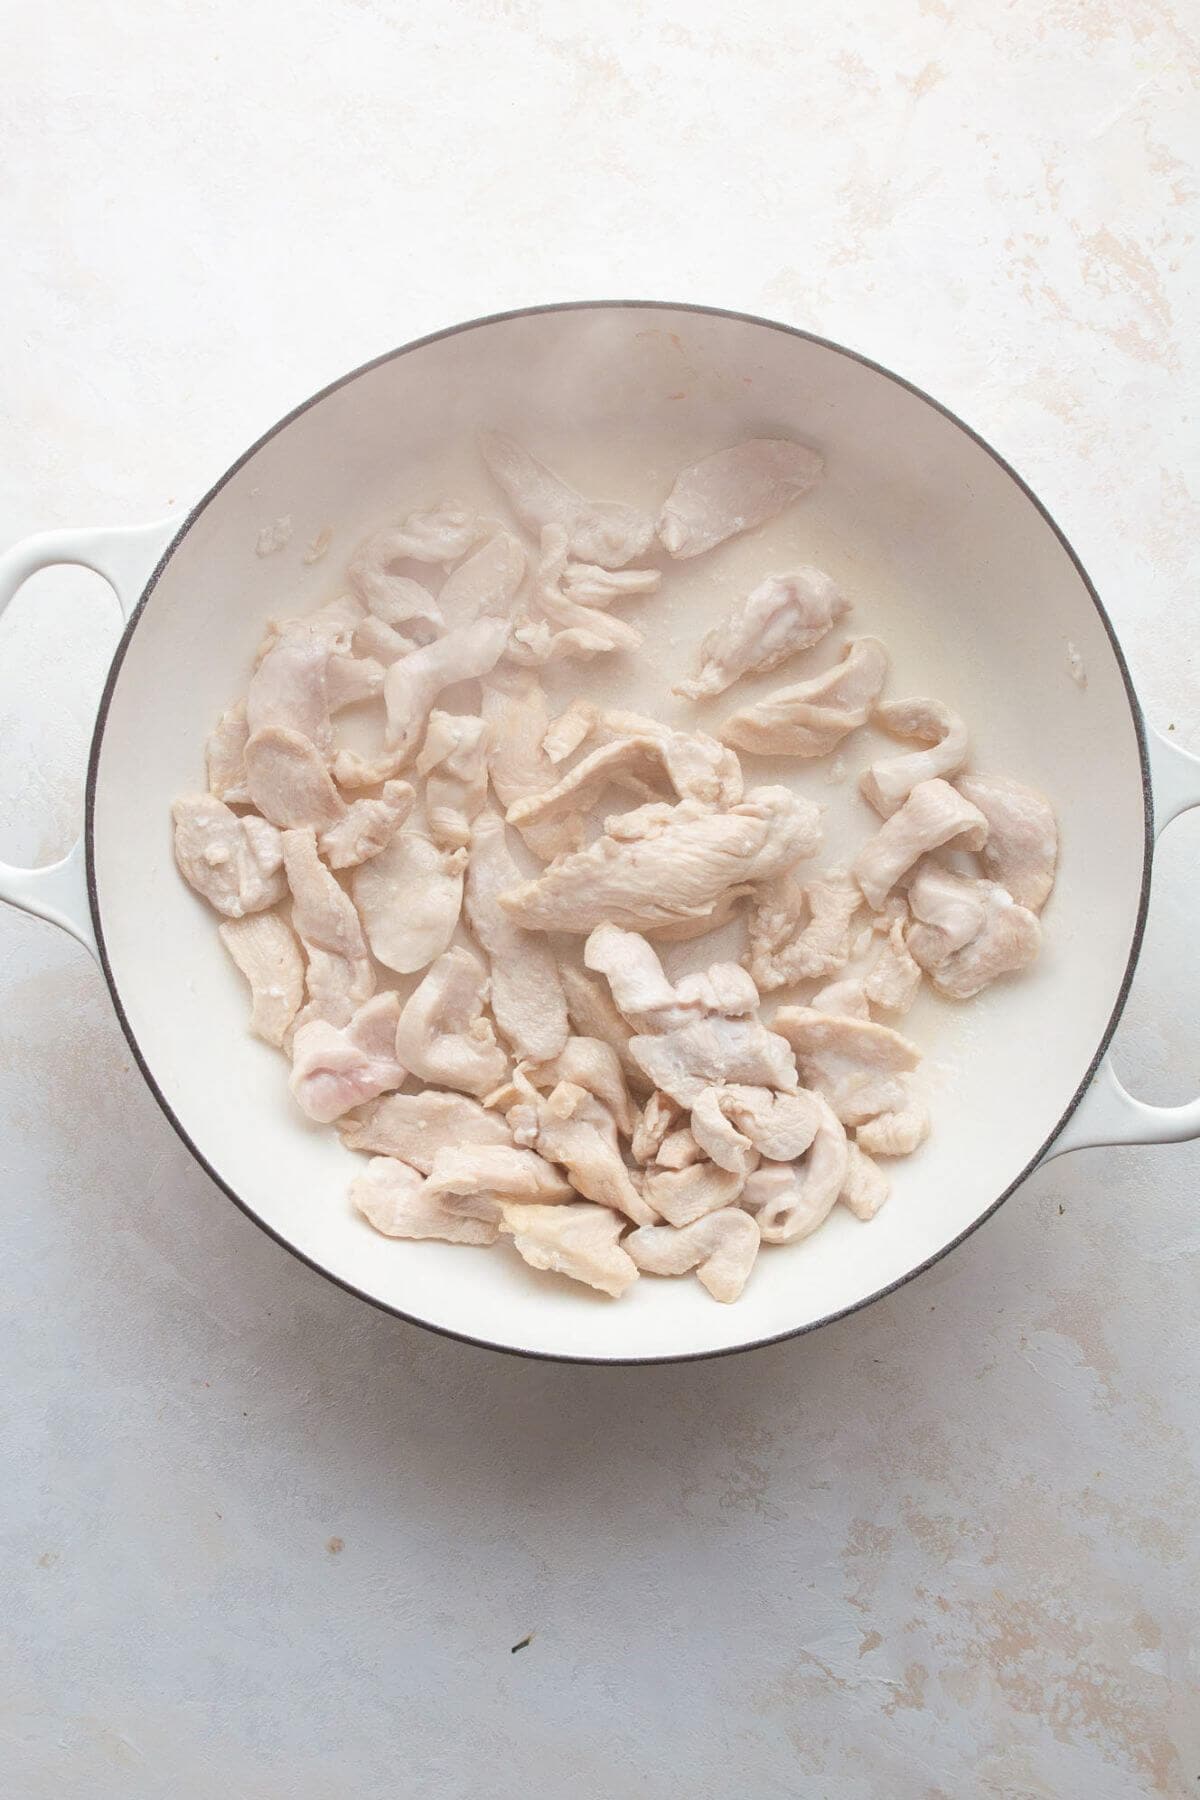
- Step 2: Heat a large sauté pan or wok with a bit of olive oil over medium-high heat. Add the chicken and cook for 3-4 minutes until golden and cooked through. Transfer to a plate, leaving the oil in the pan.
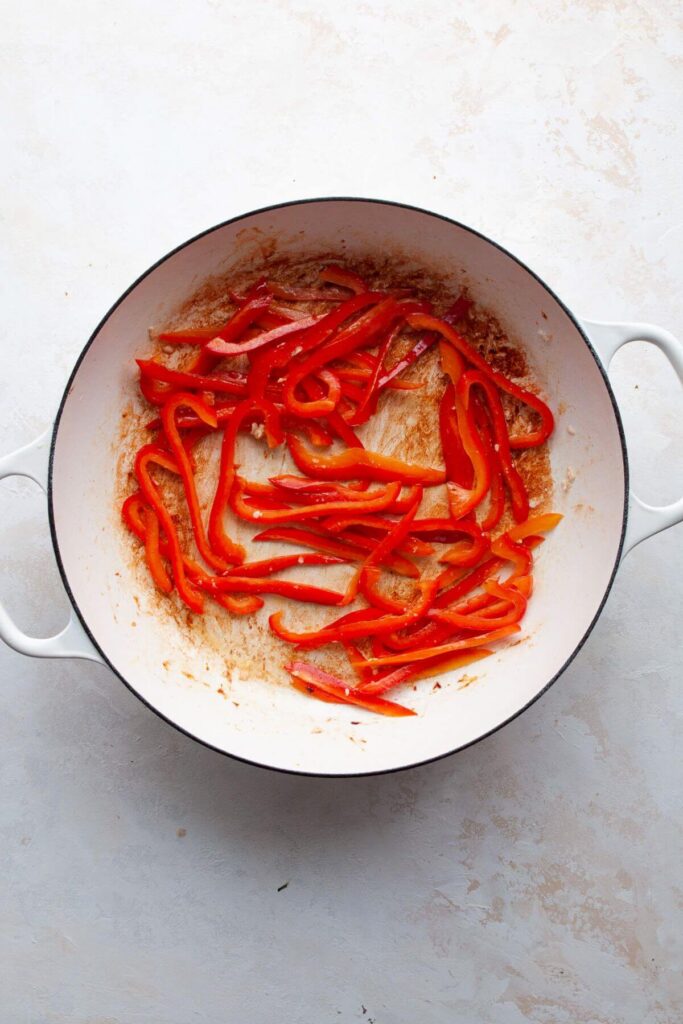
- Step 3: Add the bell peppers and cook for 3-5 minutes until slightly softened.
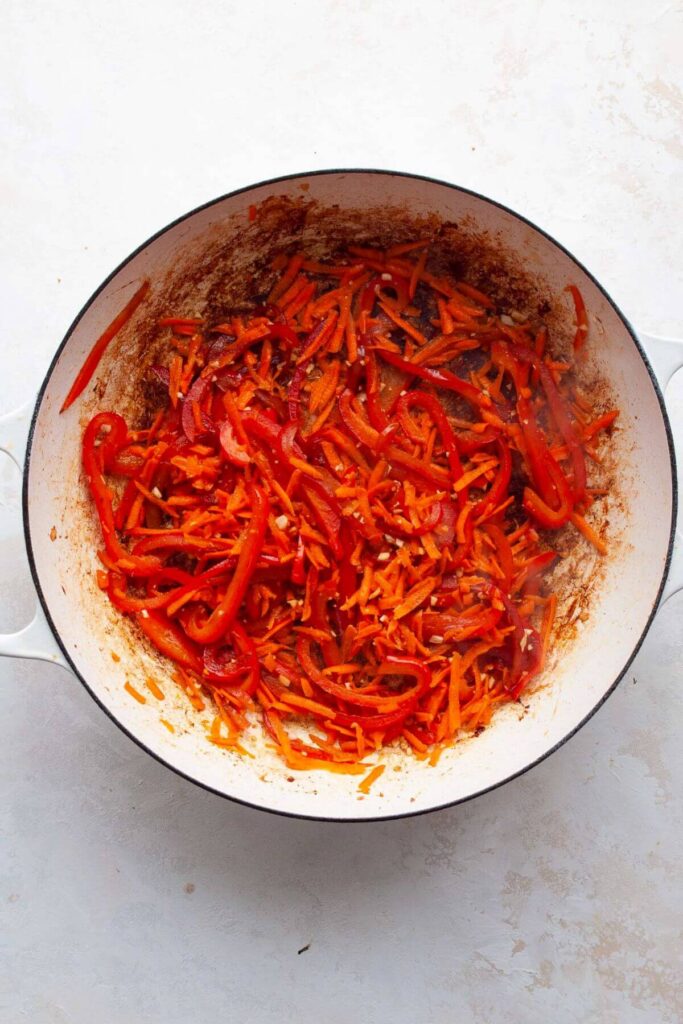
- Step 4: Stir in the minced garlic and grated carrots during the last minute of cooking
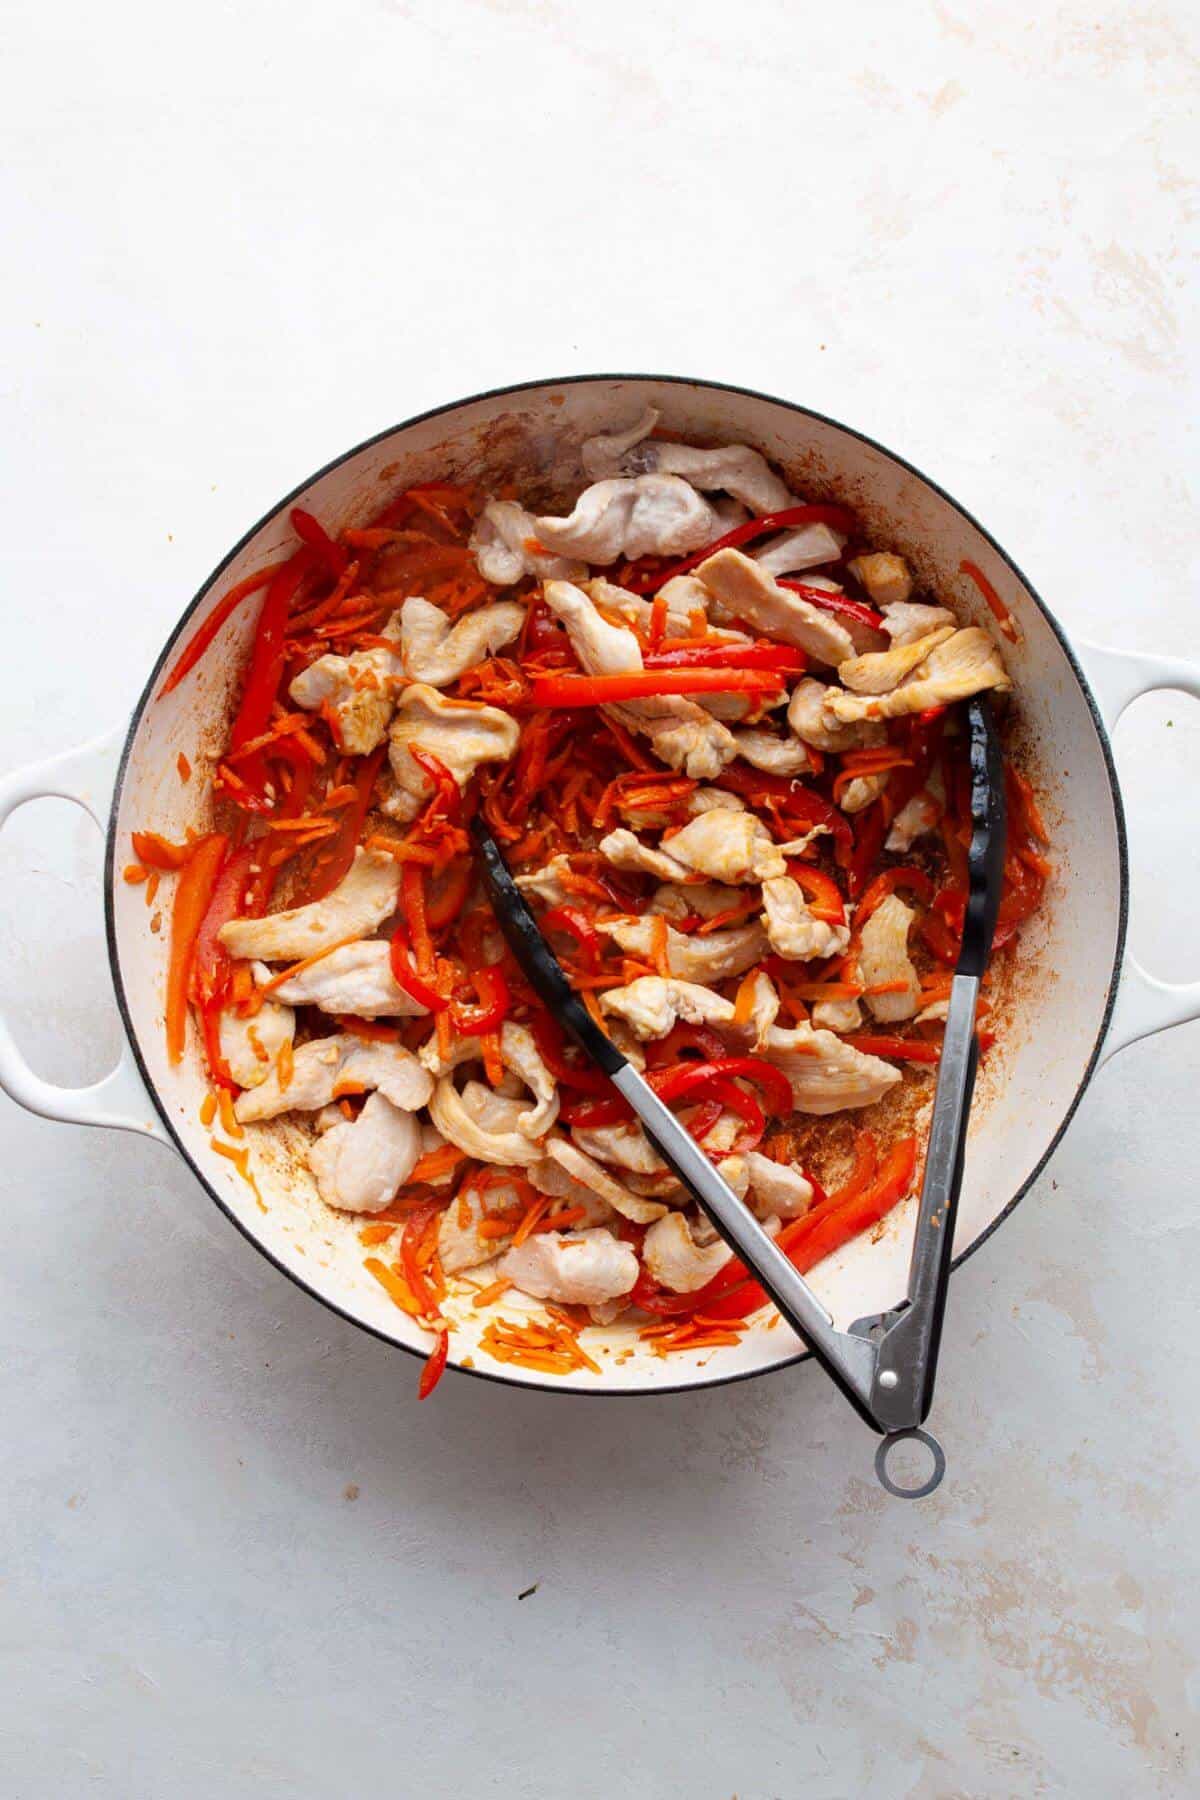
- Step 5: Return the chicken to the pan and mix with the veggies.
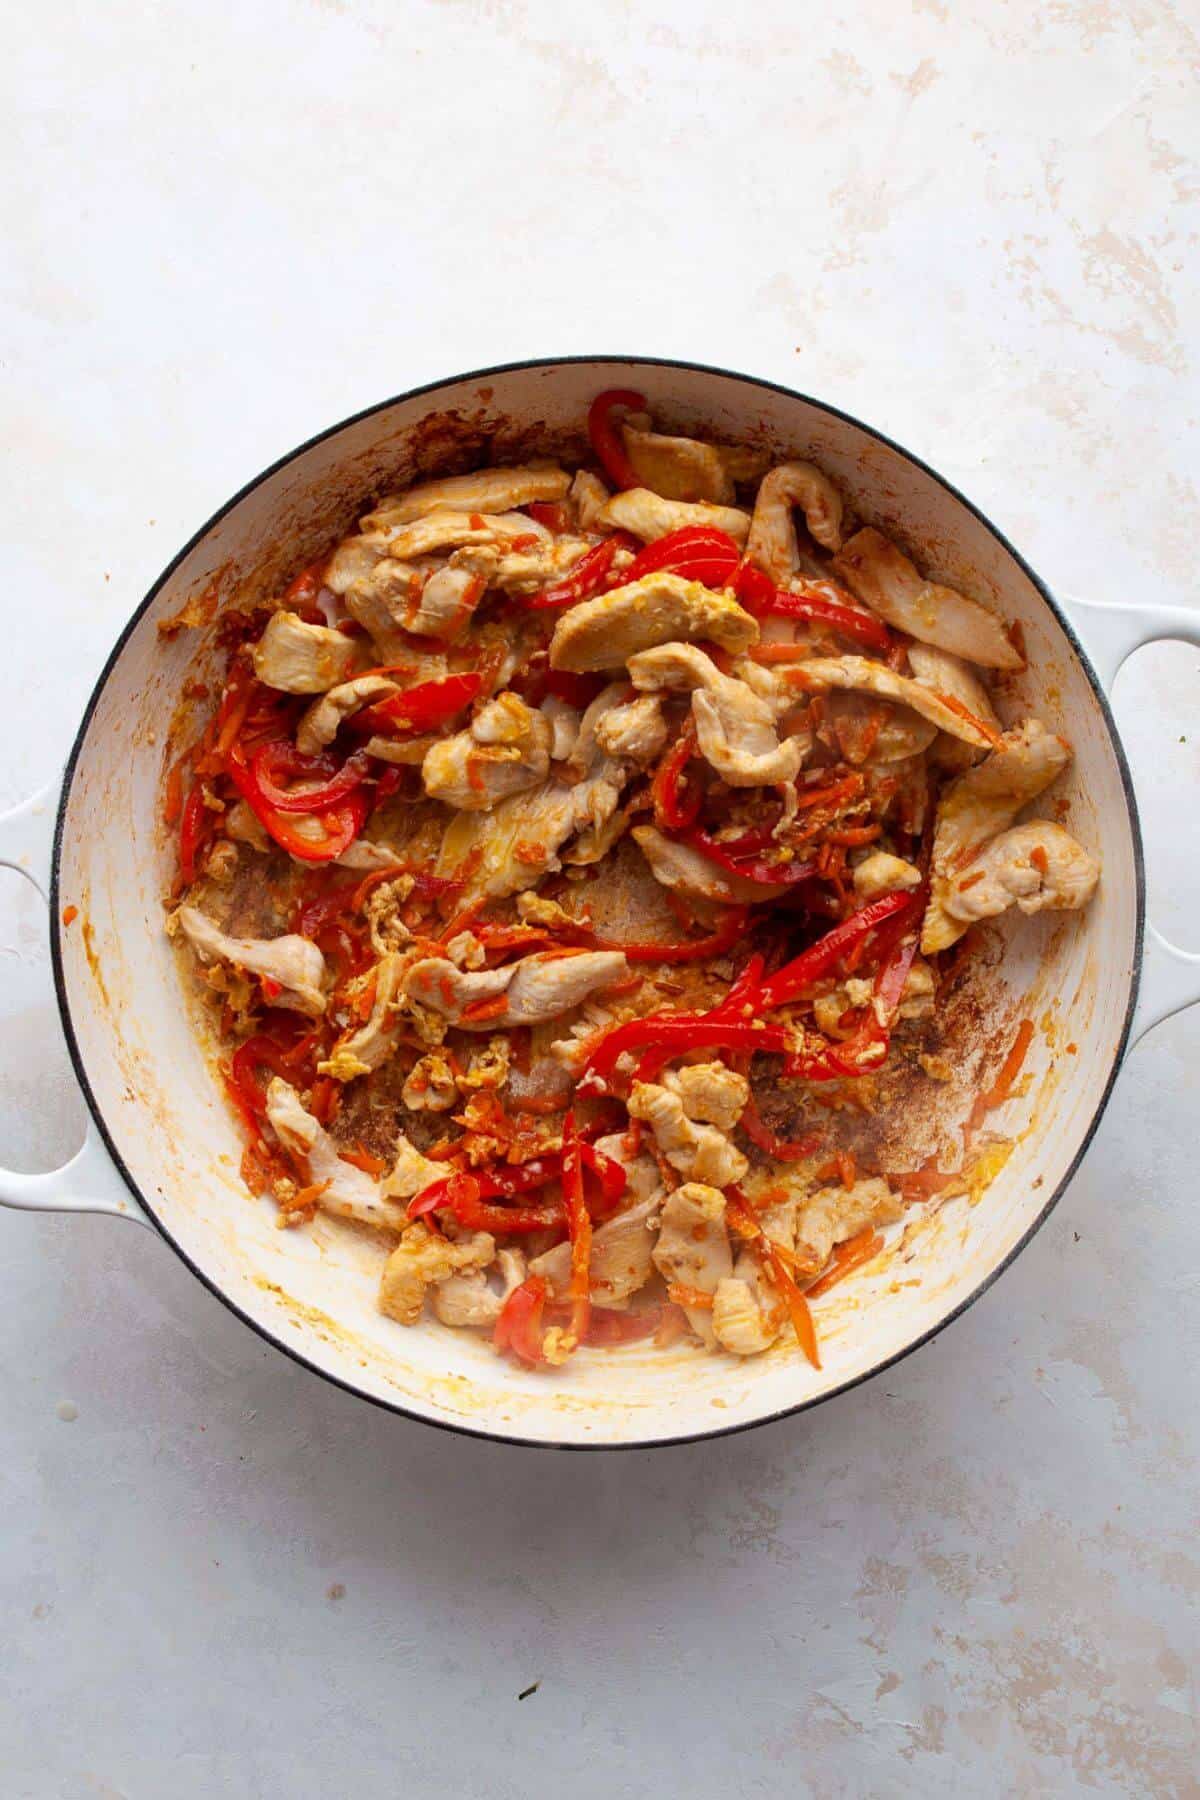
- Step 6: Push everything to one side and crack the eggs into the pan. Scramble with a spatula until just set.
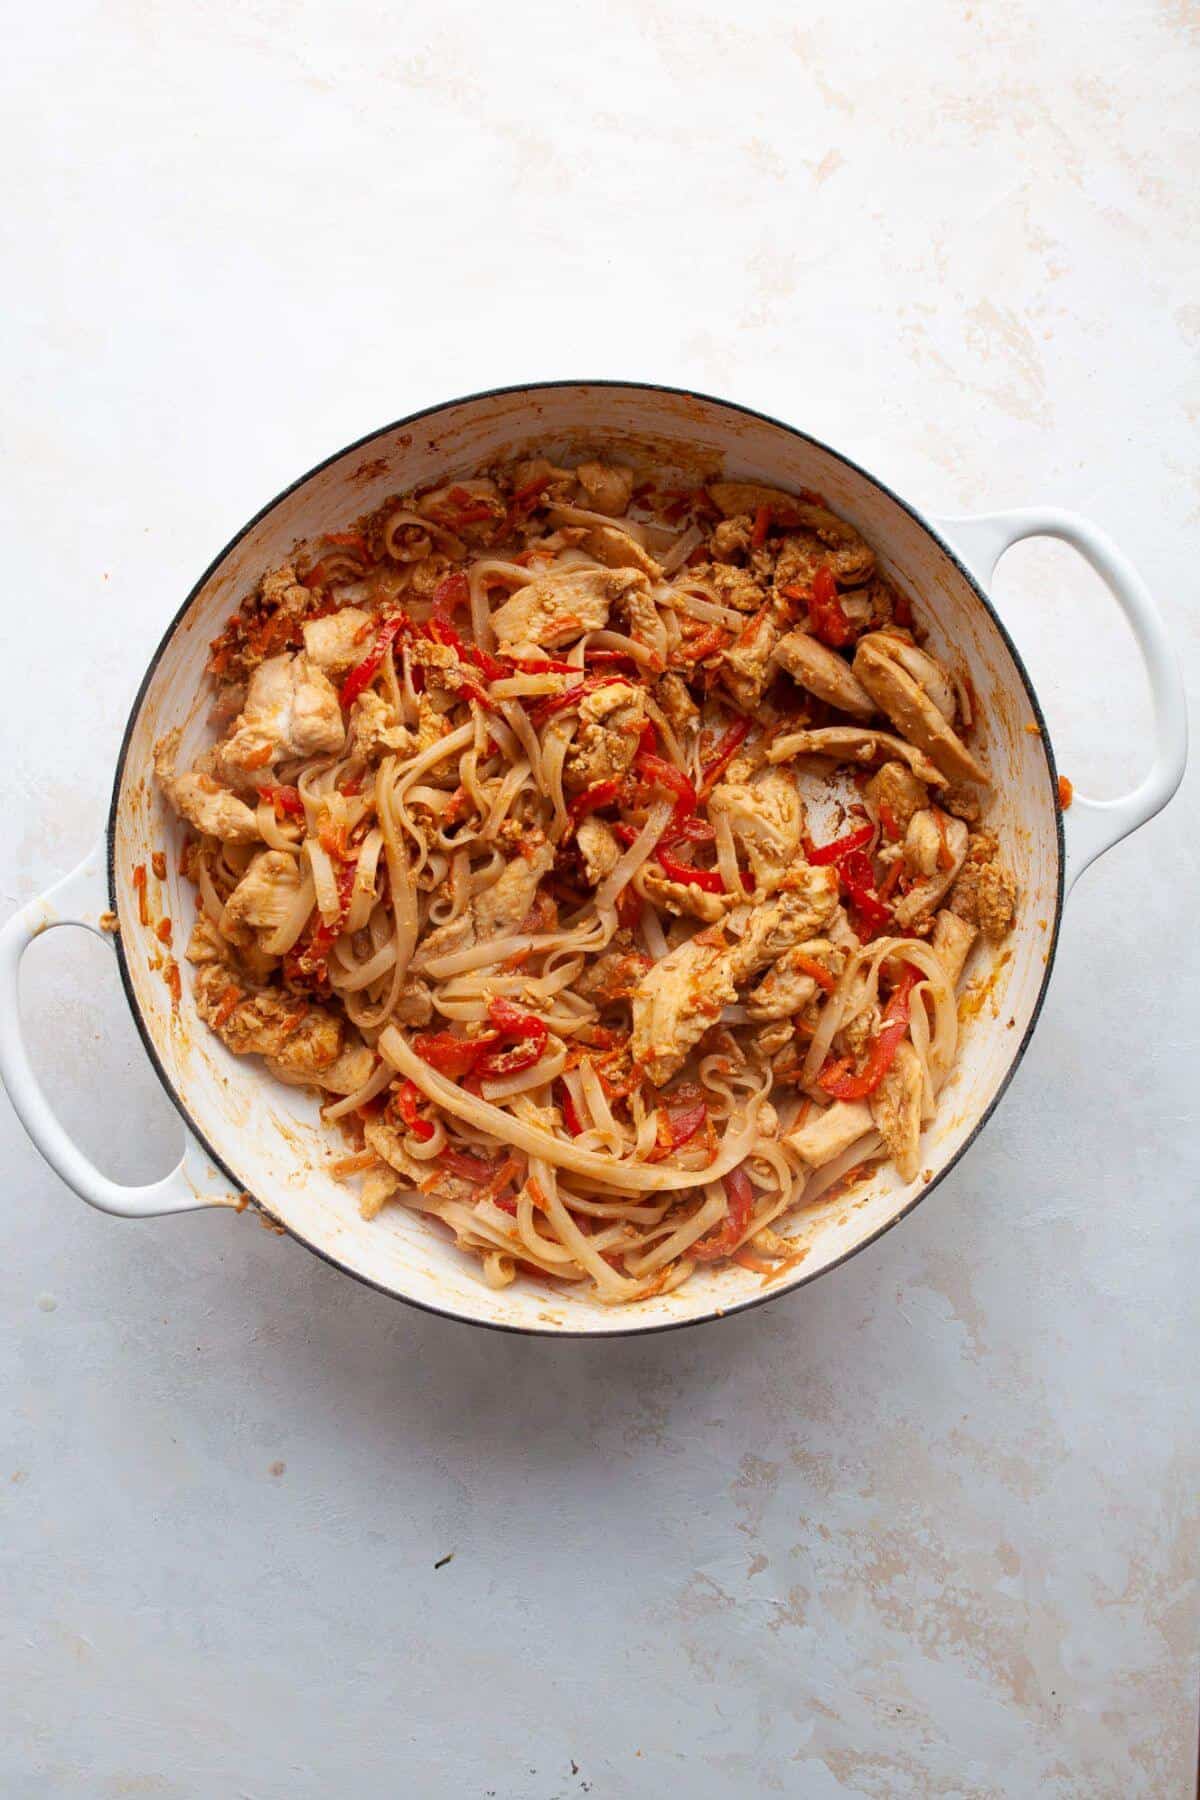
- Step 7: Add the cooked noodles.
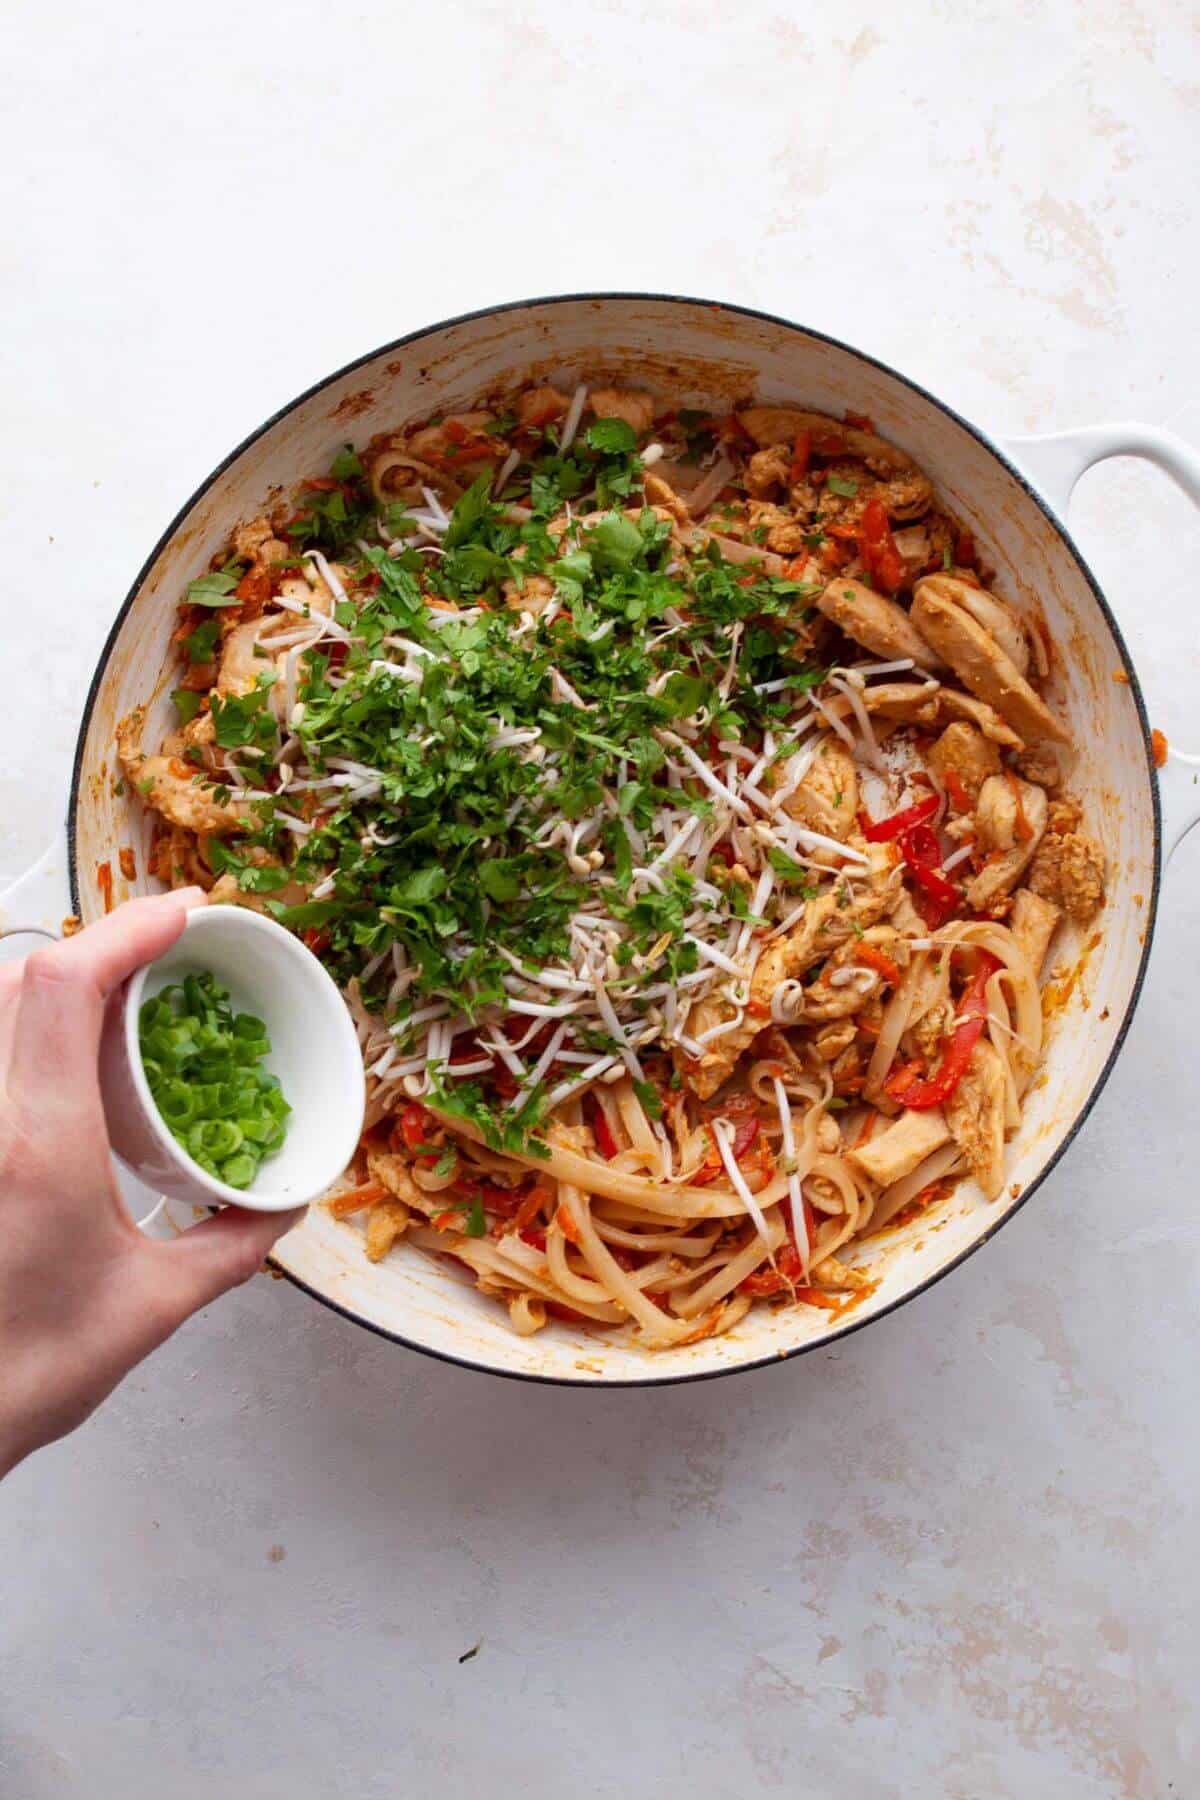
- Step 8: Stir in the bean sprouts, green onion, cilantro, and sauce. Toss everything together until the noodles absorb the sauce and everything is heated through.
Top Recipe Tips
- Undercook the rice noodles: Stop cooking them just shy of al dente since they'll finish in the pan. This keeps them chewy and prevents clumping.
- Rinse in cold water: After draining, rinse the noodles under cold water and toss with a drizzle of olive oil if they're sitting-this is the key to avoiding sticky noodles.
- Prep everything before you start: Pad Thai cooks quickly, so having your sauce whisked and veggies chopped makes it foolproof.
- Use high heat: A hot pan (or wok) gives you that quick stir-fry texture and light char on the veggies.
- Don't skip the toppings: Fresh cilantro and crunchy peanuts make it taste restaurant-worthy. Add an extra squeeze of lime for brightness.
What to Serve with Chicken Pad Thai:
Pad Thai is a complete meal on its own, but a few fresh sides or light add-ons can make it feel extra special:
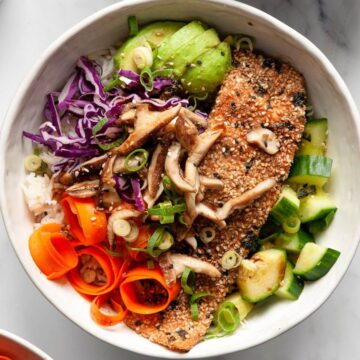
- Fresh salads: My Thai Mango Salad or Spicy Cucumber Salad add a crisp, refreshing balance.
- Extra veggies: Try these air fryer green beans, roasted broccoli, or air fryer baby carrots for more veggies on the table.
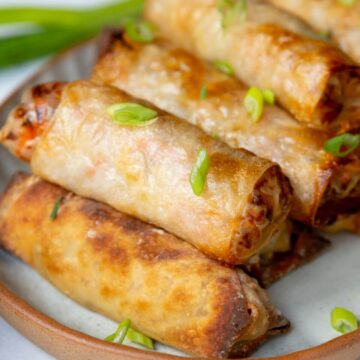
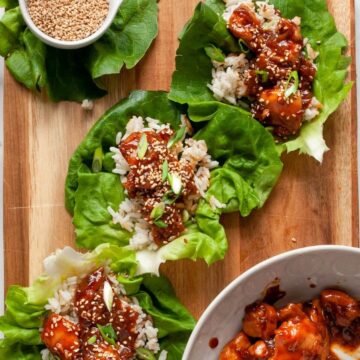
- Appetizers: We love these crispy air fryer spring rolls, lettuce wraps, or miso soup, which pair perfectly with the bold flavors of pad Thai.
- Toppings: Extra lime wedges, chili flakes, or a drizzle of sriracha let everyone customize their bowl.
Frequently Asked Questions
Traditional pad Thai can be heavy with added sugar, oil, and sodium. This healthy chicken pad Thai is made with simple ingredients, no added sugar, lean protein, and fresh veggies, so it's a much lighter option that still tastes like takeout.
Yes! This recipe is naturally gluten-free because it uses rice noodles and tamari instead of regular soy sauce. Just double-check your fish sauce label to be safe.
Restaurant chicken pad Thai can range anywhere from 700-1,000+ calories per serving since it's often made with added sugar, oil, and large portions of noodles. This healthy chicken pad Thai has about 470 calories per serving with 38g of protein, making it a lighter, more balanced option.
Cook the noodles slightly under al dente, rinse them under cold water, and toss with a drizzle of oil if they're sitting before going into the pan. This keeps them chewy and prevents clumping.
No, you don't. Lime juice and fish sauce create the same tangy, savory balance. But if you have tamarind paste, add 1-2 teaspoons for a more traditional flavor.
Storage Tips
- Fridge: Store leftover chicken pad Thai in an airtight container in the fridge for up to 4 days. I recommend using glass storage containers to help keep the noodles fresh!
- Reheating: Warm in a skillet with a splash of water to loosen the noodles, or microwave in 30-second intervals, covered.
- Meal prep tip: This recipe makes great lunches. Divide into individual containers for grab-and-go meals, and pack extra lime wedges or chili flakes on the side for freshness.
- Freezer: I don't recommend freezing pad Thai-the rice noodles lose their chewy texture once thawed.
More Healthy Asian-Inspired Recipes You'll Love
Looking for other recipes like this? Try these:
Did you make this recipe?
If you make this recipe, be sure to comment and rate it down below. Also, don't forget to tag me @healthfulblondie on Instagram and use the hashtag #healthfulblondie so I can see your delicious creation and share it with my followers!
📖 Recipe
Healthy Chicken Pad Thai
Ingredients
Pad Thai:
- 6 ounces brown rice noodles
- 1 - 2 tablespoon olive oil, or avocado oil
- 2 medium chicken breasts, cut skinless and boneless
- 1 large red bell pepper, thinly sliced
- 1 cup freshly grated carrots
- 3 large garlic cloves, minced
- 3 - 4 large eggs
- 1 cup fresh bean sprouts
- 3 stalks green onions (scallions), finely chopped
- ⅓ cup fresh cilantro, chopped
- ¼ cup peanuts, chopped
- 2 - 3 Limes, for serving
For the Sauce:
- ¼ cup tamari, or soy sauce
- 2 tablespoon fish sauce
- 2 tablespoon rice vinegar
- 1 - 2 tablespoon honey, optional for sweetness
- 1 - 2 large lime, juiced
- ½ teaspoon lime zest
Instructions
- Cook noodles: Bring a large pot of water to a boil. Cook rice noodles according to package directions. Drain and rinse under cold water to prevent sticking.
- Make sauce: In a small bowl, whisk together all the sauce ingredients. Set aside.
- Cook chicken: Heat oil in a large sauté pan or wok over medium-high heat. Add chicken and cook 3-4 minutes until golden and cooked through. Transfer to a plate, leaving oil in the pan.
- Cook veggies: Add bell pepper to the pan and cook 3-5 minutes until softened. Stir in garlic and carrots during the last minute. Return chicken to the pan.
- Scramble eggs: Push everything to one side of the pan. Crack eggs into the empty space and scramble until just set. Break into pieces, then mix with the chicken and veggies.
- Combine: Add cooked noodles, bean sprouts, green onions, cilantro, and sauce. Toss until noodles absorb the sauce and everything is heated through.
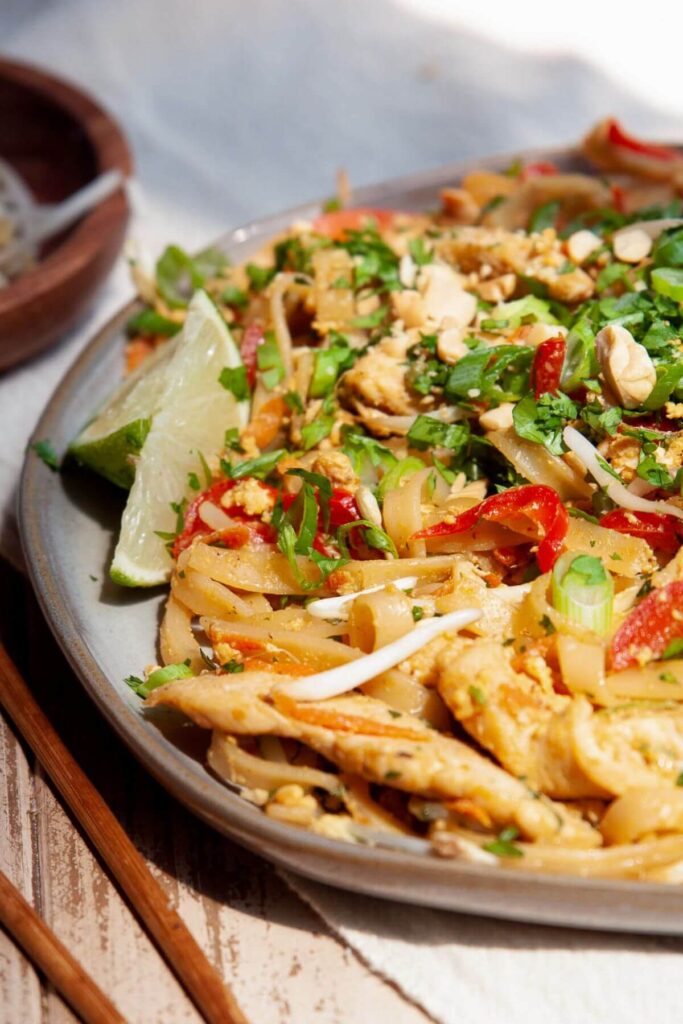
- Serve: Plate and garnish with peanuts, extra cilantro, and lime wedges. Enjoy!


Eve says
Omitting the tamarind paste or alternatives means this dish ends up without much body, and has a really strong acidity profile. Thank you for making this with the best of intentions to make it healthy, but I had to default to my usual recipe because the sauce lacked a certain something. Sadly I do think either tamarind or sugar are necessary, perhaps in varying methods.
Vanessa Clement Jenkins says
I make this recipe probably once a week! So good and easy to make! Sometimes I will add peanut butter to the sauce and it’s delicious!
Abby says
This was seriously so so good!! It is absolutely making it into the rotation. Highly recommend!
Tati Chermayeff says
Hi Abby - I am SOOO happy to hear this. Thank you for leaving a 5-star review. Let me know if you try anything else on my blog 🙂 I seriously love getting reviews.
Tati Chermayeff says
I am making this AGAIN tonight! We love it for meal prep in our house and it just tastes so fresh and cozy. So yum!
emily says
loved this for meal prep was so yummy however i think it needs a little more sauce for flavour but i did forget the lime so it could be just that haha
Kate says
This was BOMB! 100% recommend trying this
Ashely I says
so easy to make and even better than take out!!
Tati Chermayeff says
So happy to hear this!!
Saskia says
best pad thai I have ever eaten before!!
Tati Chermayeff says
Aw thanks !!!