

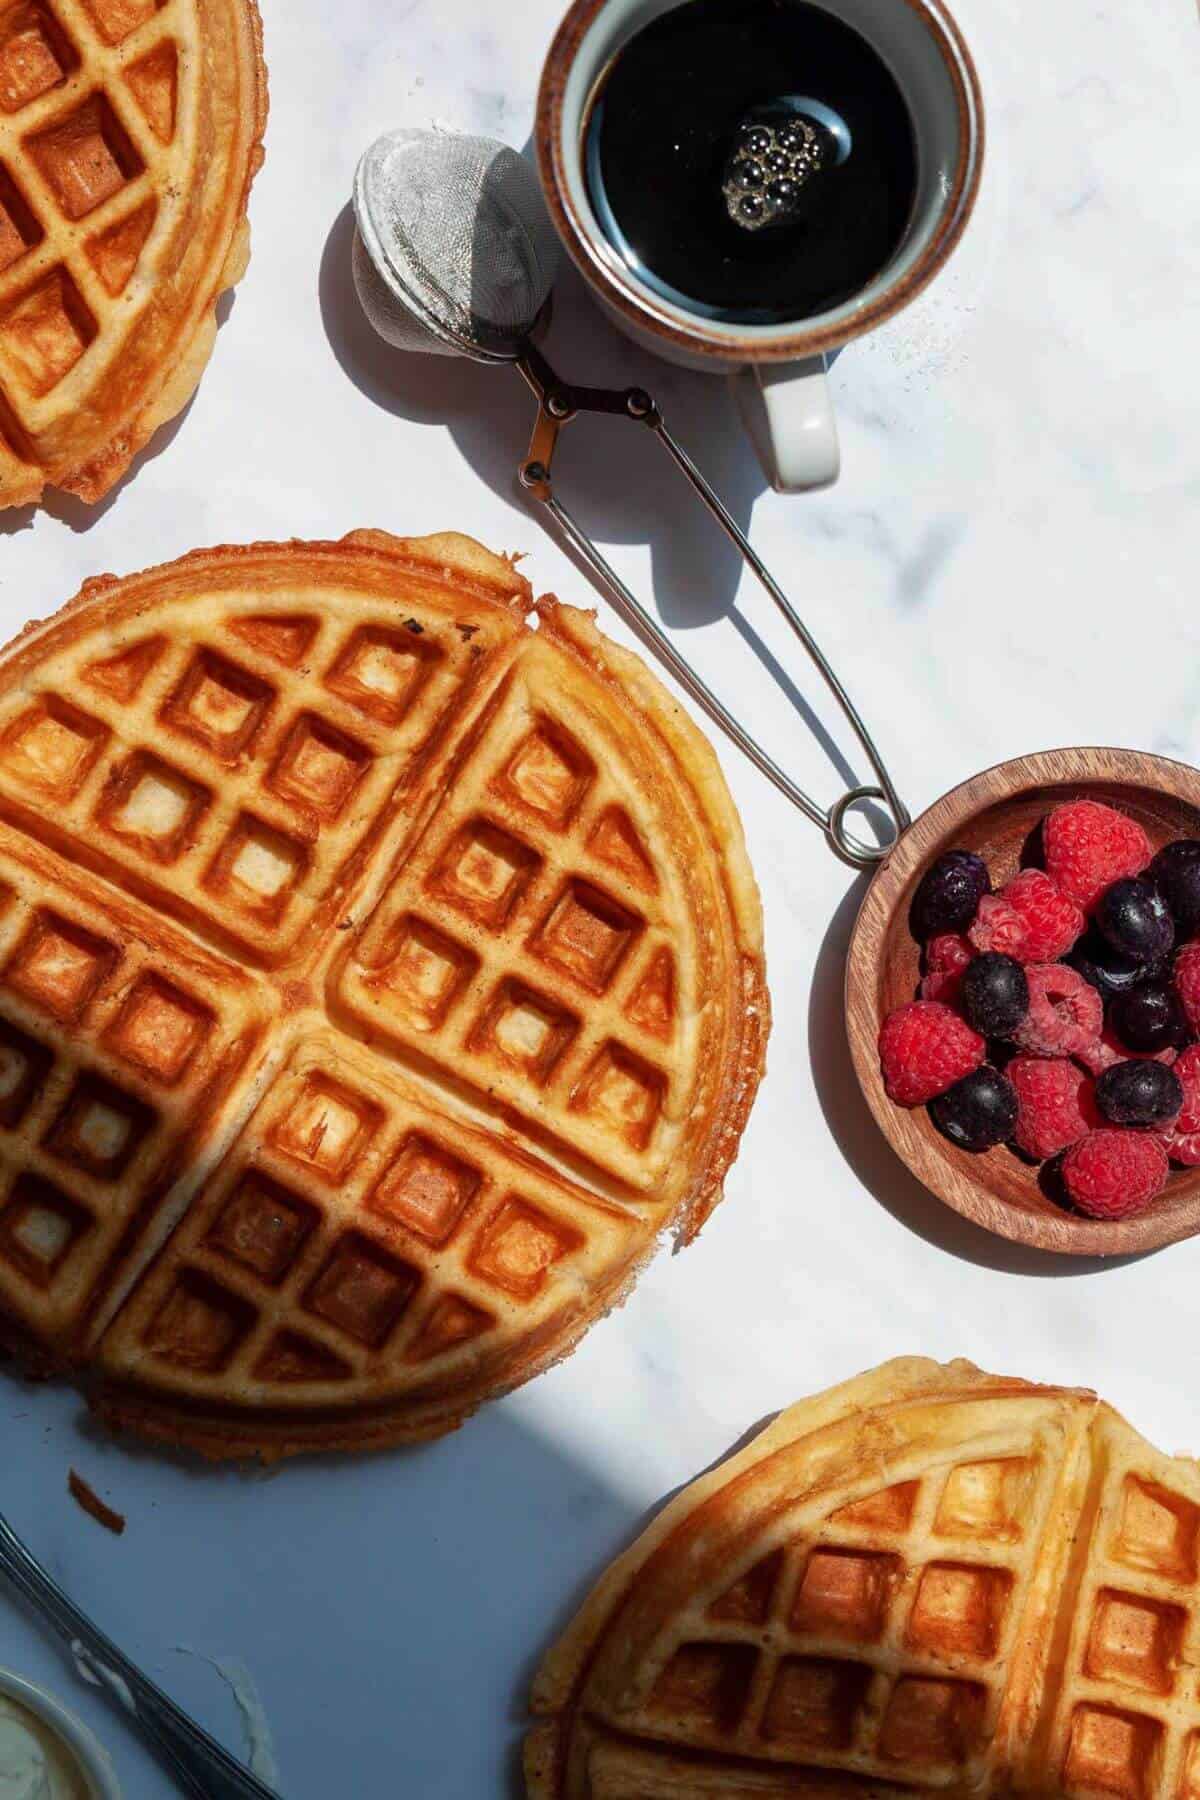
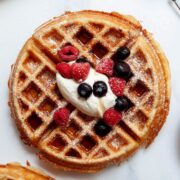
These are the best dairy-free waffles, light and fluffy inside with crispy golden edges. They're made without butter and work with any plant milk (oat, almond, or your favorite). Top with fresh fruit and maple syrup for an easy breakfast or brunch. They freeze well, too.

Dairy-Free Waffles At A Glance
- ✅ Recipe Name: Best Dairy-Free Waffles (Light & Fluffy)
- 🕒 Ready In: ~15 minutes
- 👪 Serves: 6
- 🍽 Calories: ~294 per serving
- 🥣 Main Ingredients: All-purpose flour, baking powder, sugar, eggs, oat or almond milk, melted vegan butter or coconut oil, vanilla
- 📖 Dietary Info: Dairy-free (gluten-free with a 1:1 GF flour blend)
- ⭐ Why You'll Love It: These dairy-free waffles taste just like classic buttermilk waffles, crispy on the edges and light and fluffy inside. They're ready in about 20 minutes, freezer-friendly for meal prep, and work with whatever plant milk you have.
SUMMARIZE & SAVE THIS CONTENT ON
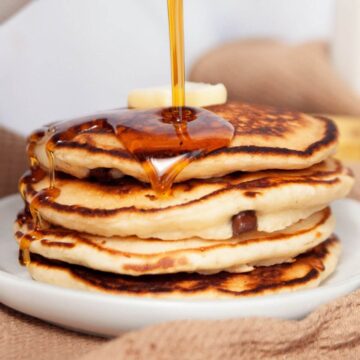
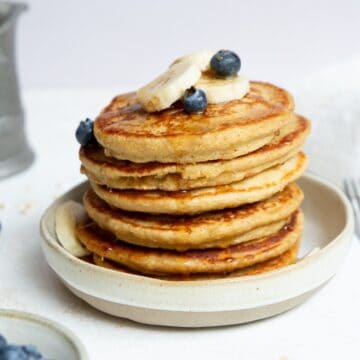
I've made these dairy-free waffles more times than I can count, and they come out fluffy with crispy golden edges every time. It's impossible to tell they're dairy-free. The detail that makes them work: don't overmix the batter. A few lumps are exactly what you want. Overmix and they turn dense and tough. If you're dairy-free, you'll also love these oat milk pancakes and protein mug cake.
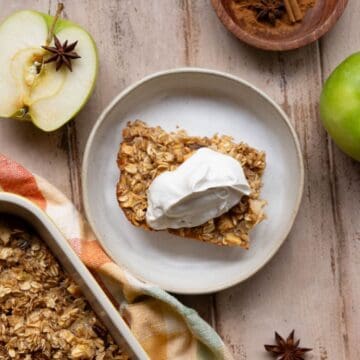
They're ready in under 20 minutes, and you can top them with anything. I go for fresh berries, air fryer apples, dairy-free whipped topping, and maple syrup. I pile mine high with fruit and extra protein on long-run mornings.
This is my go-to because leftovers freeze for up to 3 months and reheat crisp in the air fryer, toaster, oven, or microwave. I batch a double recipe most weekends. I can't wait to hear how yours turn out. This is the waffle recipe my family asks for on repeat.
Jump to:
- Dairy-Free Waffles At A Glance
- Why These Dairy-Free Waffles Work
- Ingredients You'll Need
- Best Dairy-Free Milk for Waffles: Oat vs Almond
- Ingredient Substitutions & Variations
- How to Make Dairy-Free Waffles (Step-by-Step)
- Video Tutorial (Step-by-Step)
- My Tips for Crispy, Fluffy Waffles Every Time
- Toppings and What to Serve With Them
- How to Store, Freeze, and Make Ahead
- Dairy-Free Waffles FAQs
- More Waffle and Pancake Recipes You'll Love
- 📖 Recipe
- 💬 Comments
Why These Dairy-Free Waffles Work
- They taste like classic buttermilk waffles. The flavor comes from vanilla and vegan butter, so nobody can tell they're dairy-free.
- Crispy edges, fluffy middles. A full tablespoon of baking powder looks like a lot, but it's what gives them that lift and soft center.
- Don't overmix. This is the one that trips people up. A few lumps in the batter are good. Overmix, and the waffles turn tough.
- Any plant milk works. I usually reach for oat milk, but almond milk makes them just as crisp. Use whatever you have.
- Ready in under 20 minutes with everyday ingredients, no special shopping trip.
- Freezer-friendly. They reheat crisp straight from frozen, so I batch a double recipe most weekends.
⭐️⭐️⭐️⭐️⭐️
I've made these the last few weekends, and they're great! Love the super-simple ingredients, and I just do it all in one large glass bowl, so fewer dishes, too. Love it, thank you!
- Michelle
Ingredients You'll Need
Just eight simple ingredients, most of which you probably already have. Here's what each one does and how to swap it:
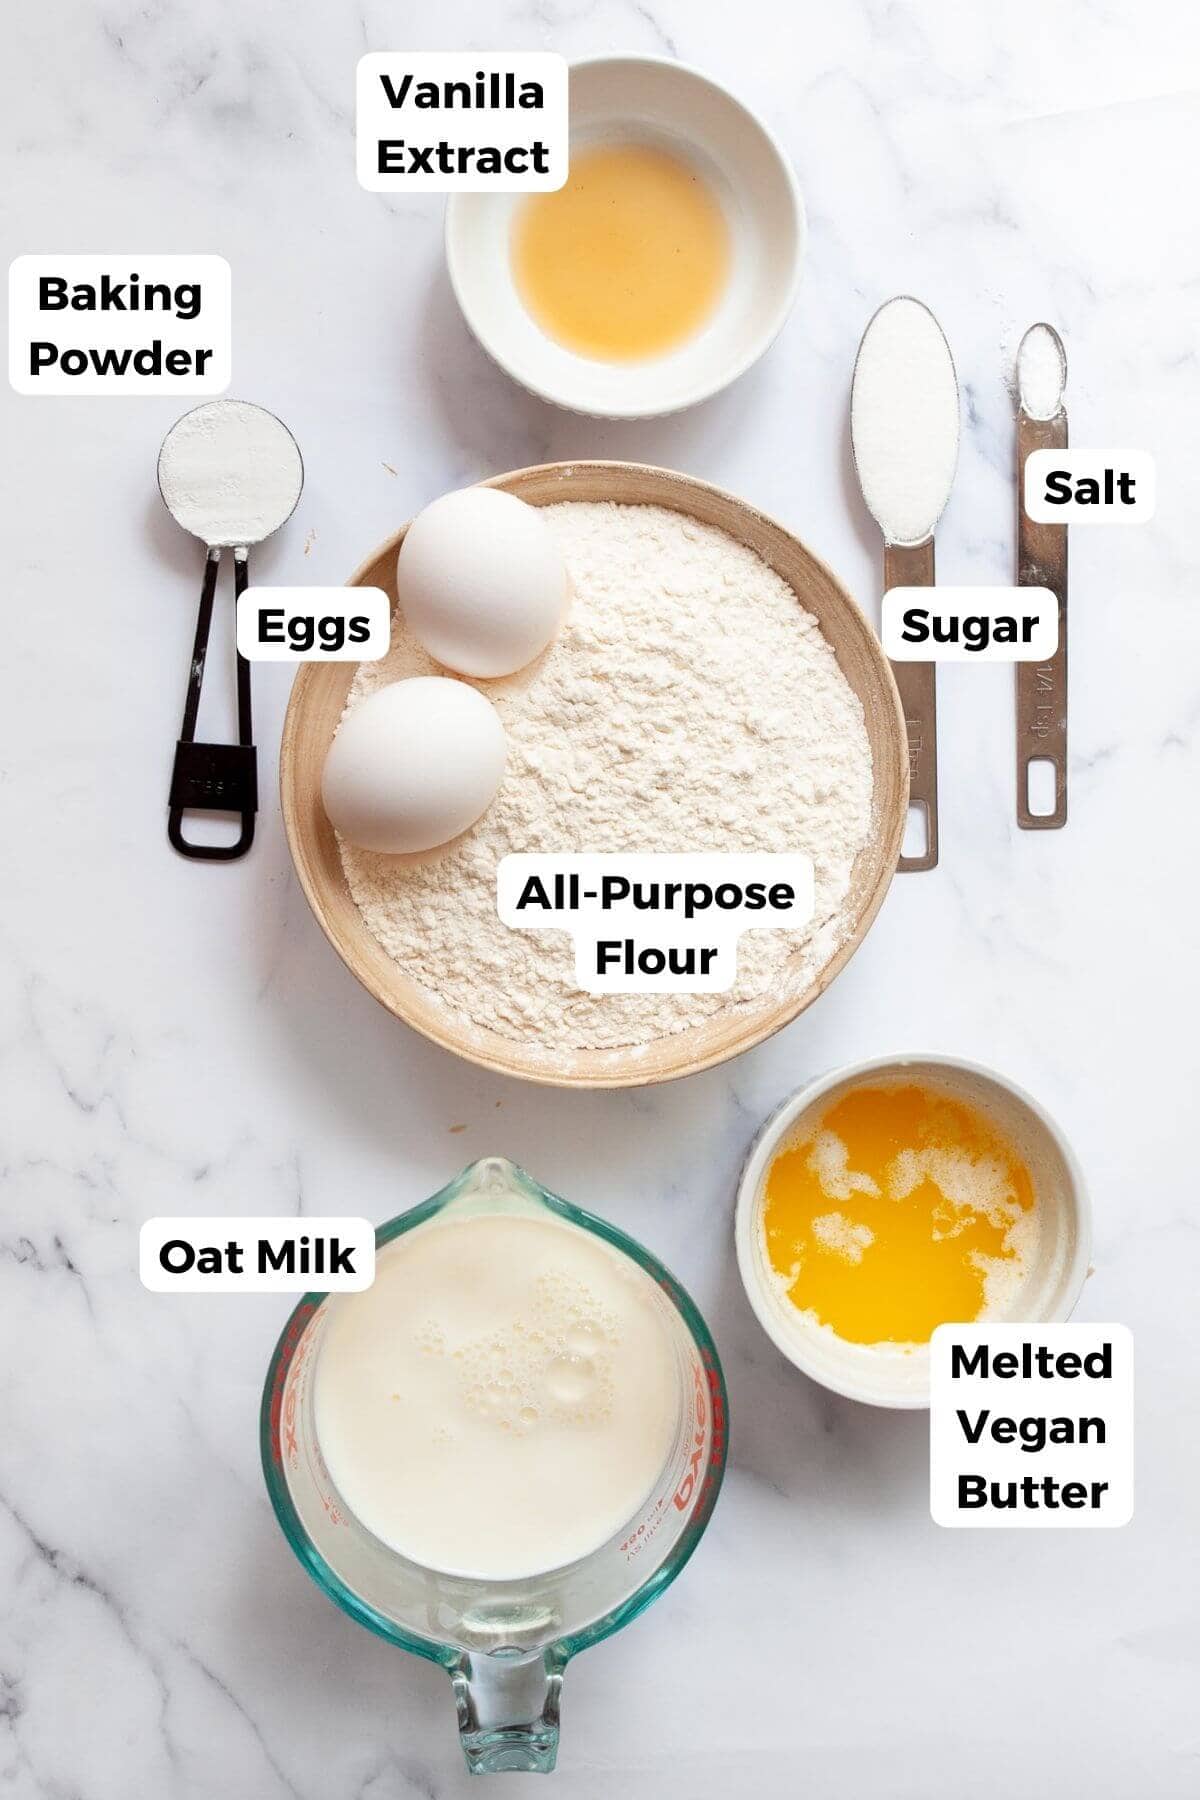
- All-purpose flour: The base. Cake or pastry flour works too. For gluten-free, use a 1:1 GF baking blend, not almond, coconut, or oat flour, which won't give you the same structure.
- Baking powder: A full tablespoon, and yes, that's correct. It's what makes these rise tall with a fluffy center. Check that yours is fresh, because old baking powder gives you flat, dense waffles.
- Sugar: Just a tablespoon. They're not meant to be sweet, since the toppings do that. Coconut or light brown sugar both work.
- Eggs: Two, to bind the batter and help the waffles rise.
- Oat or almond milk: Either works. Oat is my go-to for its richness, but almond keeps the edges just as crisp. Unsweetened plain or vanilla are both fine.
- Vegan butter or coconut oil: This is where the buttery flavor comes from. Earth Balance and Miyoko's are my favorite dairy-free butters. Skip margarine-style spreads like "I Can't Believe It's Not Butter," they make the waffles taste off.
- Vanilla extract: A little goes a long way on flavor.
- Salt: Balances everything out.
Scroll to recipe card for quantities!
Best Dairy-Free Milk for Waffles: Oat vs Almond
Oat milk is the best dairy-free milk for waffles because it's the closest match to cow's milk in richness, giving waffles the most classic flavor and texture.
Almond milk is a close second. It makes slightly lighter waffles with edges that still crisp up beautifully. Use unsweetened plain or vanilla for either.
Soy and cashew milk work too. The one I'd skip is full-fat canned coconut milk, which is too thick and weighs the batter down.
Ingredient Substitutions & Variations
- Flour: Cake or pastry flour works in place of all-purpose. For whole grain, white whole wheat or whole wheat works too, though they'll change the flavor slightly.
- Make them gluten-free: Use a 1:1 gluten-free baking blend. Skip almond, coconut, and oat flour; they won't give you the same structure. Try my protein almond flour waffles if you want to use almond flour.
- Milk: Any plant milk works. Oat is my favorite, but almond, soy, and cashew all do the job.
- Sugar: Coconut sugar or light brown sugar works for a less refined option.
- Add chocolate chips: Fold a handful of dairy-free chocolate chips into the batter right before cooking. Don't overmix.
- Add blueberries: Stir fresh or frozen blueberries into the batter. If using frozen, don't thaw them, or they'll bleed into the batter.
How to Make Dairy-Free Waffles (Step-by-Step)
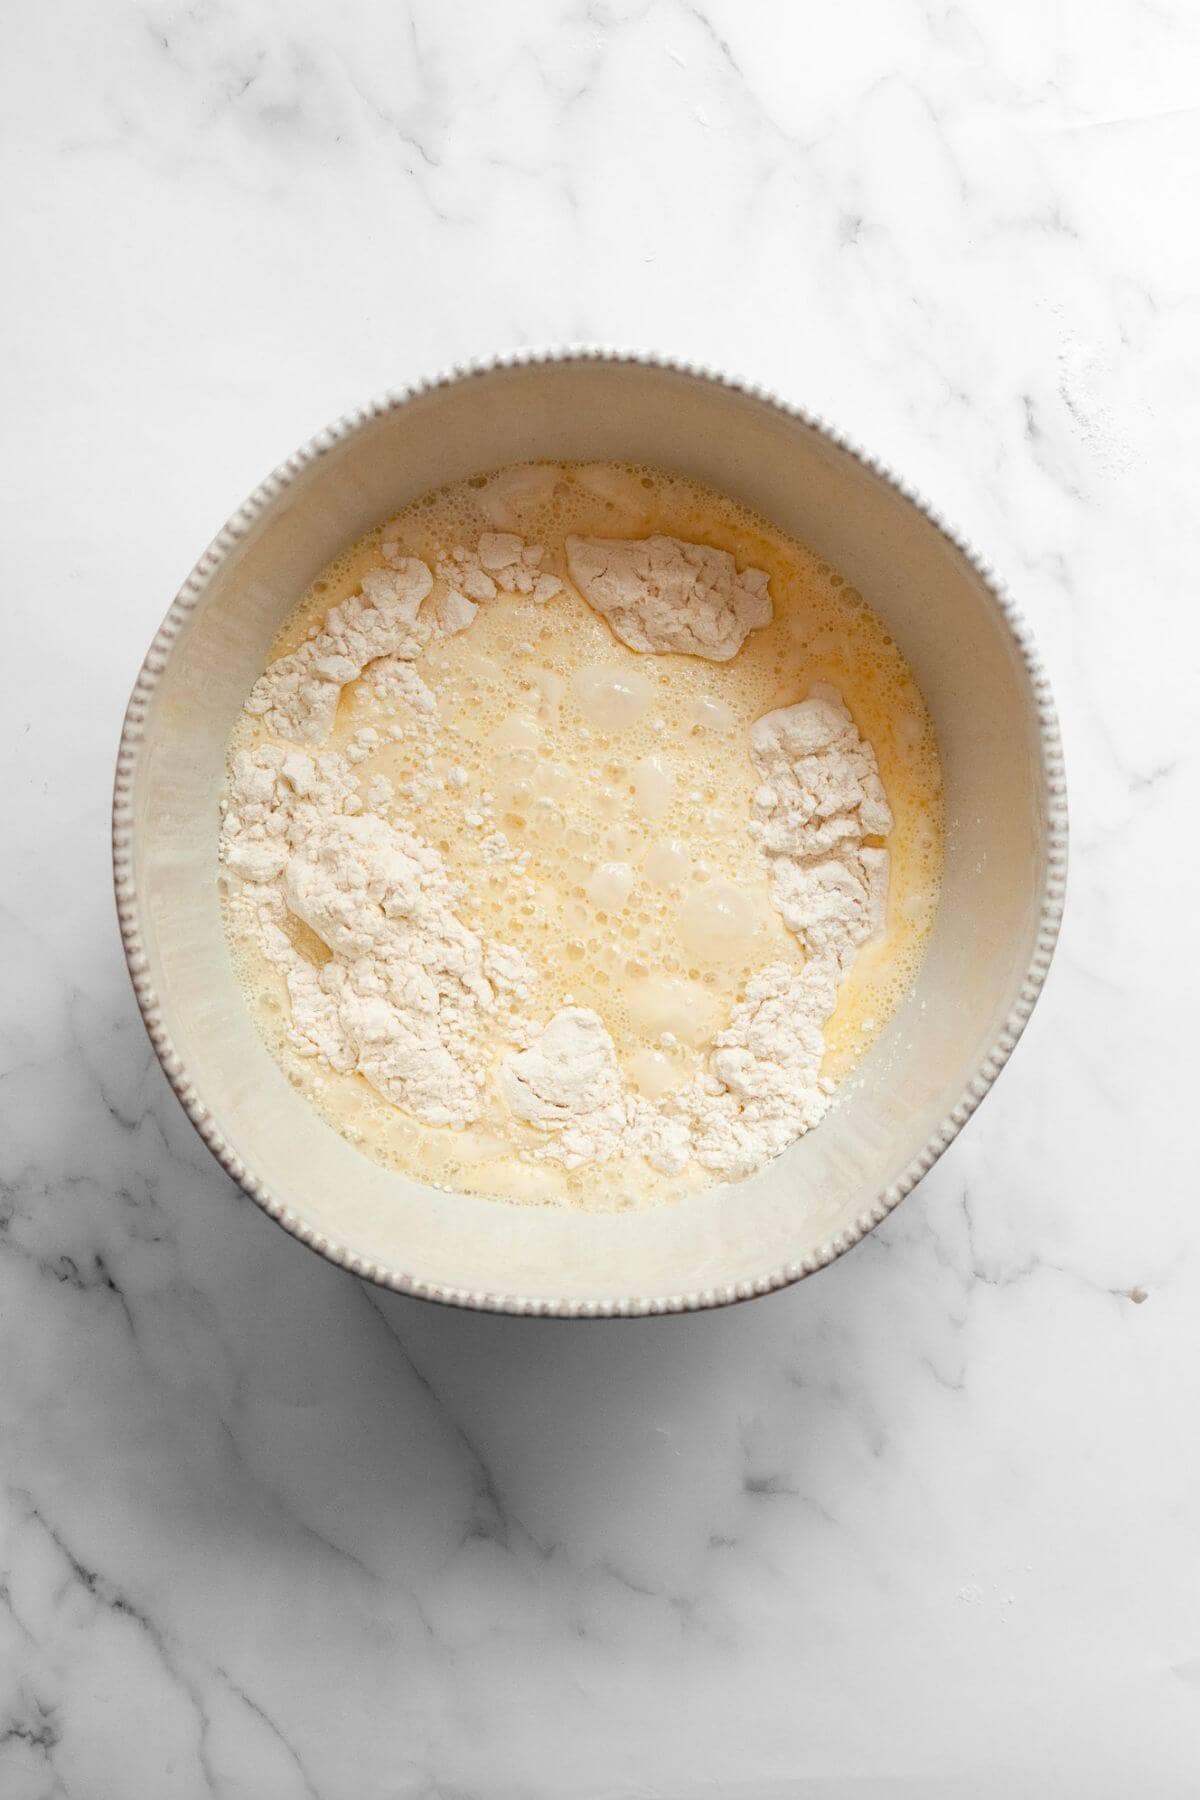
- Step 1: Mix the dry, then add the wet. Whisk the flour, sugar, baking powder, and salt in a large bowl. In a separate bowl, whisk the eggs, then add the plant milk, melted vegan butter, and vanilla.
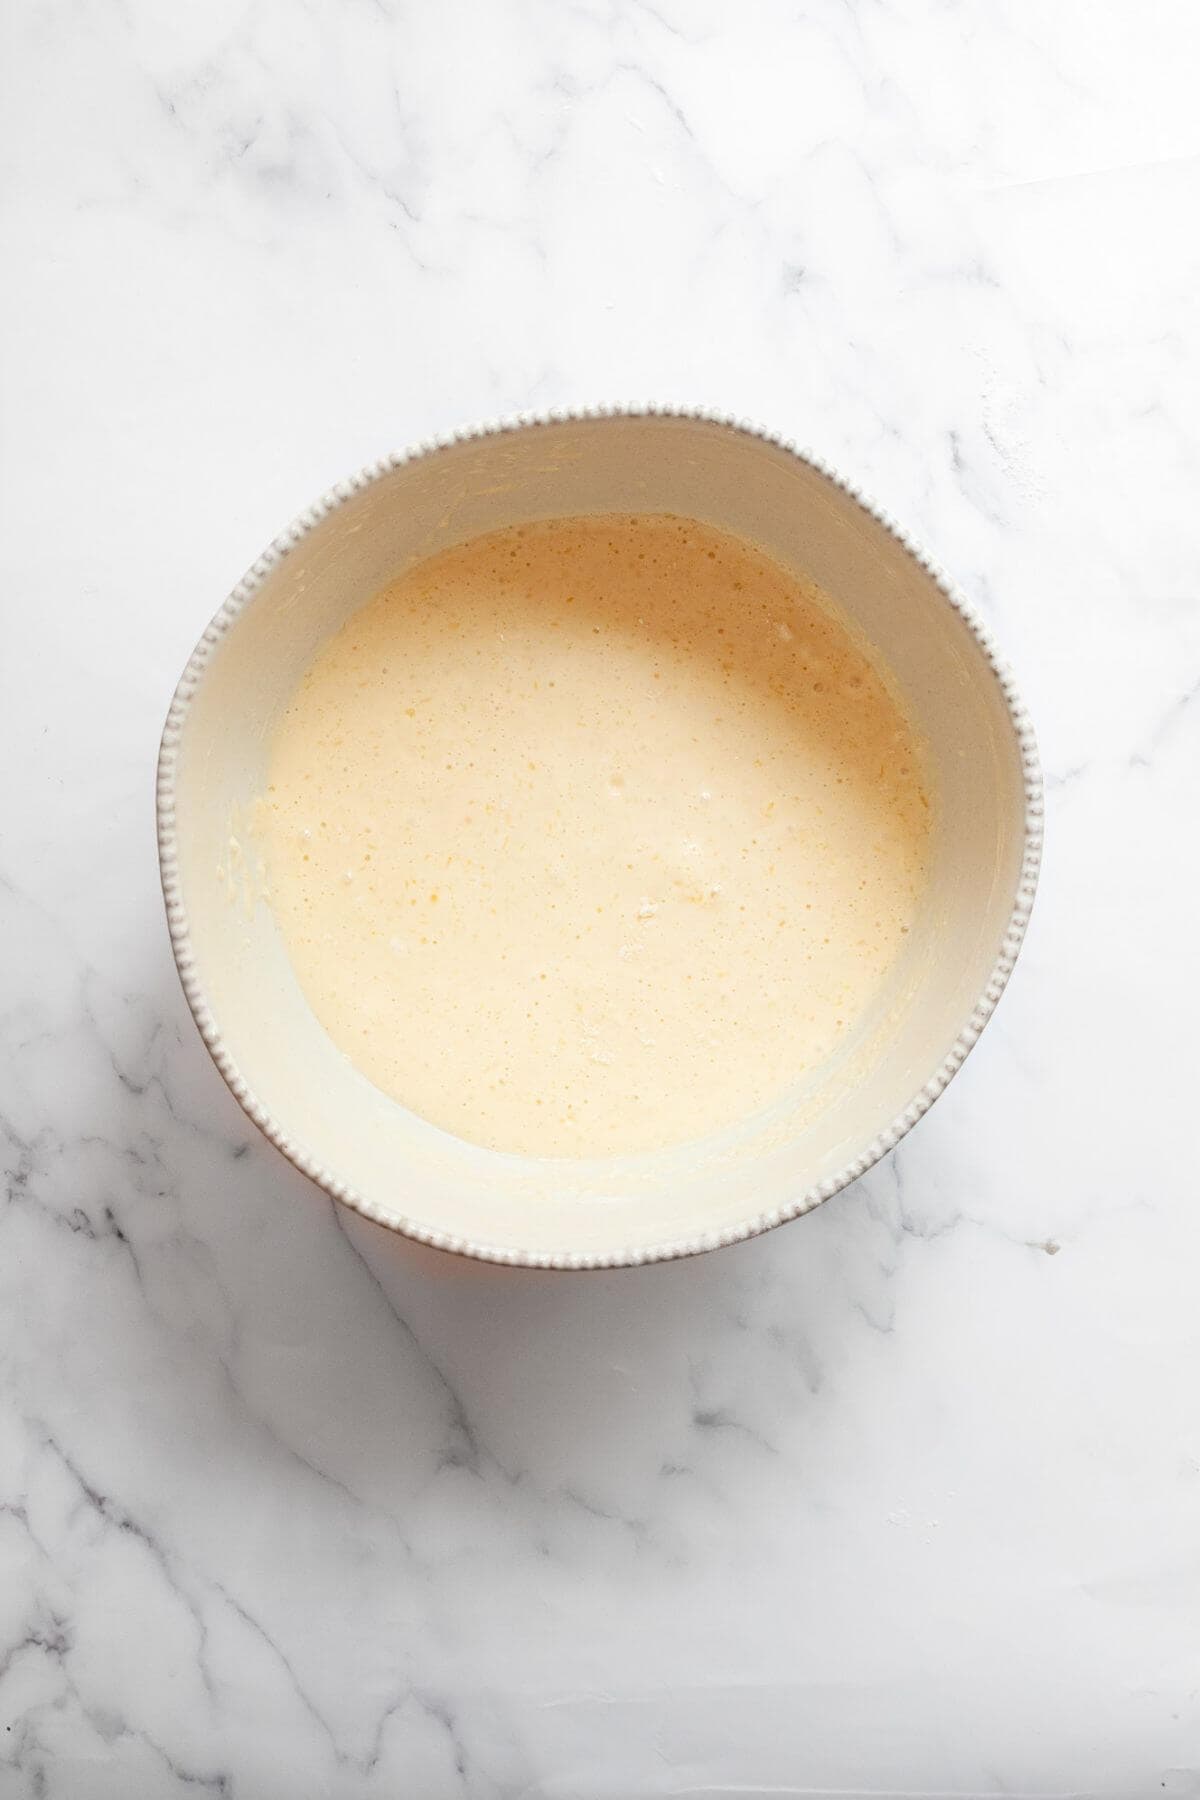
- Step 2: Combine into a batter. Pour the wet into the dry and whisk gently until just combined. A few lumps are good. Don't overmix, or the waffles turn dense. If the batter is too thick, add 1 to 3 tablespoons more milk.
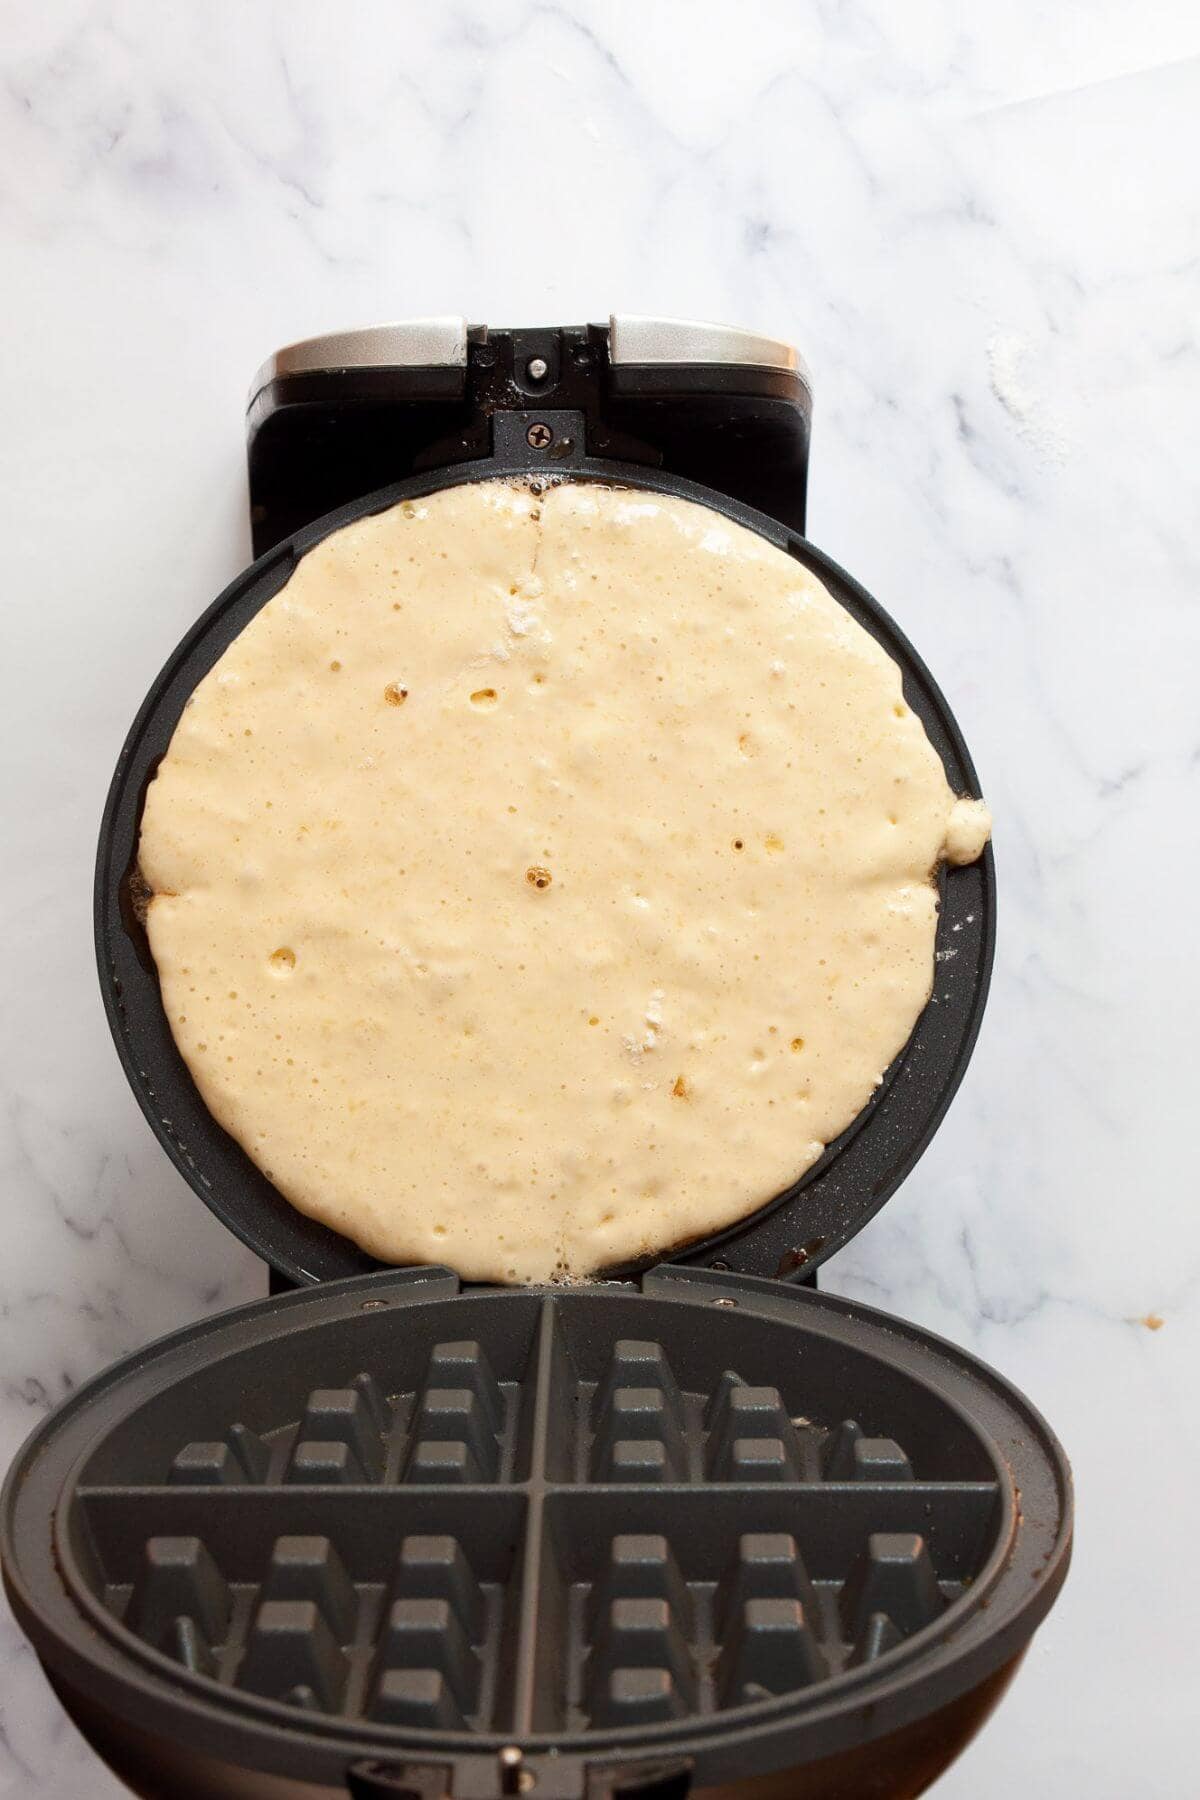
- Step 3: Pour into a hot waffle iron. Heat and lightly grease your waffle maker. Once it's hot, spoon in the batter and close the lid. (Batter amount and cook time vary by iron.)
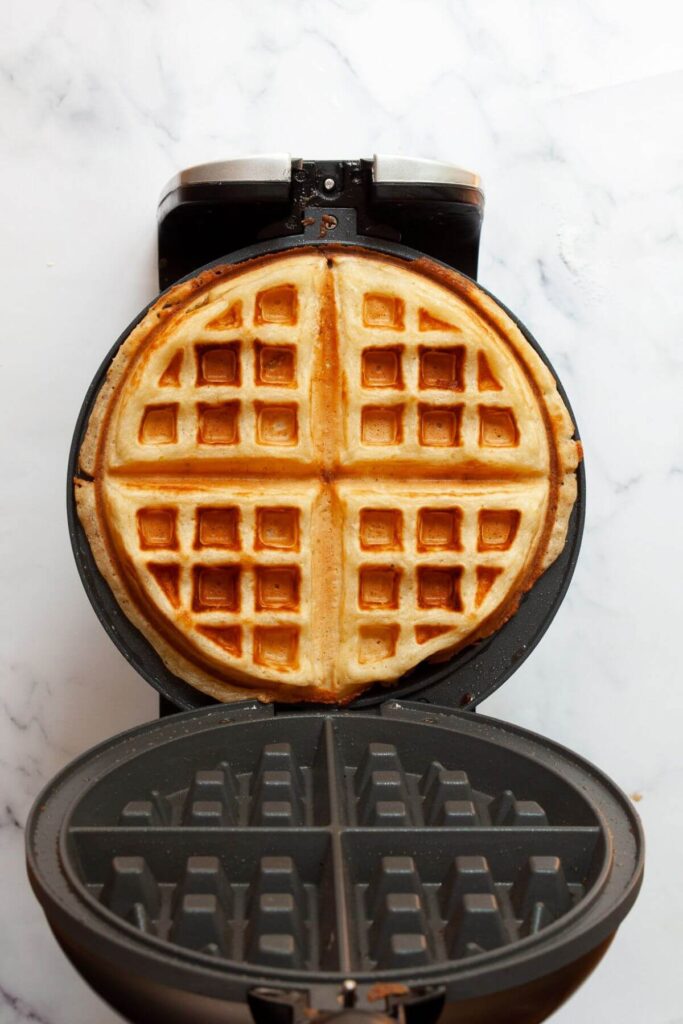
- Step 4: Cook until golden and crisp. Let it cook through without opening early. Pull the waffle once the edges are golden and crisp, then repeat with the rest of the batter.
Video Tutorial (Step-by-Step)
My Tips for Crispy, Fluffy Waffles Every Time
- Don't overmix the batter. My number one rule. Fold gently and leave a few lumps. Overmixing builds gluten and gives you dense, tough waffles.
- Check that your baking powder is fresh. Old baking powder won't rise, and you'll end up with flat, soggy waffles. If yours has been in the cupboard a while, test or replace it.
- Make sure the iron is fully hot. Adding batter to a lukewarm iron is the fastest way to lose your crisp edges. Wait for it to fully heat up.
- Skip margarine spreads. Use real vegan baking butter or coconut oil. Spreads like "I Can't Believe It's Not Butter" have too much water and throw off the flavor and texture.
- Wipe the iron between batches. I run a paper towel over it and add fresh butter or oil each round. It keeps every waffle crisp and stops burnt-butter taste from building up.
- Let them rest before serving. Give the waffles a minute or two out of the iron before plating. It lets the edges firm up so you get that crisp outside and fluffy middle.
Toppings and What to Serve With Them
Here's how I top mine, but truly anything goes.
Favorite toppings:
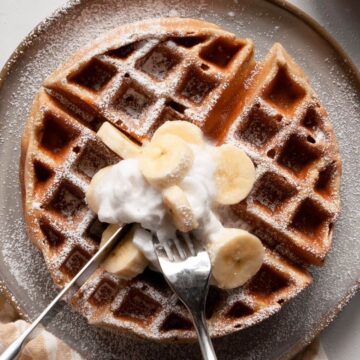
- Fresh berries, banana slices, or air fryer apples
- Maple syrup, honey, or fruit jam
- Dairy-free whipped topping or yogurt
- Peanut butter, almond butter, or Nutella
- Dairy-free chocolate chips and a dusting of powdered sugar
What to serve with them:
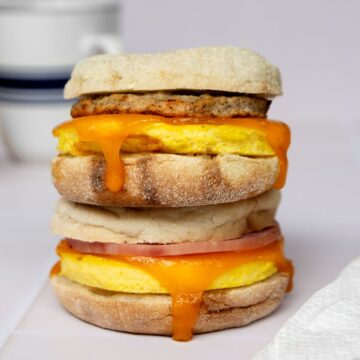
- Bacon or air fryer frozen sausage patties for a savory balance
- A smoothie or yogurt parfait on the side
- Cottage cheese scrambled eggs, or a frittata to round out the plate
- Chicken, for classic chicken and waffles
How to Store, Freeze, and Make Ahead
- Store: Keep leftover waffles in an airtight container in the fridge for up to 4 days.
- Freeze: Cool the waffles completely, then freeze in a freezer-safe bag for up to 3 months.
- Reheat: Pop them in the toaster straight from frozen for the crispiest result. You can also use the air fryer or oven at 275°F for 5 to 7 minutes, or the microwave for 30 to 90 seconds in a pinch.
- Make ahead: These are great for meal prep. I make a double batch on the weekend and freeze them flat, so busy mornings just mean popping one in the toaster.
Dairy-Free Waffles FAQs
Most classic waffles are not dairy-free, since they're made with milk and butter. This recipe swaps both for plant-based versions, so they're completely dairy-free.
Oat milk is the best because it's the richest and closest to cow's milk. Almond milk is a close second and keeps the edges nice and crisp.
Any unsweetened plant milk works: oat, almond, soy, or cashew. Avoid full-fat canned coconut milk, which is too thick for this batter.
Yes. Use a 1:1 gluten-free baking blend in place of the flour. Skip almond, coconut, and oat flour, which won't give you the same structure.
Yes, oat milk is 100% dairy-free, which makes it a great choice for these waffles.
The most common reason is opening the waffle iron too early or pulling the waffles before they're fully cooked. Make sure your iron is fully heated before adding batter, and let each waffle cook until the edges are golden. Overmixing the batter and old baking powder can also leave them dense instead of crisp.

More Waffle and Pancake Recipes You'll Love
If you loved these fluffy dairy-free waffles, here are a few more dairy-free recipes to try next:

Did you make this recipe?
If you make this recipe, be sure to comment and rate it down below. Also, don't forget to tag me @healthfulblondie on Instagram and use the hashtag #healthfulblondie so I can see your delicious creation and share it with my followers!
📖 Recipe
Best Dairy-Free Waffles
Ingredients
- 1 ¾ cups all-purpose flour, spooned & leveled
- 1 tablespoon granulated sugar
- 1 tablespoon baking powder, (yes 1 Tablespoon!)
- ¼ teaspoon salt
- 2 large eggs
- 1 ⅔ cups oat milk, almond milk, or your favorite plant milk
- 6 tablespoon melted vegan butter, or coconut oil
- 1 ¼ teaspoon vanilla extract
Instructions
- Mix the dry ingredients. In a large bowl, whisk together the flour, sugar, baking powder, and salt.
- Whisk the wet ingredients. In a separate bowl, whisk the eggs, then mix in the milk, melted vegan butter, and vanilla.
- Combine into a batter. Add the wet ingredients to the dry and whisk gently until just combined. A few lumps are good, don't overmix, or the waffles turn tough. If the batter is too thick, add 1 to 3 tablespoons more milk.
- Heat and grease the iron. Heat your waffle iron and lightly grease it with non-stick spray or vegan butter.
- Cook the waffles. Spoon batter into the hot iron, close, and cook until golden and crisp. Cook time varies by iron, so follow your machine's guidance.
- Rest and serve. Let the waffles sit 1 to 2 minutes, then serve warm with your favorite toppings.
Video
Notes
Nutrition
Recipe tested and developed by Tati Chermayeff, creator of Healthful Blondie. A former Division I rower, Ironman triathlete, and recipe developer based in Austin, TX, Tati creates high-protein and healthy recipes that actually taste like the real thing.

Michelle says
I've made these the last few weekends and they're great! Love the super simple ingredients and I just do it all in one large glass bowl so less dishes too. Melt the butter in the microwave, add the eggs, milk, sugar, vanilla, salt and whisk until smooth. then sprinkle the flour and baking powder on top then whisk just until incorporated. Love it, thank you!
Tati Chermayeff says
Hi MIchelle, thank you SO MUCH for this 5 star review. SO happy to loved these crispy dairy free waffles as much as me and my family 🙂