
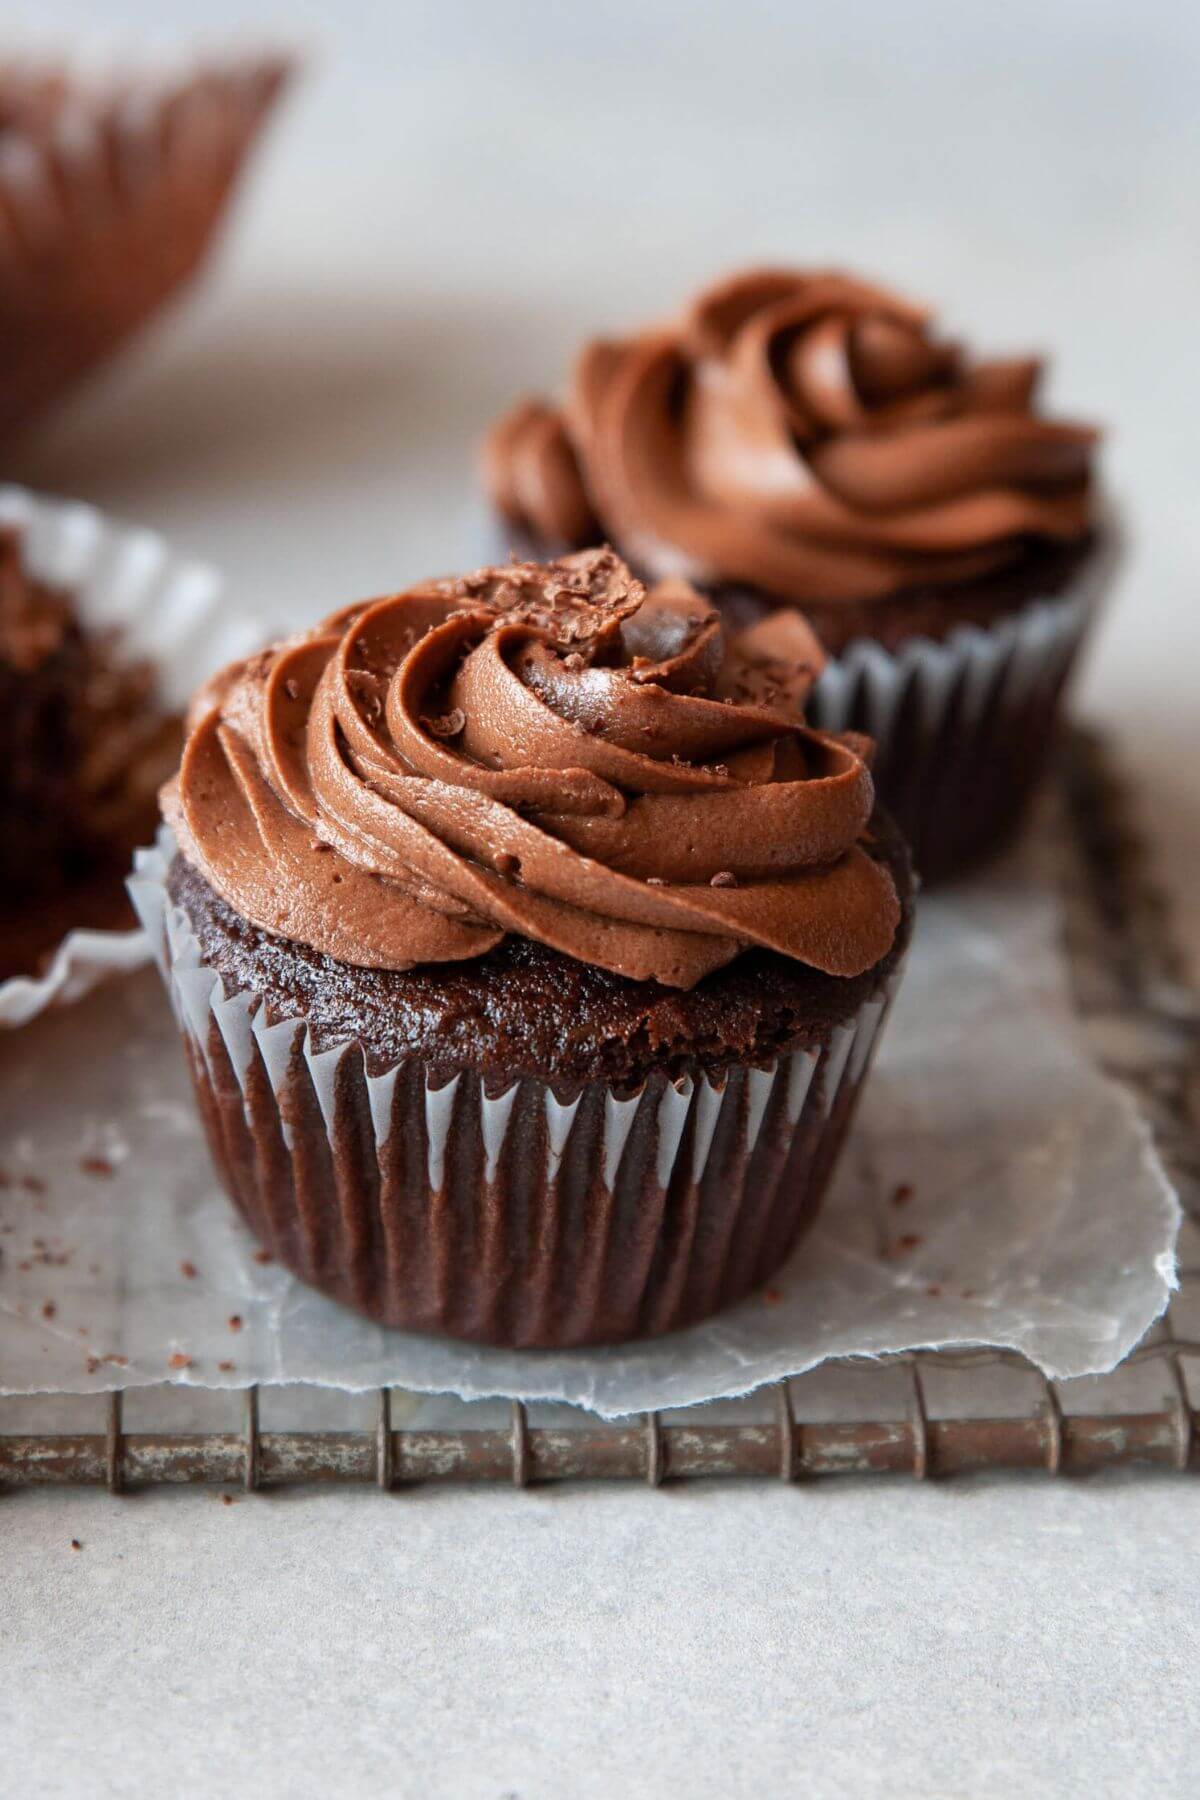
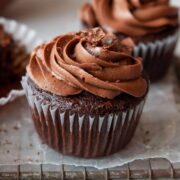
These gluten-free chocolate cupcakes are so moist and fudgy that no one can tell they're gluten-free - I've put it to the test. Made with coconut oil, coconut sugar, and a simple oat milk buttermilk, they're naturally dairy-free and come together in one bowl in 30 minutes.
A Quick Look At The Recipe
- ✅ Recipe Name: Gluten-Free Chocolate Cupcakes with Dairy-Free Chocolate Frosting
- 🕒 Ready In: 10 min prep + 20 min bake
- 👪 Serves: 12 cupcakes
- 🍽 Calories: ~311 per serving (with frosting)
- 🥣 Main Ingredients: Gluten-free 1-to-1 flour, cocoa powder, coconut sugar, coconut oil, oat milk buttermilk, eggs
- 📖 Dietary Info: Gluten-free, dairy-free, one-bowl method, no butter needed
- ⭐ Why You'll Love It: Most gluten-free cupcake recipes just swap the flour and hope for the best. This one stays moist and fudgy thanks to coconut sugar, coconut oil, and a simple oat milk buttermilk - no dryness, no crumbly texture.
SUMMARIZE & SAVE THIS CONTENT ON
When my dad decided to go gluten-free, I made it my mission to bake him desserts he'd actually enjoy - not just tolerate. The first few attempts were rough. Dry, crumbly, and honestly kind of sad. But I kept testing, and this chocolate cupcake recipe is the one that finally made him say, "Wait, these are gluten-free?"
That reaction is everything to me. I've since brought these to birthdays, cookouts, and random weekend hangouts, and the response is always the same - people reach for seconds before I even mention they're gluten-free. The secret is the combination of coconut sugar for moisture, coconut oil for richness, and a quick oat milk buttermilk that gives the crumb a tender, bakery-style texture you don't expect from GF baking.
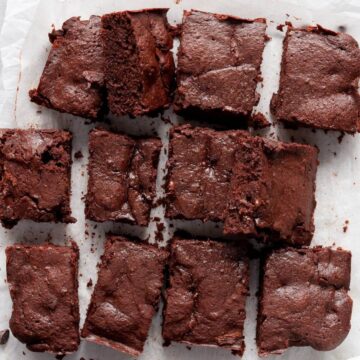
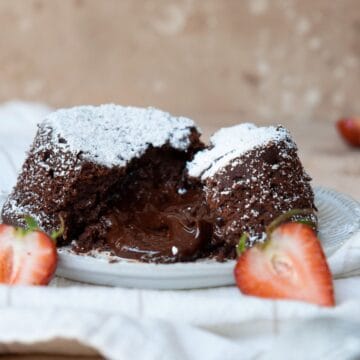
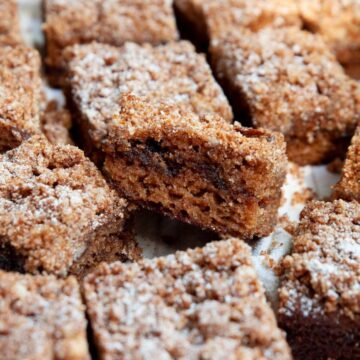
If you love these, try my almond flour chocolate cake for when you want a full-sized showstopper, my oat flour brownies for something fudgier, or my gluten-free apple cider donuts if you're in a fall baking mood. They're all recipes I developed with my dad in mind - and they all pass the "wait, this is gluten-free?" test.
Jump to:
- A Quick Look At The Recipe
- Why You'll Love This Recipe
- What Makes These Cupcakes So Moist?
- Ingredients You'll Need
- Easy Ingredient Swaps & Variations
- How to Make Moist Gluten-Free Chocolate Cupcakes (Step-by-Step)
- Video Tutorial (Step-by-Step)
- Tips for perfect gluten-free cupcakes every time
- How to Store and Freeze
- Frequently Asked Questions
- More Gluten-Free Chocolate Dessert Recipes
- 📖 Recipe
- 💬 Comments
⭐️⭐️⭐️⭐️⭐️
I loved these and so did my kids! Super moist and rich. I followed the directions to the T and used the dairy-free frosting recipe, too. Really yummy.
- Christine
Why You'll Love This Recipe
- Fudgy, not crumbly: Coconut oil and coconut sugar keep these cupcakes moist for days, just like my almond flour chocolate cake - no dry GF texture here.
- Dairy-free without tasting like it: Oat milk buttermilk and coconut oil replace dairy completely, and no one can tell the difference.
- One bowl, 30 minutes: Mix everything in a single bowl, bake, and you're done. Minimal dishes, maximum reward.
- Tested on non-GF eaters: My dad, friends, and boyfriend have all eaten these without realizing they're gluten-free.
- Beginner-friendly: No fancy equipment, no temperamental steps. If you can whisk, you can make these.
What Makes These Cupcakes So Moist?
Most gluten-free cupcakes dry out because the recipe just swaps regular flour for gluten-free flour without adjusting anything else. This recipe is different - every ingredient is chosen to add or lock in moisture.
Coconut sugar retains more moisture than white sugar, coconut oil adds richness without butter, and oat milk buttermilk tenderizes the crumb, keeping the cupcakes soft for days. It's why these taste just as good on day three as they do fresh out of the oven.
Ingredients You'll Need
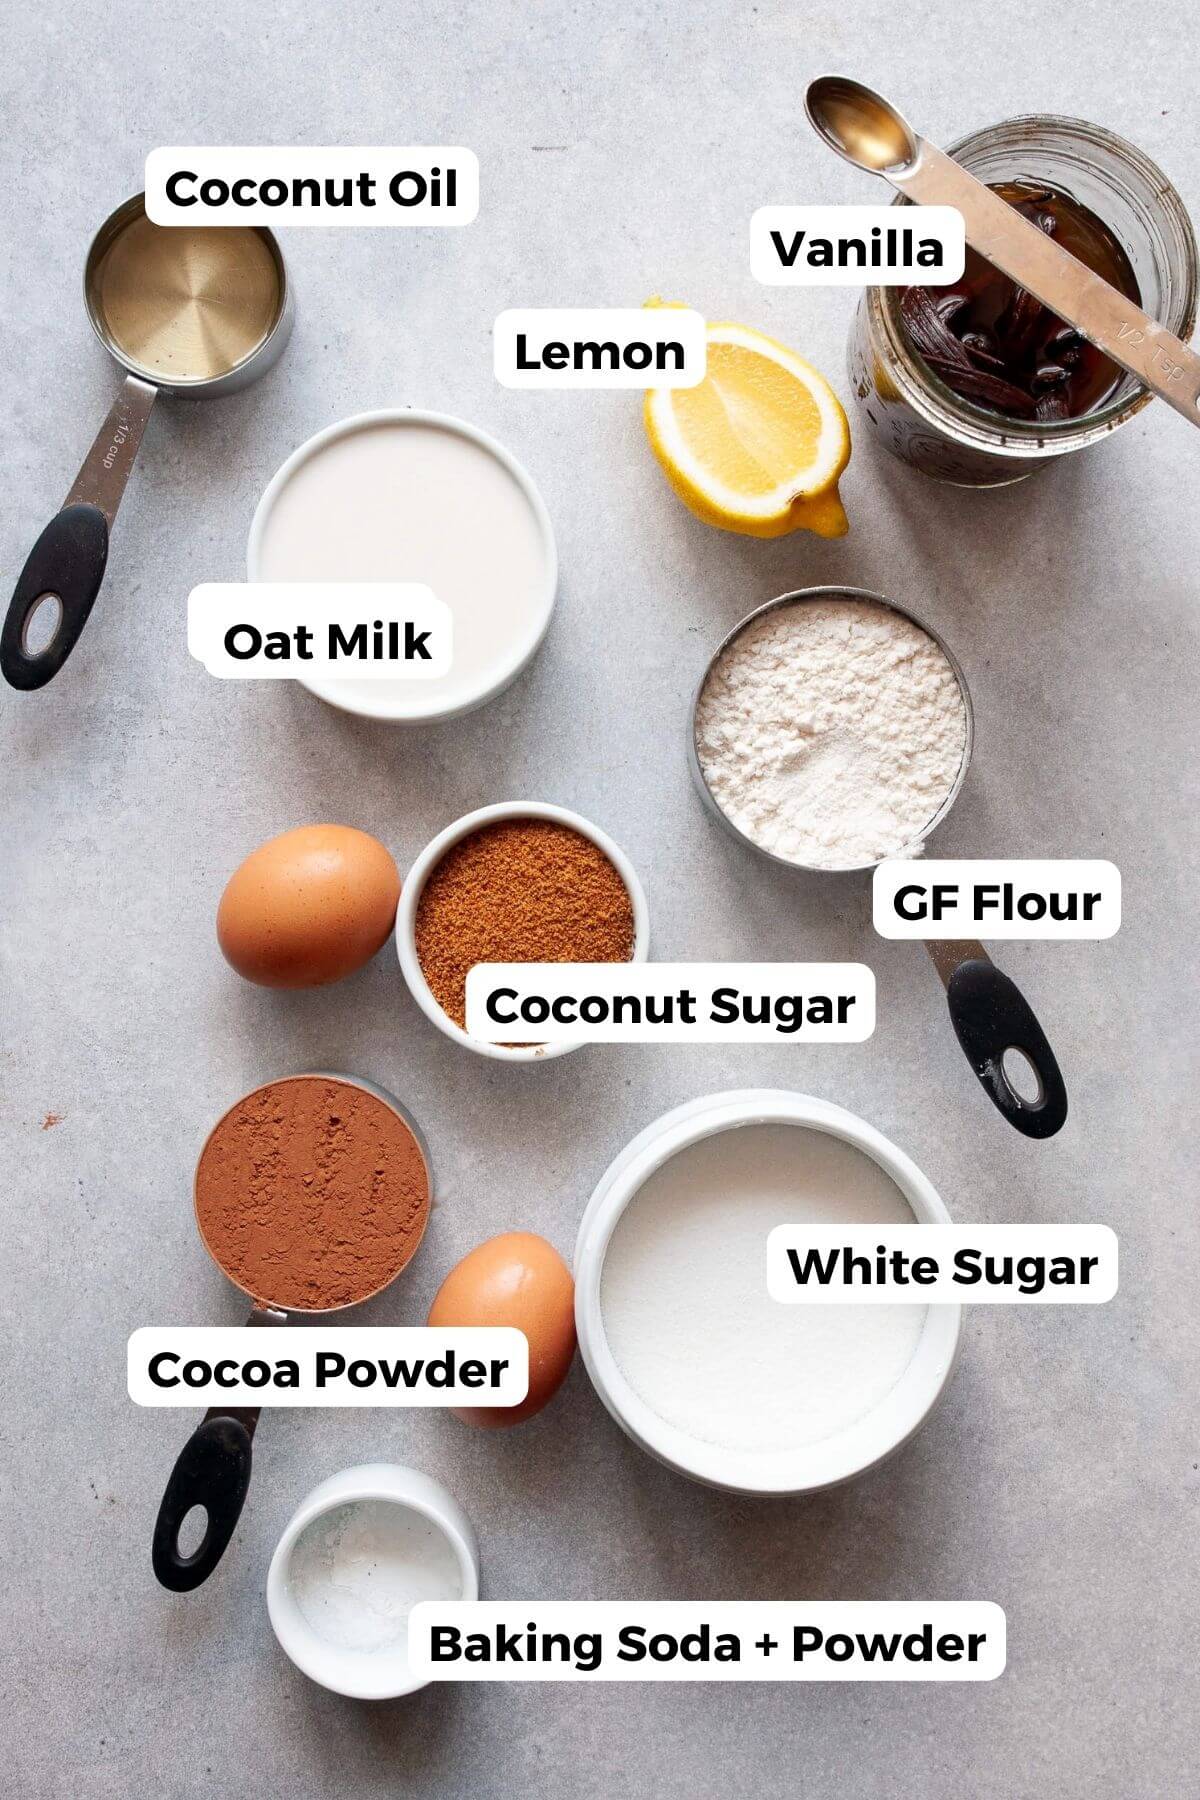
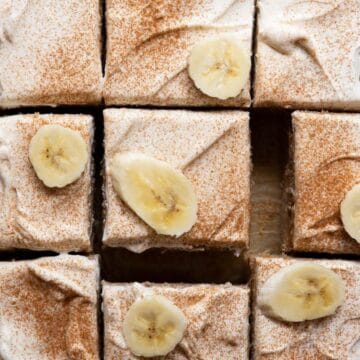
- Gluten-free 1-to-1 baking flour: I use Bob's Red Mill - it's the same blend I use in my gluten-free banana cake, and it behaves the most like regular all-purpose flour. Don't sub with almond or coconut flour here.
- Unsweetened cocoa powder: This is your only source of chocolate flavor, so use a good one like Ghirardelli or Hershey's. Sift it to avoid clumps.
- Coconut sugar: This is what keeps these cupcakes moist instead of dry - coconut sugar holds moisture better than white sugar alone. I use a mix of coconut and granulated sugar for the best balance.
- Coconut oil: Replaces butter to keep these dairy-free. Use it melted - or swap for melted vegan butter.
- Oat milk + lemon juice: A tablespoon of lemon juice in oat milk creates a dairy-free buttermilk that adds tenderness to the crumb, the same trick I use in my vegan molten lava cakes. Almond or cashew milk works too, but oat milk gives the creamiest result.
- Eggs: Two room-temperature eggs give structure and lift. Cold eggs can make the cupcakes denser.
- Baking powder + baking soda: You need both for proper rise. Check your expiration dates - expired leaveners are the #1 reason GF cupcakes sink.
- Vanilla extract: Rounds out the chocolate flavor. Don't skip it.
- Dairy-free chocolate frosting: I top these with my dairy-free chocolate frosting - it takes 5 minutes and pairs perfectly.
Scroll to recipe card for quantities!
Easy Ingredient Swaps & Variations
I've only included swaps I've actually tested or am confident won't change the texture. To keep the recipe as close to the original as possible, only change one or two things at a time.
- Oat milk: Almond milk, cashew milk, or 2% cow's milk all work. Oat milk just gives the richest result.
- Lemon juice: Apple cider vinegar or white vinegar. Same buttermilk effect.
- Coconut sugar: Light or dark brown sugar. You'll lose a tiny bit of depth in flavor, but the moisture stays the same.
- Coconut oil: Melted vegan butter or regular butter. Olive oil works too, but adds a slight flavor.
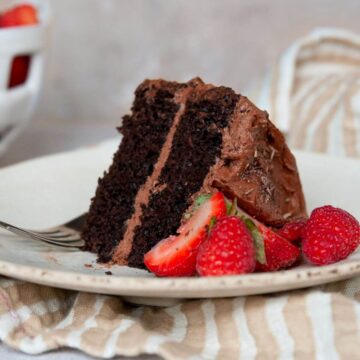
- Make it a cake: Pour the batter into a greased 8- or 9-inch round pan and bake for 30-45 minutes, until a toothpick inserted comes out clean. For a dedicated cake recipe, try my almond flour chocolate cake.
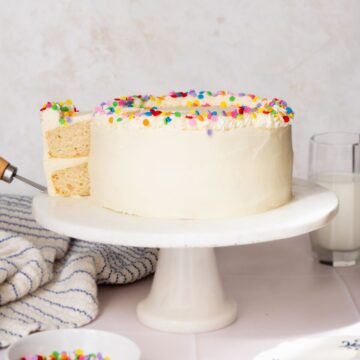
- Switch the frosting: These are incredible with my healthy vanilla buttercream if you want something lighter than chocolate on chocolate.
How to Make Moist Gluten-Free Chocolate Cupcakes (Step-by-Step)
Preheat your oven to 350°F and line a cupcake tin with 12 liners.
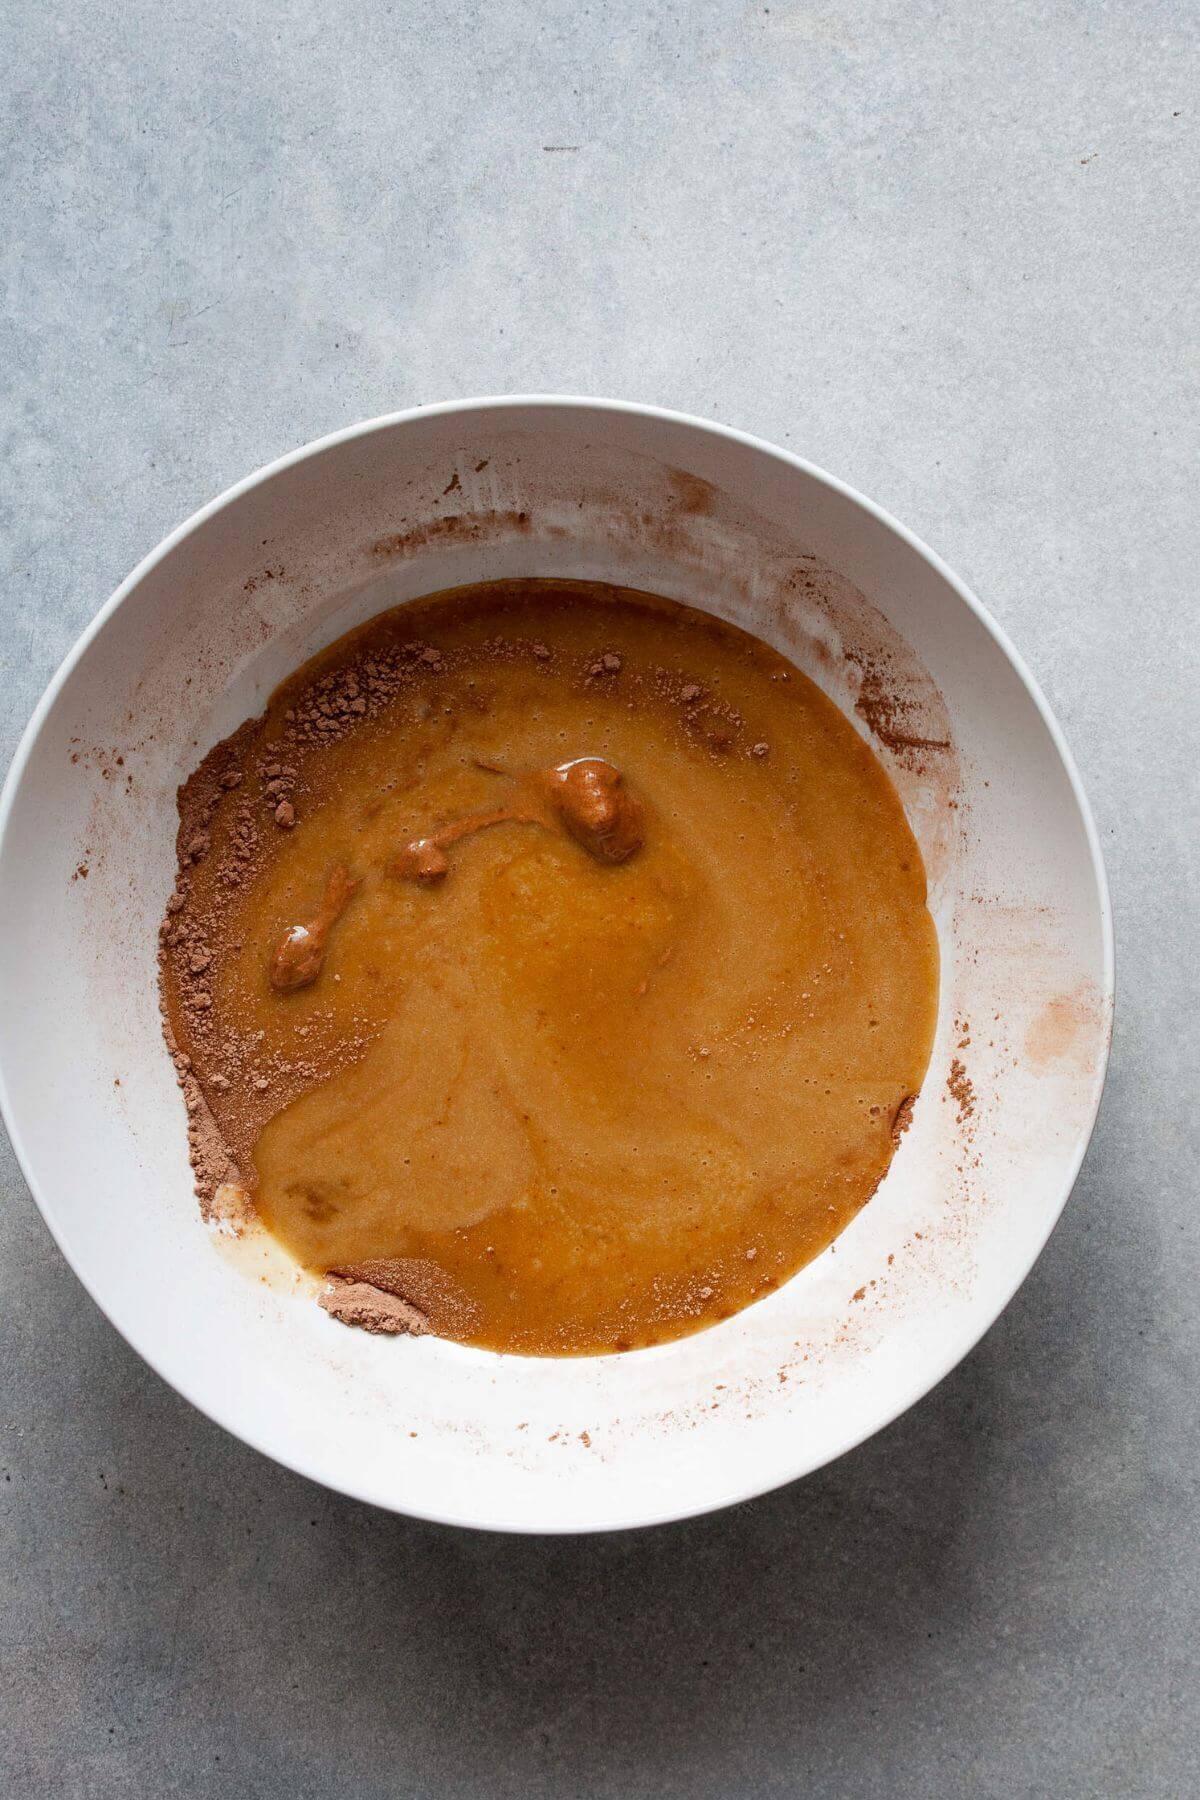
- Step 1: Whisk together the oat milk buttermilk, eggs, both sugars, melted coconut oil, and vanilla in a large bowl.
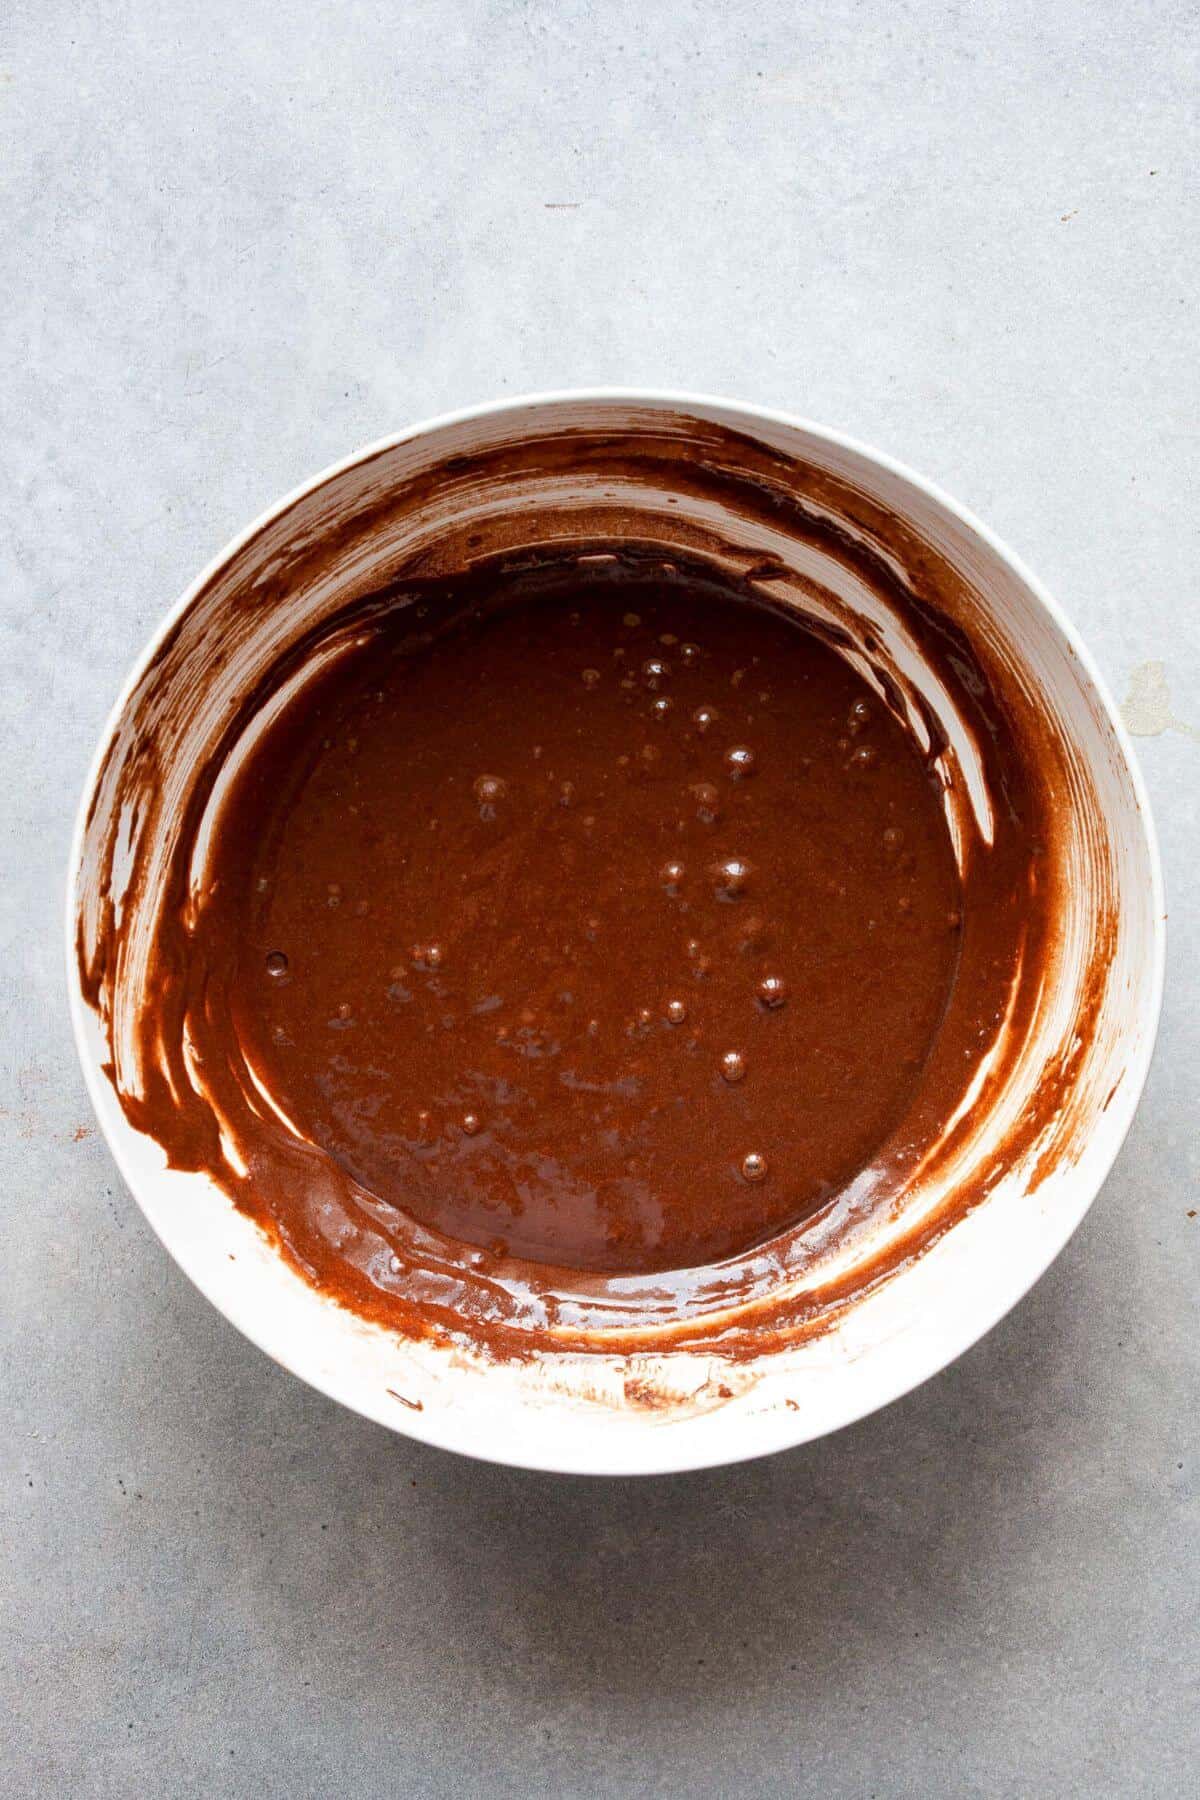
- Step 2: Add the dry ingredients - flour, cocoa powder, baking soda, baking powder, and salt - and mix until just combined. Stop as soon as you don't see dry streaks. The batter will be smooth and dark.
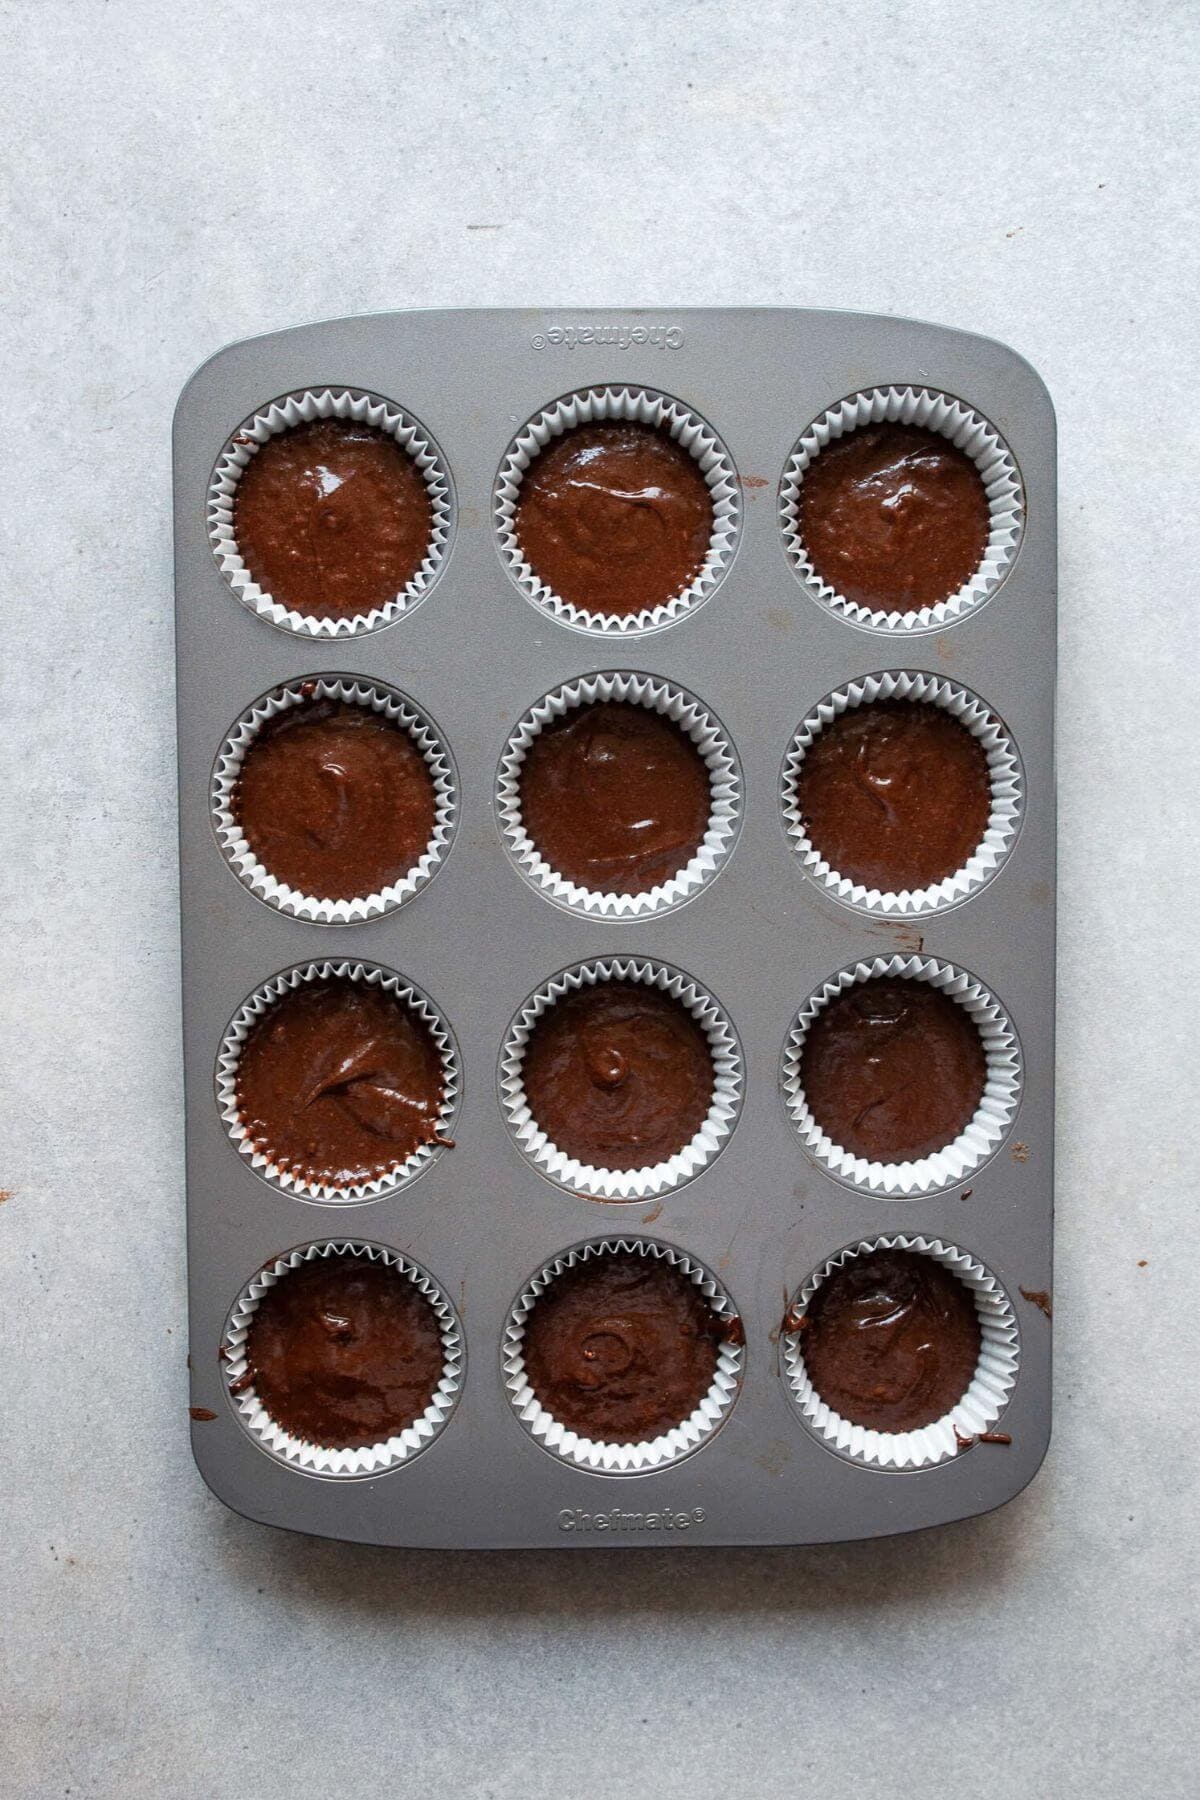
- Step 3: Fill each cupcake liner about ½ to ⅔ full. Don't go higher or they'll spill over.
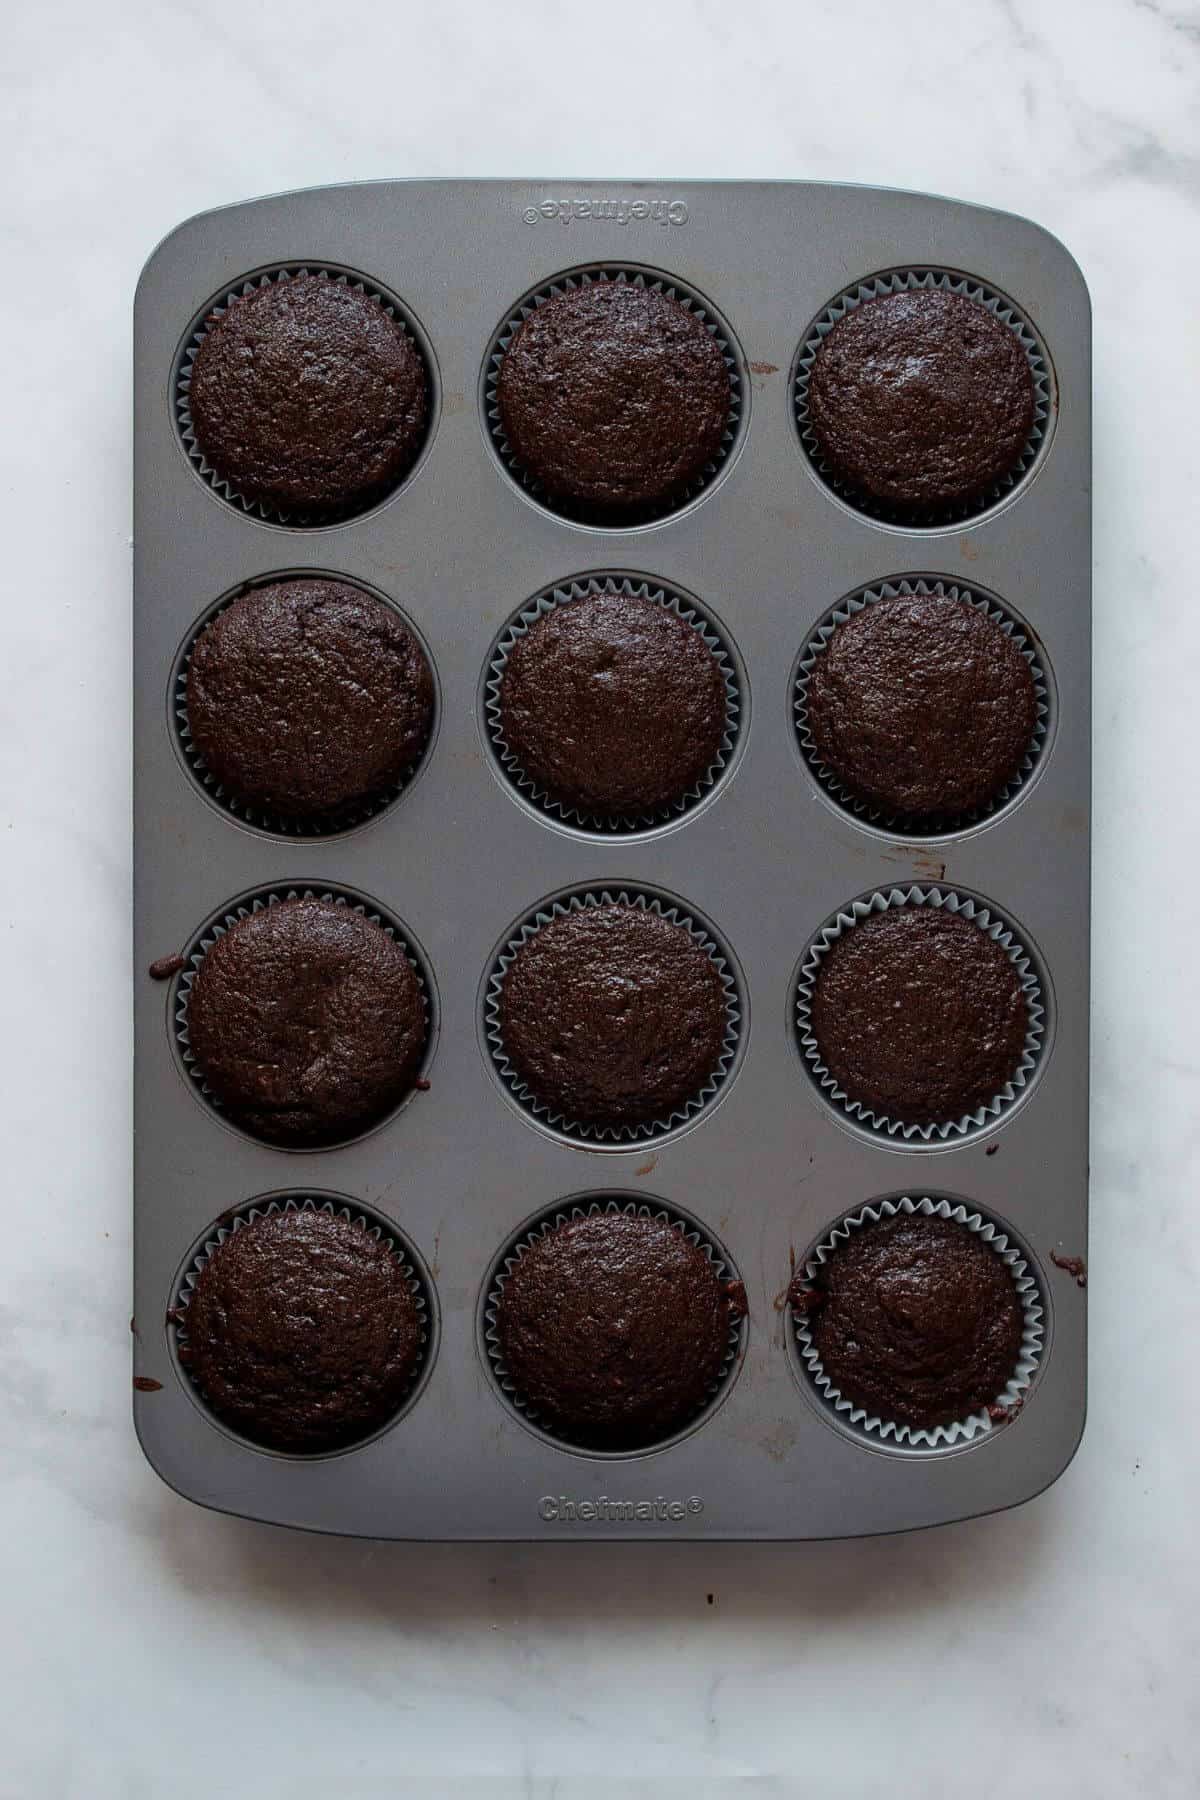
- Step 4: Bake at 350°F for 18-22 minutes, until a toothpick inserted into the center comes out clean. I bake mine for exactly 20 minutes.
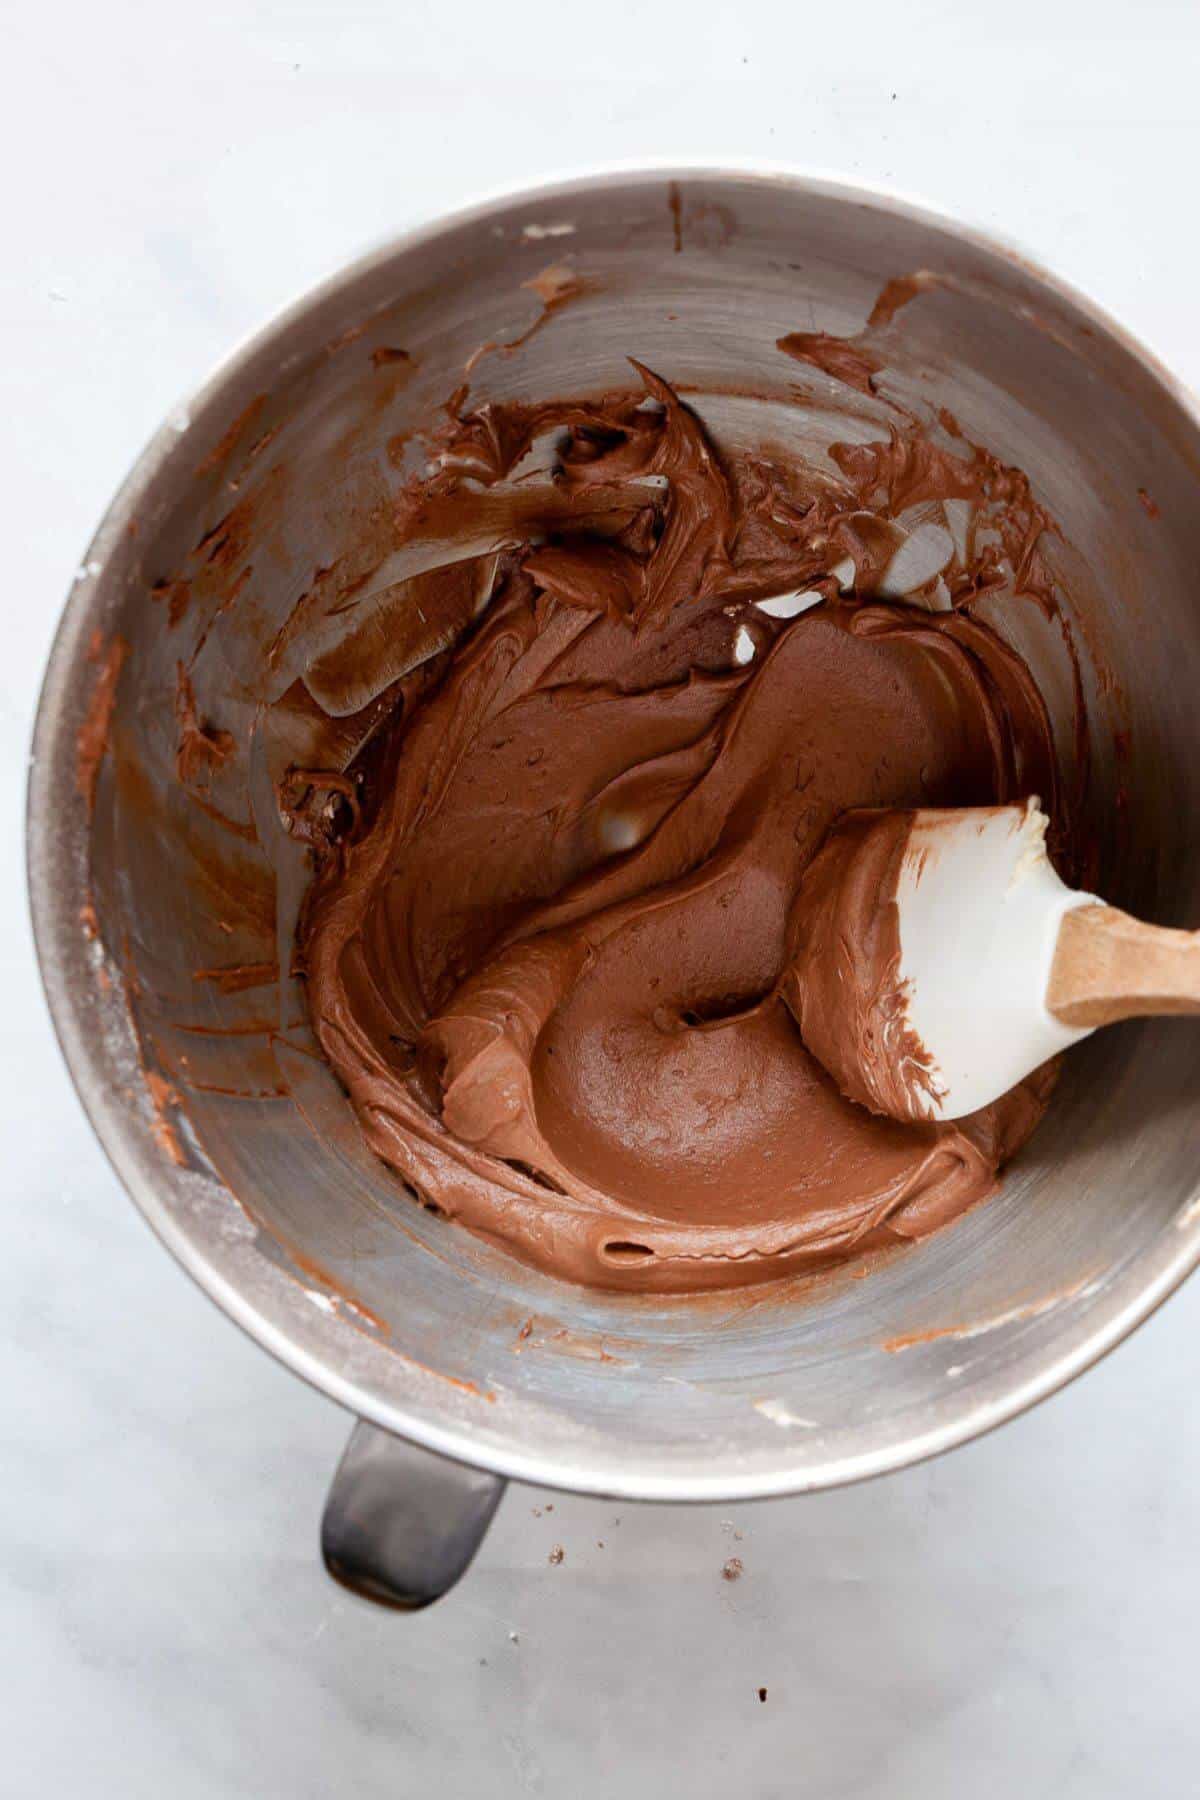
- Step 5: While the cupcakes cool, make one batch of my easy 10-minute dairy-free chocolate frosting.
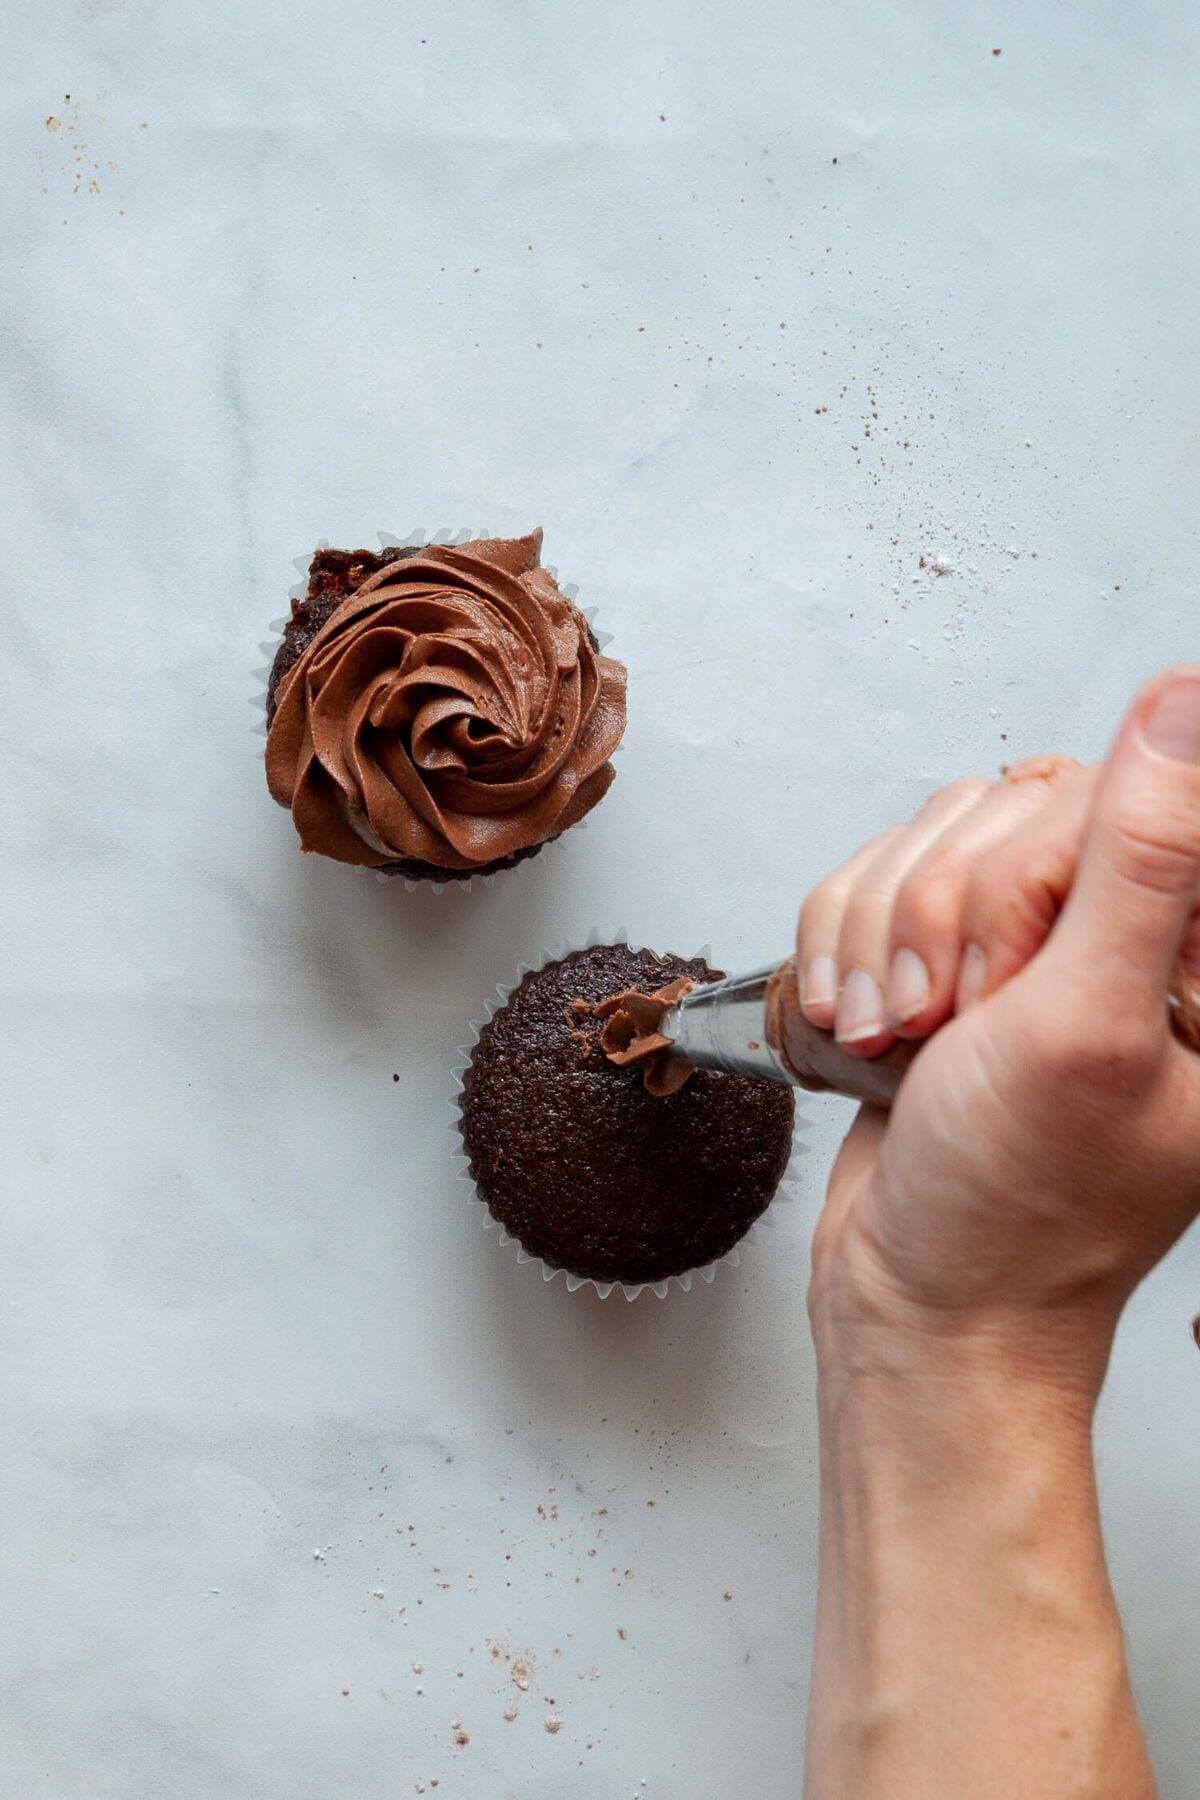
- Step 6: Frost using a piping bag, knife, or spoon - whatever you're comfortable with. Add sprinkles or chocolate shavings if you want.
Video Tutorial (Step-by-Step)
Tips for perfect gluten-free cupcakes every time
- Sift your cocoa powder. I skipped this once and ended up with little cocoa pockets throughout the batter. It takes 10 seconds and makes a huge difference.
- Use room temperature eggs and oat milk. Cold ingredients cause the melted coconut oil to seize up into little lumps in the batter. I learned this the hard way.
- Spoon and level your flour. Scooping from the bag packed in so much extra flour that my first batch came out dry and cakey instead of fudgy. Spoon it in, level it off.
- Don't overfill the liners. I fill mine just over halfway. Every time I've gone higher, the cupcakes dome, crack, and then sink in the center as they cool.
- Check your baking soda. If it's been open longer than six months, replace it. I once spent 30 minutes troubleshooting sunken cupcakes before realizing my baking soda had expired.
How to Store and Freeze
- Room temperature: Store frosted cupcakes in an airtight container for up to 2-3 days. Because the frosting is dairy-free, they're fine on the counter.
- Refrigerator: They'll last up to 5 days in the fridge. Let them sit out for 10-15 minutes before eating - cold GF cupcakes can feel denser than they actually are.
- Freezer: Freeze unfrosted cupcakes for up to 2 months. Let them cool completely, then store them in a freezer-safe bag. When you're ready, thaw overnight in the fridge and frost before serving. I do this all the time when I'm baking ahead for parties.
Frequently Asked Questions
I use Bob's Red Mill 1-to-1 gluten-free baking flour because it's the closest to regular all-purpose flour. Make sure whatever blend you use contains xanthan gum - without it, the cupcakes won't hold together. Don't use almond flour or coconut flour as a substitute here.
Yes! Pour the batter into a greased and lined 8-inch or 9-inch round cake pan and bake for 30-45 minutes until a toothpick comes out clean. Same recipe, just a longer bake time.
The most common reasons are expired baking soda, overfilled liners, opening the oven door too early, or overmixing the batter. I've dealt with all four, and they're all easy to fix next time.
Yes - the cupcakes and the frosting are both completely dairy-free. I use coconut oil instead of butter and oat milk instead of cow's milk. No one in my family can tell the difference.
The combination of coconut sugar, coconut oil, and oat milk buttermilk is what keeps these from drying out. Don't overbake - pull them at 20 minutes - and store them sealed at room temperature. Refrigerating without a tight seal is the fastest way to dry out any GF baked good.
More Gluten-Free Chocolate Dessert Recipes
If you loved these moist gluten-free chocolate cupcakes, try these recipes next:

Did you make this recipe?
If you make this recipe, be sure to comment and rate it down below. Also, don't forget to tag me @healthfulblondie on Instagram and use the hashtag #healthfulblondie so I can see your delicious creation and share it with my followers!
📖 Recipe
Gluten-Free Chocolate Cupcakes
Ingredients
Gluten-Free Chocolate Cupcakes:
- ½ cup oat milk
- 1 tablespoon fresh lemon juice
- ¾ cup gluten-free 1-to-1 baking flour, spooned and leveled
- ½ cup unsweetened cocoa powder
- ½ teaspoon baking powder
- ½ teaspoon baking soda
- ¼ teaspoon salt
- 2 large eggs, room temperature
- ⅔ cup granulated sugar
- ⅓ cup coconut sugar
- ⅓ cup melted coconut oil
- 2 teaspoon pure vanilla extract
Dairy-Free Chocolate Frosting:
- 1 batch dairy-free chocolate frosting
Instructions
- Preheat: Preheat oven to 350°F and line a cupcake tin with 12 liners.
- Make the buttermilk: Stir the oat milk and lemon juice together in a small bowl and set aside for 5 minutes. It will thicken slightly - that's your dairy-free buttermilk.
- Mix the dry ingredients: In a medium bowl, sift together the flour, cocoa powder, baking powder, baking soda, and salt. Set aside.
- Mix the wet ingredients: In a large bowl, whisk together the oat milk buttermilk, eggs, granulated sugar, coconut sugar, melted coconut oil, and vanilla until smooth.
- Combine: Add the dry ingredients to the wet ingredients and mix until just combined. A few small lumps are fine. Do not overmix - this is what keeps the cupcakes light and fluffy.
- Fill the liners: Divide the batter evenly among the 12 liners, filling each about ½ to ⅔ full. Do not overfill or they will spill over the edges.
- Bake: Bake for 18-22 minutes or until a toothpick inserted in the center comes out clean. I bake mine for exactly 20 minutes.
- Cool completely: Let the cupcakes cool in the pan for 5 minutes, then transfer to a wire rack to cool completely. Do not frost warm cupcakes.
- Frost and serve: While the cupcakes cool, make one batch of [dairy-free chocolate frosting]. Frost, top with sprinkles if desired, and enjoy.
Christine Allen says
I loved these and so did my kids! Super moist and rich. I followed the direction to the T and used the dairy free frosting recipe too. Really yummy.
Tati Chermayeff says
Thank you so much, Christine! So happy you and your kids loved them — that's the best compliment! The dairy-free frosting is my favorite part too. Thanks for following the recipe exactly and for taking the time to leave a rating!