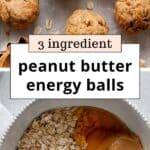
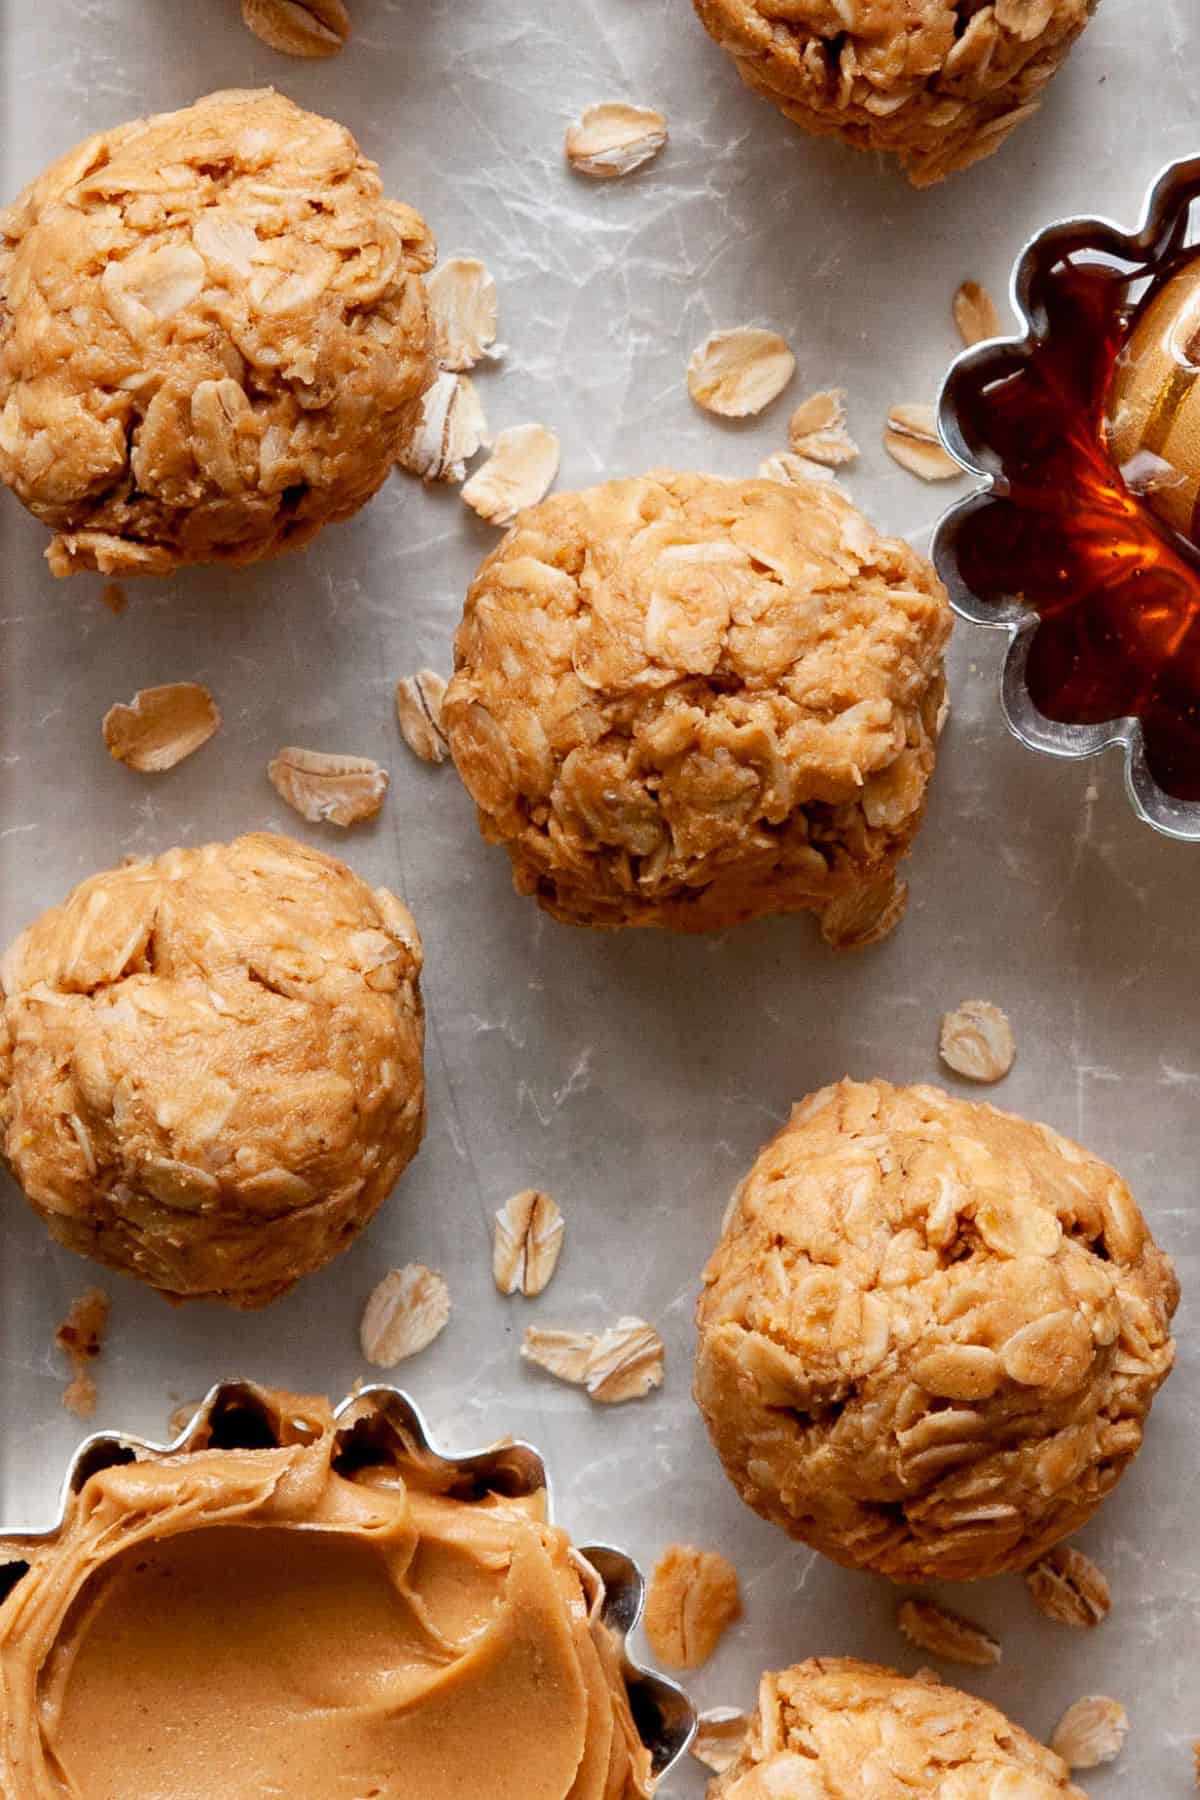
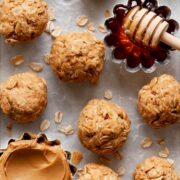
These no-bake peanut butter oatmeal balls are made with 3 simple ingredients: rolled oats, peanut butter, and honey. One bowl, 5 minutes, no chilling required. I batch these every Sunday for healthy pre-workout fuel and grab-and-go snacks all week.

Peanut Butter Oatmeal Balls At A Glance
- ✅ Recipe Name: No-Bake Peanut Butter Oatmeal Balls (Just 3 Ingredients)
- 🕒 Ready In: 5 minutes (no baking, no chilling)
- 👪 Serves: 15 balls
- 🍽 Calories: ~95 per ball
- 🥣 Main Ingredients: Old-fashioned rolled oats, creamy peanut butter, honey
- 📖 Dietary Info: Naturally gluten-free, no refined sugar, vegetarian, easily made vegan with maple syrup
- ⭐ Why You'll Love It: No chilling, no crumbling, no specialty ingredients. Just pantry staples that roll up into a snack that travels well and tastes like cookie dough.
SUMMARIZE & SAVE THIS CONTENT ON
I started making these on Sunday afternoons during marathon training. I needed something I could grab 30 minutes before a long run that wouldn't sit heavy in my stomach. After more rounds than I'd like to admit, tweaking the ratios, this 3-ingredient version is the one that stuck.
The testing got pretty specific. Old-fashioned rolled oats only. Quick oats turn pasty, and steel-cut oats stay gritty no matter how long you wait. No-stir creamy, natural peanut butter without sugar is the move. And honey beats maple syrup for hold and roll-ability without needing a fridge chill.
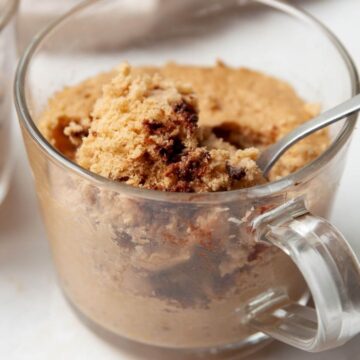
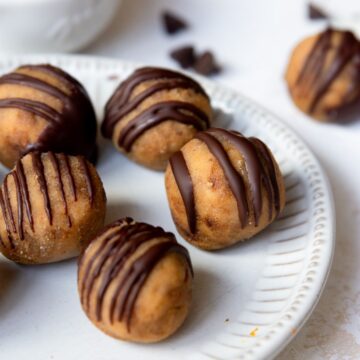
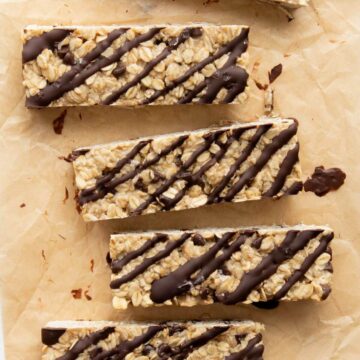
If you want crunch instead of soft chew, my healthy peanut butter granola is the clustered version. For something more dessert-leaning, my healthy peanut butter truffles scratch the same itch with a chocolate shell. And when I want this exact flavor hot instead of cold, my protein mug cake is the 90-second move.
Jump to:
- Peanut Butter Oatmeal Balls At A Glance
- Why You'll Love This Recipe
- Ingredients You'll Need
- Honey vs. maple syrup: which actually works better?
- How to Make No-Bake Peanut Butter Oatmeal Balls (Step-by-Step)
- Expert Tips
- Optional mix-ins and variations
- Storage, Meal Prep & Freezing
- Frequently Asked Questions
- More Easy Snack Recipes You'll Love
- 📖 Recipe
- 💬 Comments
Why You'll Love This Recipe
- Truly 3 ingredients. No flax, no chia, no protein powder, no specialty pantry runs. Just oats, peanut butter, and honey.
- No baking, no chilling. Mix, roll, eat. Most no-bake balls need 15 minutes in the fridge before they hold their shape. These don't.
- Pre-workout friendly. Slow carbs from the oats, fast energy from the honey, and just enough fat and protein from the peanut butter to keep you steady through a workout.
- Travels without falling apart. Sturdy enough for a gym bag, a hiking pocket, or a long car ride. They hold their shape at room temperature for hours.
- One bowl, 5 minutes, no cleanup. The whole recipe happens in a single mixing bowl with a spoon. That's it.
Ingredients You'll Need
Just three pantry staples. Each one has a specific job, which is why swapping them changes the whole recipe.
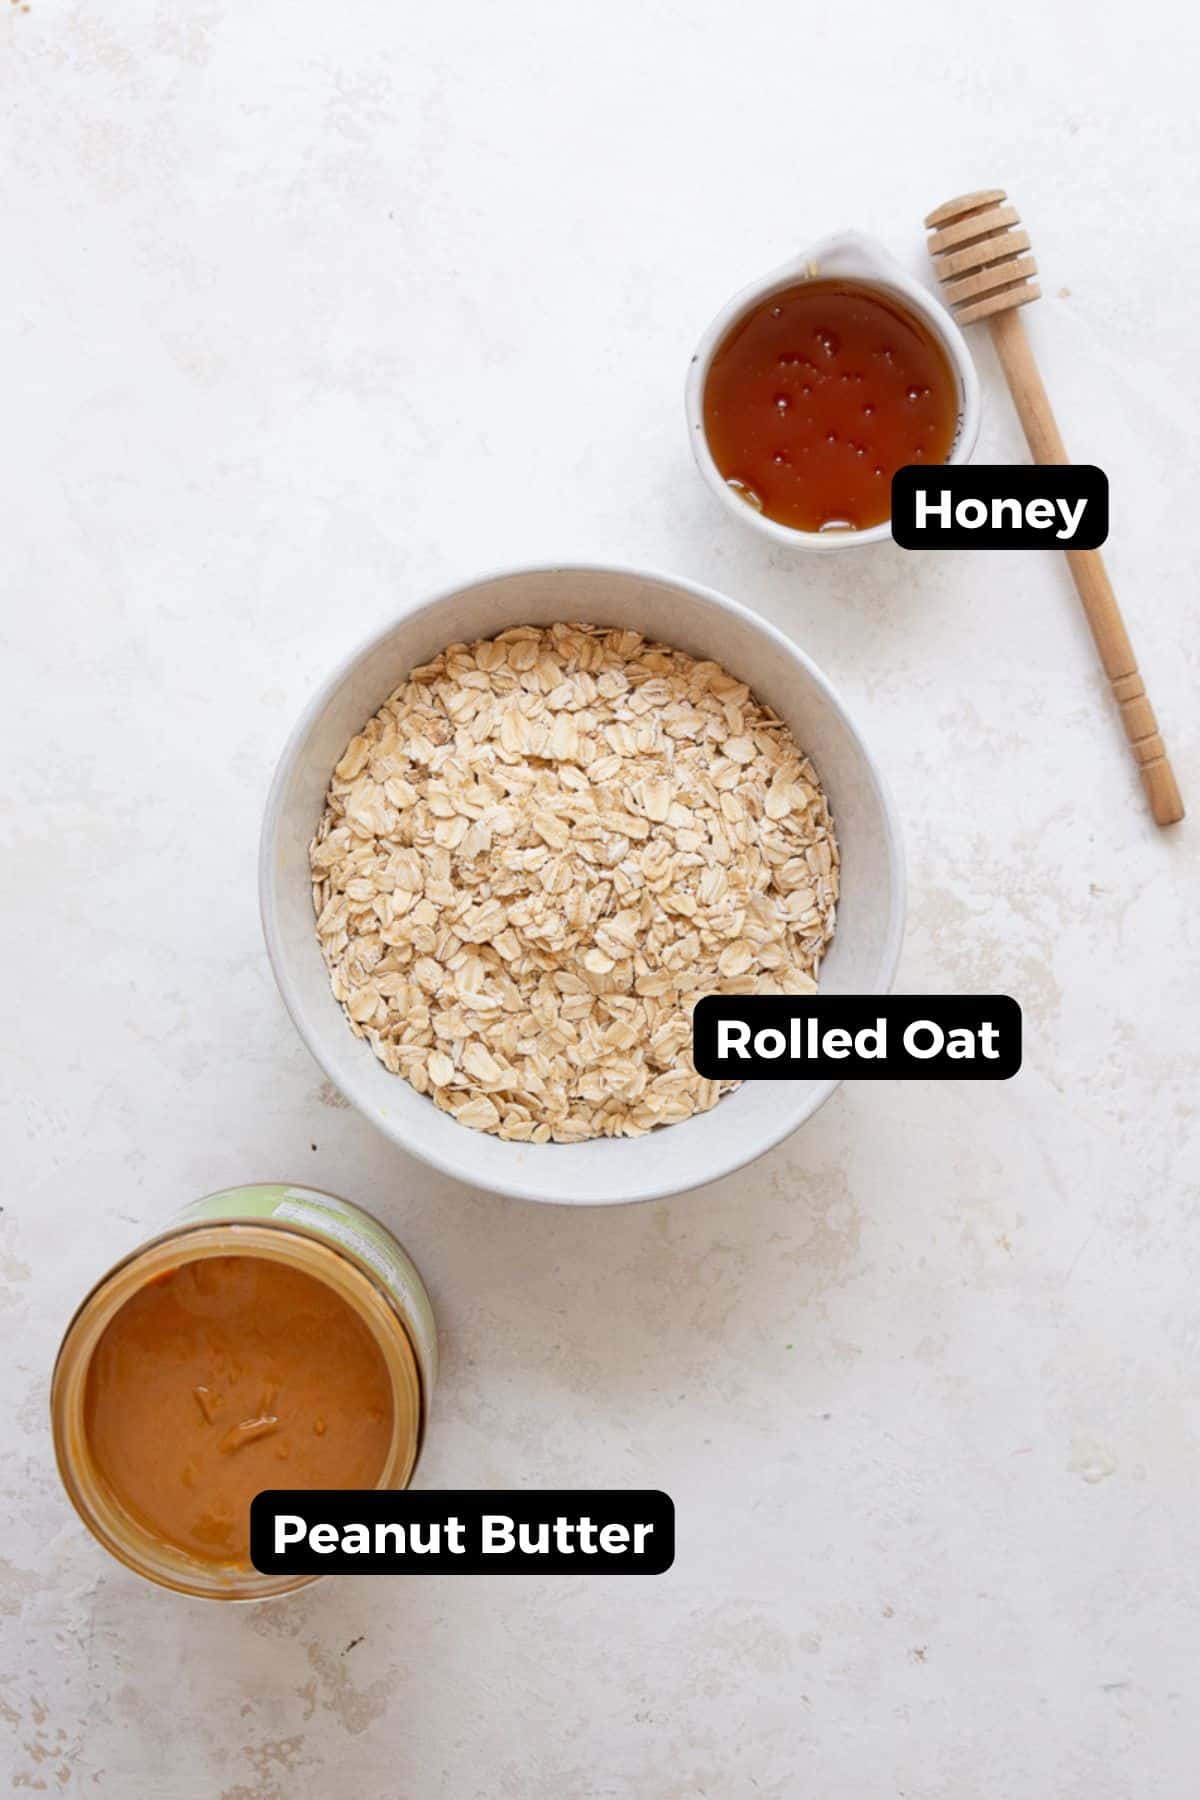
- Old-fashioned rolled oats. These give you the structure and that classic chewy bite. Quick oats turn pasty, and steel-cut oats stay gritty. Use certified gluten-free rolled oats if you need them gluten-free.
- Creamy natural peanut butter. Go with a creamy natural peanut butter that's thick and scoopable, not the super-liquid kind that pours off the spoon. Too runny and the balls won't hold. You want smooth, scoopable, and well-stirred (just like the kind I reccomend for my healthy peanut butter bread).
- Honey. Sweetens naturally, and its stickiness lets you roll right away with no chilling. Maple syrup works as a vegan swap, but it's thinner, so chill the dough 15 to 20 minutes before rolling.
Scroll to recipe card for quantities!
Honey vs. maple syrup: which actually works better?
I've made this with both, and they're not interchangeable. Honey wins for hold and rollability. Maple syrup wins for vegan.
Honey is thicker and stickier, so the dough rolls into firm balls right away with no chilling. They keep their shape at room temperature, which is why I pack them in my gym bag.
Maple syrup is thinner. The dough comes out soft and sticky, and the balls will spread if you roll them right away. A 15- to 20-minute fridge chill fixes it, but you have to wait.
My recommendation: use honey unless you need it vegan. Same ¼ cup either way, just plan for the chill time with maple syrup.
How to Make No-Bake Peanut Butter Oatmeal Balls (Step-by-Step)
One bowl, two steps, five minutes start to finish.
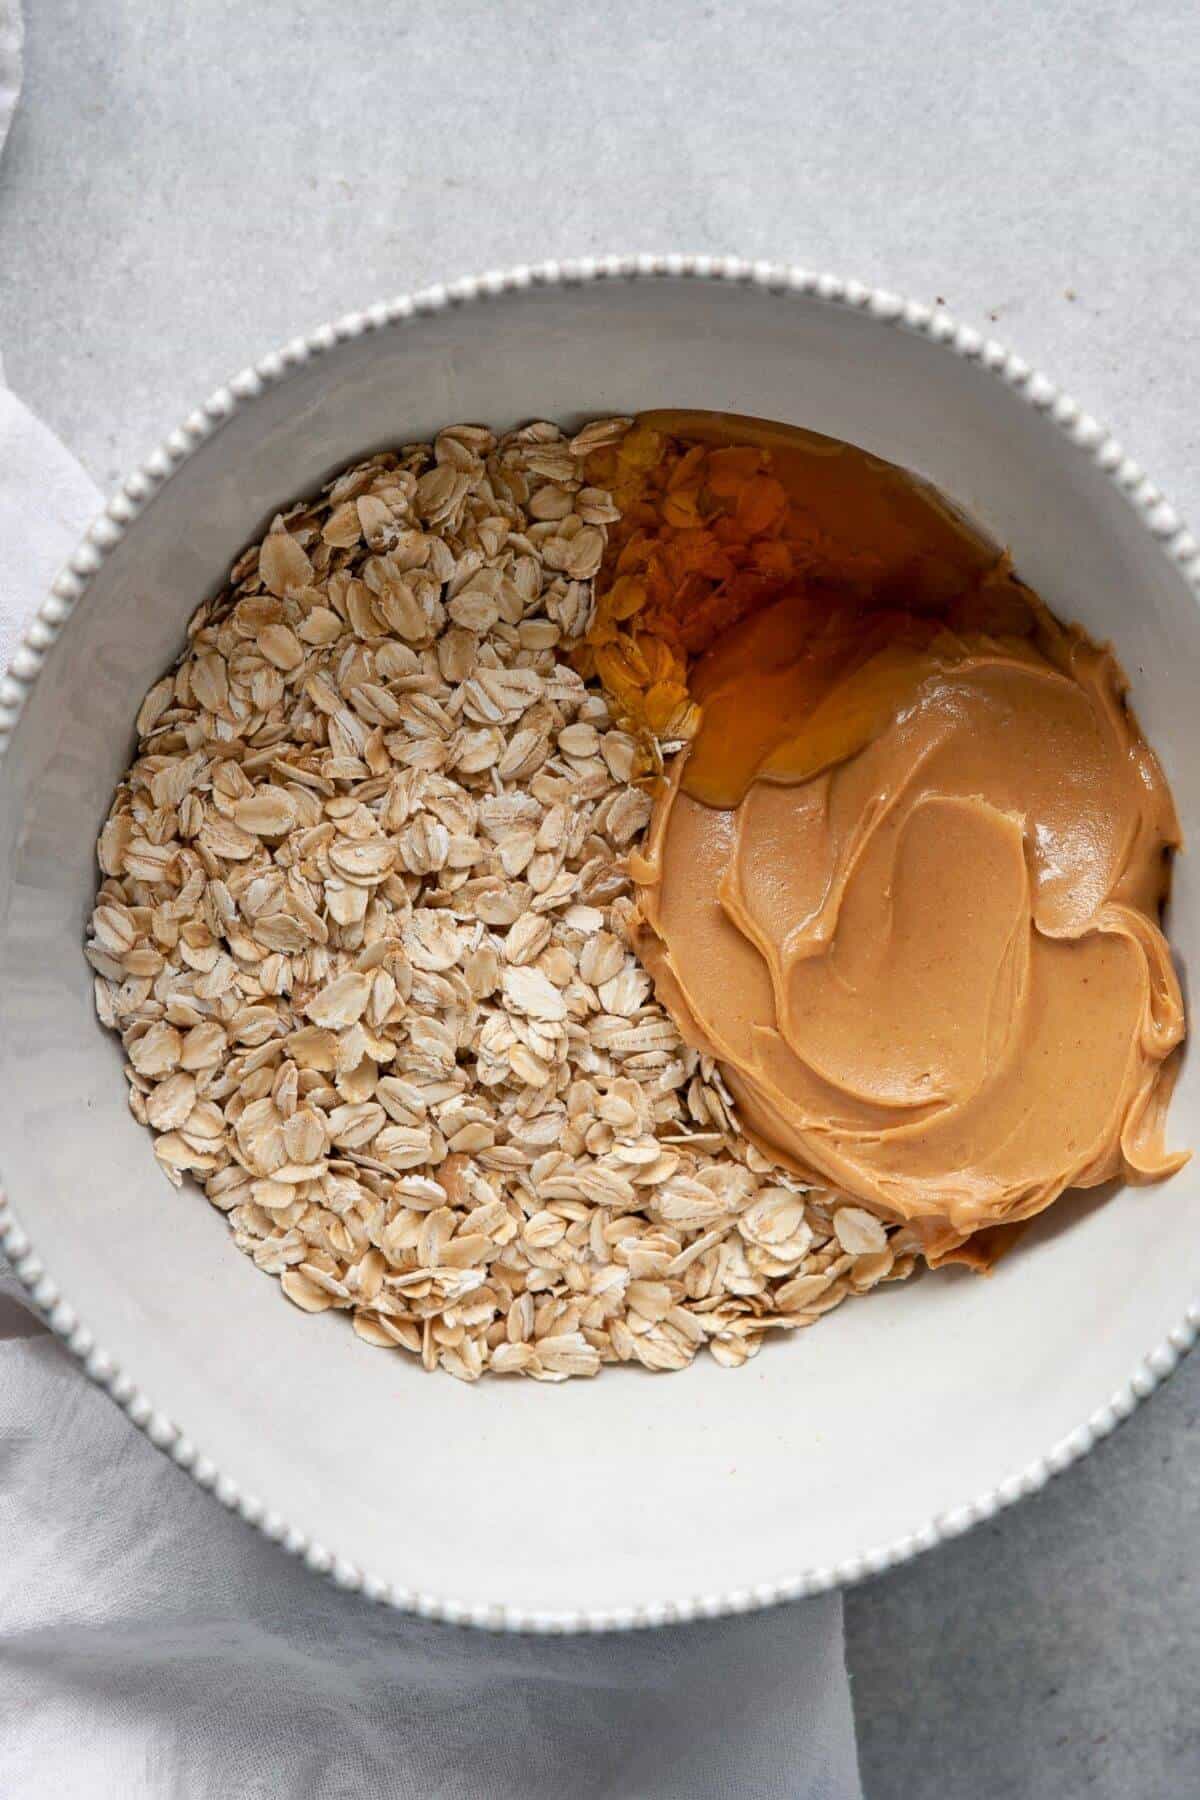
- Step 1: Mix the dough. Add the oats, peanut butter, and honey to a large bowl. Stir until the oats are fully coated and the dough holds together when pressed.
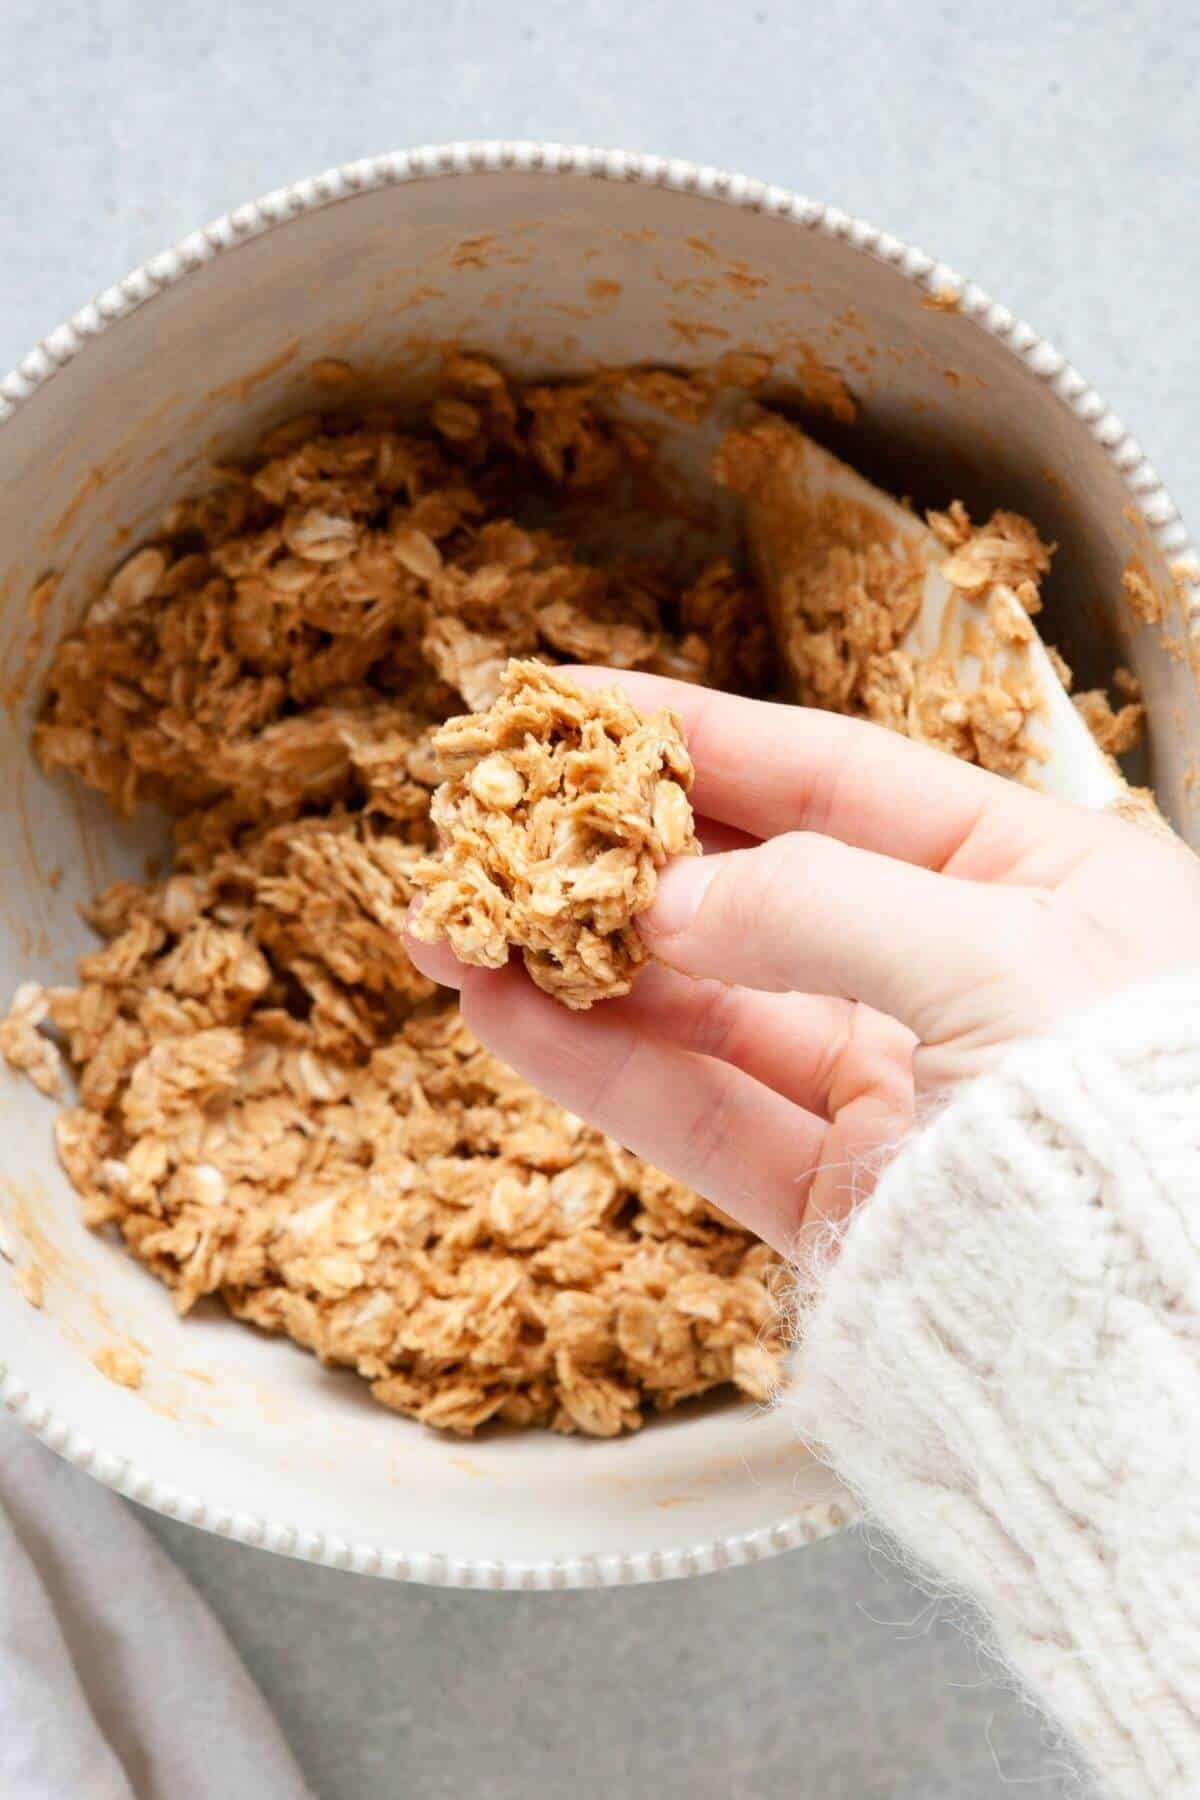
- Step 2: Roll into balls. Scoop out 1.5 tablespoons at a time and roll into 15 balls. If the dough sticks to your hands, wet your palms with cold water.
Expert Tips
- Press-test before you roll. Squeeze a small clump in your palm. If it holds, you're ready. If it crumbles, add a teaspoon of peanut butter. If it sticks to everything, add a tablespoon of oats.
- Use room-temperature honey. Honey straight from the pantry is fine in summer, but if it's cold or stiff, it won't mix evenly into the oats. I usually pull mine out first thing so it's ready by the time I'm scooping.
- Wet your hands with cold water, not warm. This one took me a while to figure out. Warm water softens the peanut butter while you roll, and the dough gets stickier the longer you work with it. Cold water keeps everything firm.
Optional mix-ins and variations
The base recipe is intentionally just three ingredients, but here are the add-ins I actually use when I want to switch things up. Stir any of these in after the dough comes together.
- Add mini chocolate chips for a dessert version. Fold ¼ cup of mini chocolate chips into the dough at the end. Mini chips distribute more evenly than regular ones. This is what I make when I want them to feel more like a treat than a snack.
- Add protein powder for a post-workout version. Stir in 2 tablespoons of vanilla or chocolate whey protein powder for an extra 5-8 grams of protein per ball. Protein powder absorbs moisture and dries out the dough, so add 1 extra tablespoon of peanut butter to balance it out. This is my go-to for post-lift days.
- Add chia seeds or ground flax for extra fiber. Mix in 1 tablespoon of either. Ground flax disappears into the dough. Whole chia adds a slight crunch and a small nutty flavor.
- Add cinnamon and sea salt for an oatmeal cookie flavor. Stir in ½ teaspoon of cinnamon and a pinch of flaky sea salt. This costs almost nothing and makes them taste like a no-bake oatmeal cookie.
- Add shredded coconut for texture. Fold in ¼ cup of unsweetened shredded coconut. Toast it first in a dry pan for 2-3 minutes for a stronger, nuttier flavor.

Storage, Meal Prep & Freezing
- How to store them. Keep the balls in an airtight container in the fridge for up to 10 days. Room temperature is fine for a day or two if you're packing them for a workout or a road trip, but the fridge keeps them firmest.
- How to freeze them. Freeze in a single layer on a plate first, then transfer to a freezer-safe bag once solid. They keep for up to 3 months. Thaw at room temperature for 15 to 20 minutes before eating, or let them sit in the fridge for an hour.
- Sunday meal prep. I double the recipe every Sunday and split the batch in two. Half goes in a glass container in the fridge for the week. The other half goes straight into the freezer in a labeled bag. By the time the fridge half runs out around Friday, I'm pulling the next week's batch from the freezer.
Frequently Asked Questions
The peanut butter is usually too thin. Natural peanut butter works, but the drippy, oily kind needs help binding the oats. Stir it well first to redistribute the oil, then add an extra tablespoon of peanut butter to your batch and chill the dough in the fridge for 15 minutes before rolling. The chill firms everything up, and the balls will hold their shape.
The peanut butter is too soft, or the honey is too warm. Add 1-2 tablespoons of oats and refrigerate the bowl for 10 minutes. Then wet your palms with cold water before rolling.
You can, but the texture turns soft and pasty instead of chewy. Old-fashioned rolled oats are what give these balls their structure. If quick oats are all you have, add 2 extra tablespoons to compensate.
Yes. The texture changes slightly because crunchy peanut butter has less moisture per scoop. Add an extra teaspoon of honey to keep the dough binding properly.
Yes. Swap the peanut butter for sunflower seed butter (SunButter) at the same ratio. The flavor is slightly earthier, but the texture and bind work the same way. Tahini also works if you want a more savory version. Avoid almond butter or cashew butter if you're going nut-free, since both are tree nuts. Also, check out my nut-free protein bars, too!
Yes, when made with certified gluten-free rolled oats. Regular oats are naturally gluten-free but are often processed in facilities that handle wheat, so check the label if you have celiac disease or a serious gluten sensitivity.
More Easy Snack Recipes You'll Love
If you loved these healthy peanut butter oatmeal balls, here are a few more recipes to try next:

Did you make this recipe?
If you make this recipe, be sure to comment and rate it down below. Also, don't forget to tag me @healthfulblondie on Instagram and use the hashtag #healthfulblondie so I can see your delicious creation and share it with my followers!
📖 Recipe
No-Bake Peanut Butter Oatmeal Balls
Ingredients
- 1 ½ cups old-fashioned rolled oats, gluten-free if necessary
- ¾ cup salted creamy peanut butter, I recommend all-natural
- ¼ cup honey, room temperature for best results
Instructions
- Mix the dough. In a large bowl, stir the rolled oats, peanut butter, and honey together until the oats are fully coated and the dough holds together when you press a clump in your palm. If using natural peanut butter that's on the runnier side, chill the dough for 10-15 minutes before rolling.
- Roll into balls. Scoop out about 1.5 tablespoons of dough at a time and roll between your palms into 15 balls. If the dough sticks to your hands, wet your palms with cold water.
- Store or serve. Eat right away or store in an airtight container in the fridge for up to 10 days. Freeze for up to 3 months.
Notes
Nutrition
Recipe tested and developed by Tati Chermayeff, creator of Healthful Blondie. A former Division I rower, Ironman triathlete, and recipe developer based in Austin, TX - Tati creates high-protein and healthy recipes that actually taste like the real thing.


Susie says
Very yummy 😋 this is easy to make and great to have on hand in the freezer 😊
Tati Chermayeff says
Hi Susie! Thank you so much for this 5 star review 🙂 I do the same thing... best snack!
Charisa Martin says
10/10!!!!So yummy and couldn’t be more easy!!A must make
Heather says
Super easy to make and they taste so good! Perfect recipe to make during the summer when it’s too hot to bake with an oven.
Lisa says
Wonderful and easy recipe thanks!! I printed out a bunch of other ones to try thanks so much!!
emily says
these taste so yummy for a low cal snack and are so easy to make i added some protein powder for extra protein and tasted great