

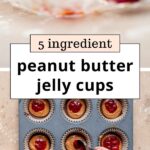
These no-bake healthy peanut butter and jelly cups are made with just five ingredients; use fresh or frozen berries, all-natural peanut butter, and your favorite chocolate. They're the easiest freezer-friendly dessert ever!
Homemade chocolate peanut butter and jelly cups
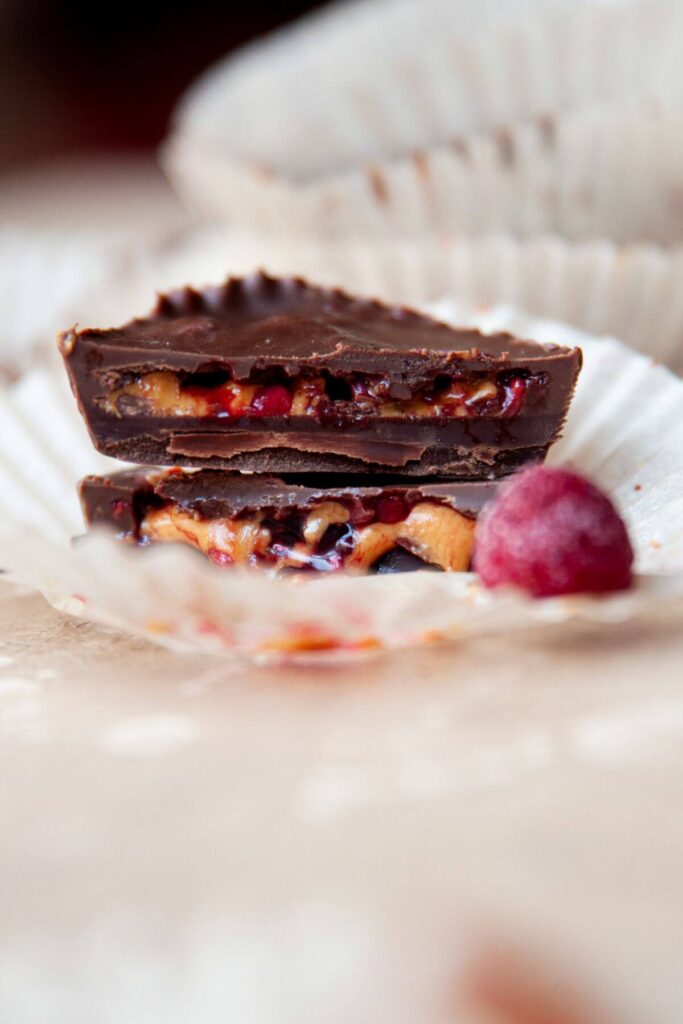
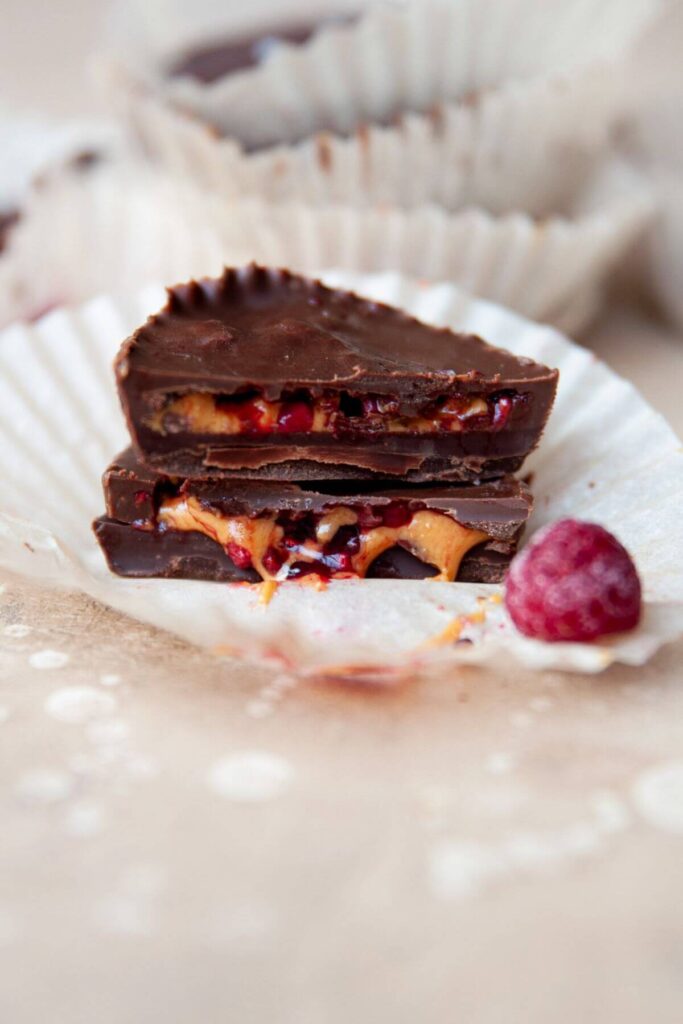
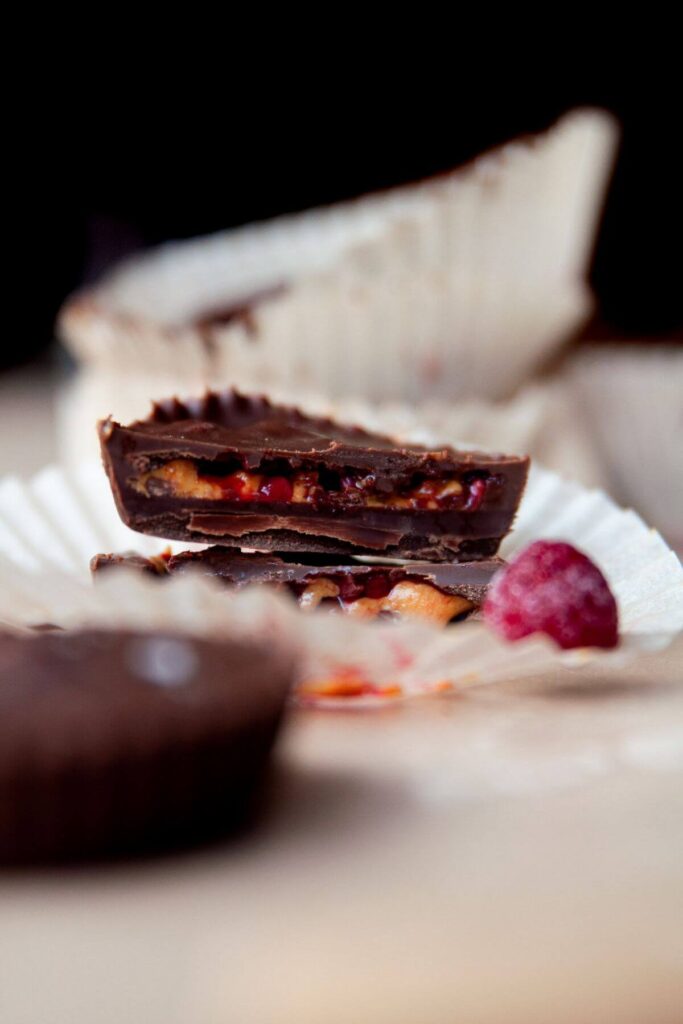
Remember the joy of peanut butter and jelly sandwiches from your childhood? These homemade treats take that classic combo to a whole new level! Picture this: a crunchy chocolate shell filled with gooey peanut butter and jam - it's a flavor explosion!
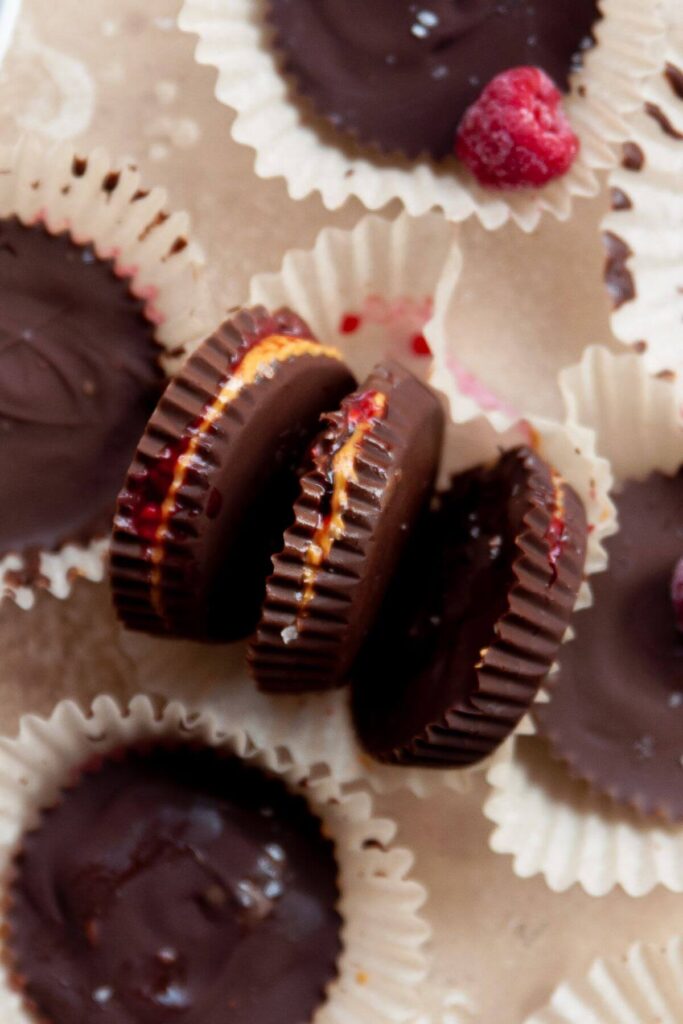
These homemade peanut butter cups are like Reece's, but even better! What makes them special? We've added jelly inside for a burst of flavor. So, instead of just peanut butter and chocolate, you get a delightful surprise of homemade jam. The chocolate shell on the outside is nice and crunchy, while inside, it's all about that gooey peanut butter and jelly goodness!
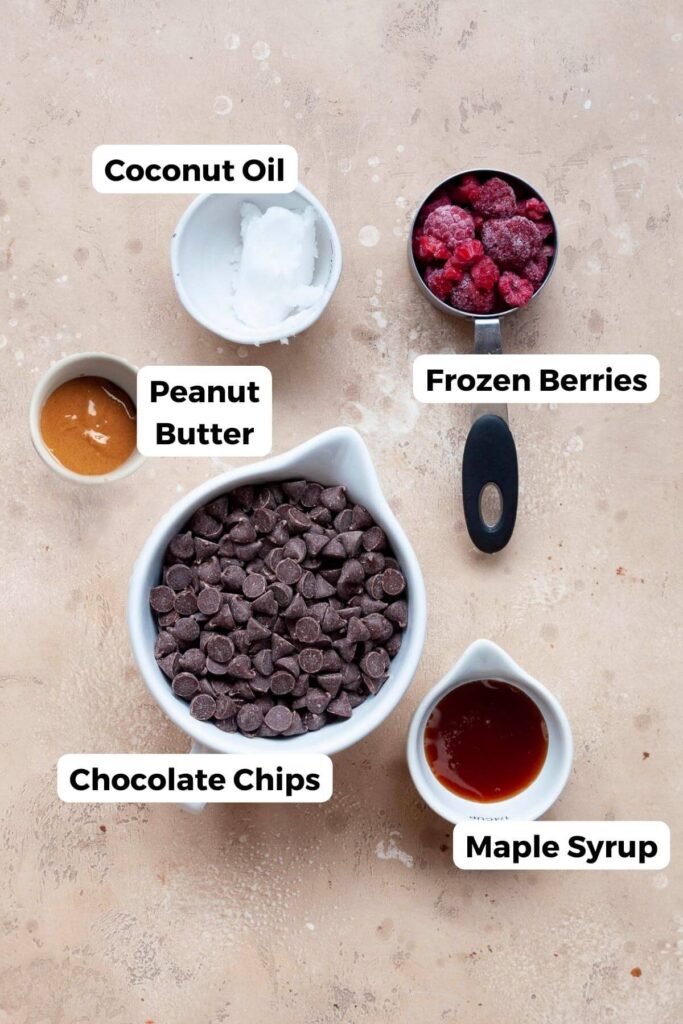
This recipe requires only five simple ingredients: chocolate, all-natural peanut butter, fresh or frozen berries, coconut oil, and maple syrup. And guess what? It's a healthy, gluten-free, vegan treat that requires no baking. That means you can enjoy this perfect summer dessert without even turning on the oven!
I'm really excited to hear your thoughts on these! This recipe holds a special place for me as one of my first creations. I've updated the pictures just for you, and I can't wait for you to try them out! Let me know how they turn out for you.
Why you'll love this no-bake recipe:
- No-Bake Delight: Perfect for when you want a sweet treat without firing up the oven.
- Healthy and Gluten-Free: This recipe is both nutritious and suitable for those with gluten sensitivities.
- Simple Ingredients: You need 5 basic ingredients.
- Better Than Reese's: Elevating the classic peanut butter cup with an added burst of flavor from homemade jelly.
- Homemade Refined Sugar-FreeJelly: Crafted from fresh or frozen berries and maple syrup for a healthier twist.
- Summer Perfection: Ideal for those warm summer days when you're craving something sweet but don't want to heat up the kitchen.
- Freezer-Friendly: Make a batch and stash them away for whenever the craving strikes.
- Kid-Friendly: These tasty treats are sure to be a hit with the little ones.
- Try these insanely delicious mini Reese's peanut butter eggs next!
Ingredients and Substitutions
These healthy peanut butter and jelly cups call for just five healthy and simple ingredients. They are a great freezer-friendly dessert and sweet snack. You'll need dark chocolate, fresh or frozen berries (I love raspberries), all-natural peanut butter, coconut oil, and maple syrup. Here is a list of all the ingredients, so you are prepared:
- Chocolate: Opt for chocolate chips or a chopped-up chocolate bar. Dark chocolate is my top pick, but you can choose from semi-sweet, milk, vegan, or white chocolate based on your preference.
- Coconut Oil: This ingredient helps melt the chocolate chips, creating a smooth and silky texture. Don't fret, it won't impart a coconut flavor to your treats.
- Peanut Butter: Select a quality all-natural peanut butter containing only peanuts and salt. Whether you prefer smooth or crunchy, it's up to you! Alternatively, you can experiment with sun butter, cashew butter, or almond butter for variety.
- Berries: Fresh or frozen berries are ideal for crafting your homemade healthy jam. Raspberries and blueberries are personal favorites, but you can also explore store-bought options like strawberry, plum, peach, apricot, or orange preserves.
- Maple Syrup: A touch of maple syrup adds sweetness to your homemade jelly. Honey can be used as an alternative sweetener. This step is optional but adds a delightful flavor boost to your creation.
Kitchen tools needed
You only need a few kitchen utensils to make these no-bake peanut butter and jelly chocolate cups. Here is a list:
- Muffin Tin with 12 cavities
- Muffin liners (silicon is best).
- Two microwave-safe bowls
- Measuring Tools: 1 Tablespoon, ⅓ cup, ½ cup, and 1 cup.
How to make healthy peanut butter and jelly cups
Get ready to wow everyone with these irresistible layered peanut butter and jelly cups! No oven is needed; they're gluten-free and easily made dairy-free. Here's how to whip them up:
Step 1:
First, line a muffin tin with 12 paper or silicon muffin liners.
Step 2:
Then, place your frozen berries of choice in a small bowl and let them defrost at room temperature while you prepare the chocolate. Alternatively, you can microwave them in two or three 10-second intervals until they are defrosted enough to mash into a jam texture.
Step 3:
Next, add dark chocolate chips and coconut oil to a small microwave-safe bowl. Microwave for 30 seconds. Stir-microwave again for 20 seconds. Stir. Repeat at 20-second intervals until completely smooth and melted.
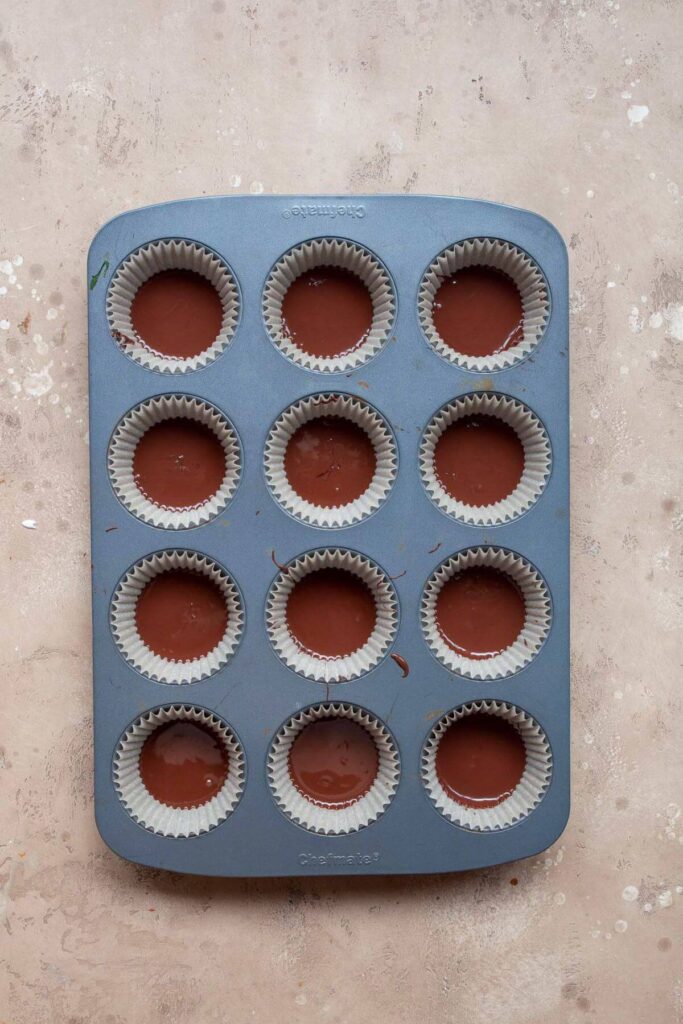
Step 4:
Then, add 1 Tablespoon of melted chocolate to the bottom of each cup and make sure it's even. Then, place in the freezer for 8 to 10 minutes for the chocolate to harden.
Step 5:
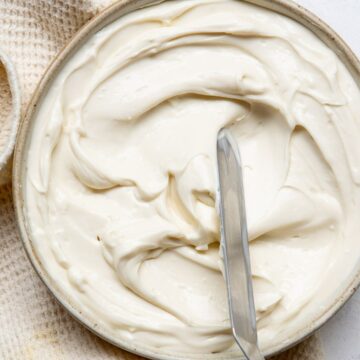
Meanwhile, lightly mash defrosted berries with a fork until jam-like texture. Add honey or maple syrup if you want to sweeten the jam. You can even add ¼ teaspoon of vanilla extract for extra flavor.
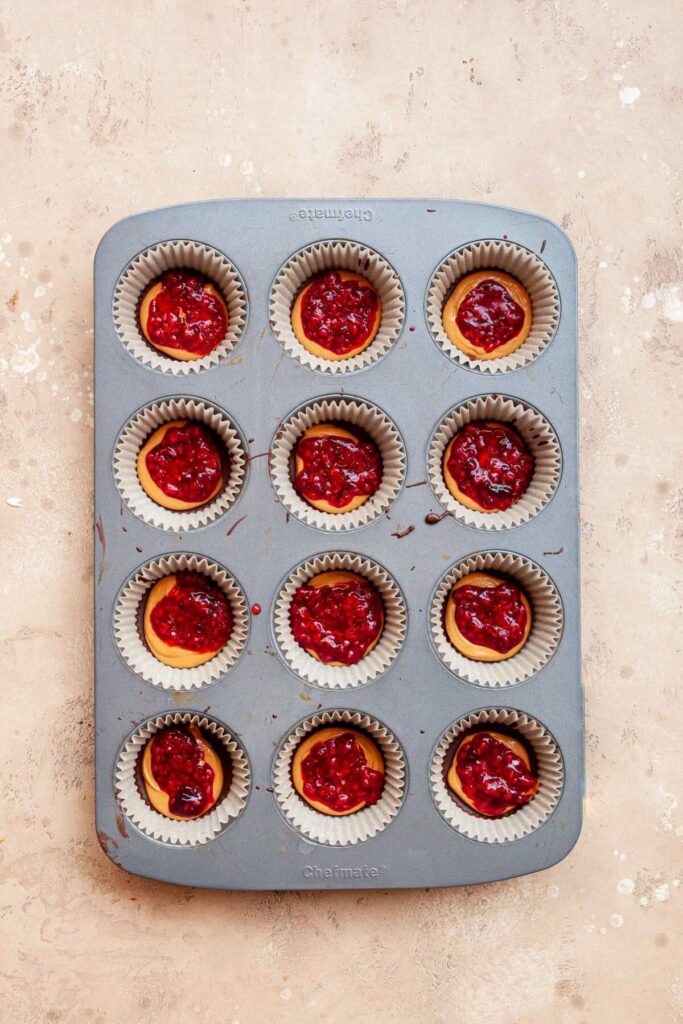
Step 6:
After that, remove the muffin tin from the freezer and add ½ Tablespoon of peanut butter and ½ Tablespoon of homemade jam to each cup. Gently pat down with a wet finger if needed.

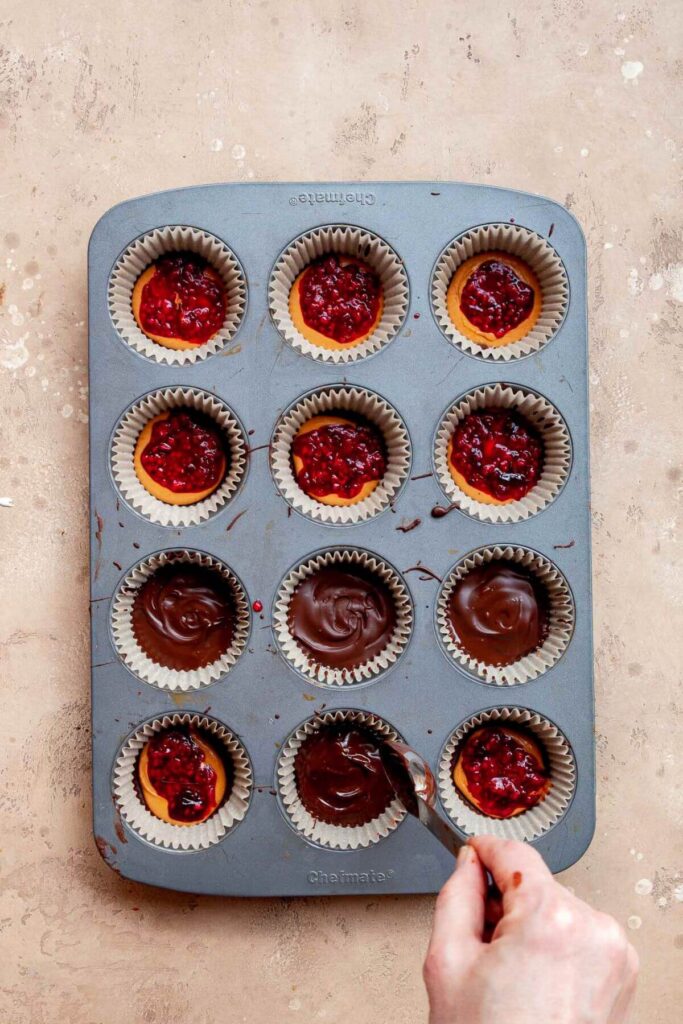
Step 7:
Finally, cover the peanut butter and jelly mixture completely with the remaining chocolate -- about 1 Tablespoon per cup.
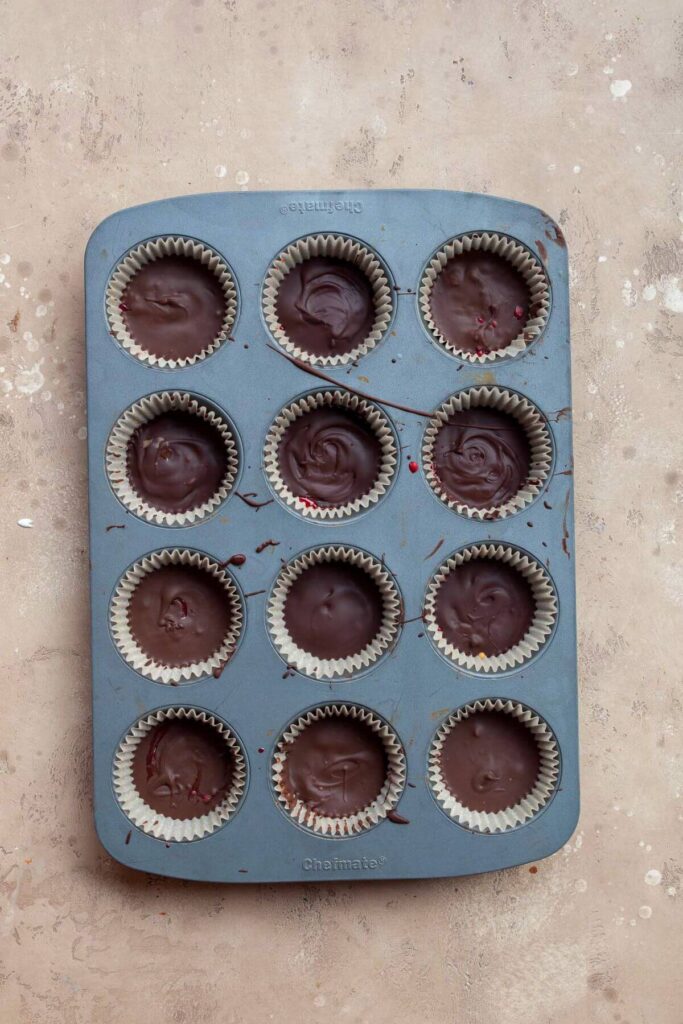
Then, place them back in the freezer for 15 to 20 minutes until the chocolate is solid-once firm, store them in the fridge or freezer. Serve slightly defrosted if freezing by leaving them at room temp for 10-15 minutes. Enjoy!
Expert recipe tips:
- Berries: Opt for fresh or frozen berries for your homemade jelly. Raspberries, blueberries, strawberries, blackberries, or a blend work wonderfully.
- Jelly Options: Don't hesitate to use store-bought jelly or jam. Explore various flavors such as plum, peach, grape, apricot, or orange marmalade for diverse taste profiles.
- Chocolate Varieties: While dark chocolate is a personal favorite, feel free to experiment with milk, semi-sweet, or white chocolate according to your preference.
- Dairy-Free & Vegan Options: To cater to dietary preferences, select dairy-free, vegan chocolate options. Several brands offer excellent choices for this purpose.
- Customization: Get creative and customize the recipe to your liking. Swap peanut butter for alternatives like almond butter, cashew butter, or sun butter, especially if you're nut-free.
Frequently Asked Questions
What's the best type of chocolate to use?
You can use any chocolate you want. I love dark chocolate chips or melting a bar. However, you can use milk, semi-sweet, dairy-free, or even white chocolate.
Are these peanut butter jelly cups vegan?
Yes! These peanut butter & jelly cups can be made 100% dairy-free using chocolate chips.
Can I use store-bought jam instead of fresh berries?
Absolutely! You can use jelly, jam, or fruit preserves. You can use flavors like strawberry, blueberry, raspberry, plum, peach, grape, apricot, or orange marmalade. I love Bonne Maman.
Can I use crunchy peanut butter?
You can use crunchy or smooth peanut butter for these healthy Reece's PB&J cups.
Can I use almond butter?
Yes! Simply substitute the peanut butter with almond butter!
Can I make them nut-free?
Simply swap the peanut butter for sun butter to make this recipe nut-free.
How to store and freeze leftovers:
Refrigerator: Store in the fridge in an airtight container for up to 14 days.
Freezer: Store in an airtight freezer-safe container or bag for up to 6 months in the freezer. Let them thaw for 10 minutes before serving.
If you loved this recipe, try these next!
- Healthy Reeses Mini Eggs
- Edible Protein Cookie Dough
- 3 Ingredient Peanut Butter Oatmeal Balls
- Healthy Peanut Butter Bread
- Peanut Butter Almond Flour Cookies
- Peanut Butter & Jelly Banana Muffins
Did you make this recipe?
If you make this recipe, be sure to comment and rate it down below. Also, don't forget to tag me @healthfulblondie on Instagram and use the hashtag #healthfulblondie so I can see your delicious creation and share it with my followers!
📖 Recipe
Healthy Peanut Butter and Jelly Cups
Ingredients
- 1 ½ cups chocolate chips, I love dark chocolate (use regular or vegan)
- 1 tablespoon coconut oil, refined or unrefined
- ½ cup all-natural peanut butter, creamy or crunchy
- ⅓ cup frozen berries, I love raspberries and blueberries
- 1 tablespoon honey or maple syrup, optional
Instructions
- Line a muffin tin with 12 paper or silicon muffin liners.
- Place your frozen berry of choice in a small bowl and let them defrost at room temperature while you prepare the chocolate. Alternatively, you can microwave them in two or three 10 seconds intervals until they are defrosted enough to mash into a jam texture.
- Add dark chocolate chips and coconut oil to a small microwave-safe bowl. Microwave for 30 seconds. Stir. Microwave again for 20 seconds. Stir. Repeat at 20-second intervals until completely smooth and melted.
- Add 1 Tablespoon of melted chocolate to the bottom of each cup and make sure it's even. Then, place in the freezer for 8 to 10 minutes for the chocolate to harden.
- Meanwhile, lightly mash defrosted berries with a fork until jam-like texture. Add honey or maple syrup if you want to sweeten the jam. You can even add ¼ teaspoon of vanilla extract for extra flavor.
- Remove the muffin tin from the freezer and add ½ Tablespoon of peanut butter and ½ Tablespoon of homemade jam to each cup. Gently pat down with a wet finger if needed.
- Cover the peanut butter and jelly mixture completely with the remaining chocolate -- about 1 Tablespoon per cup. Place back in the freezer for 15 to 20 minutes until the chocolate is solid.
- Once firm, store in the fridge or freezer. Serve slightly defrosted if freezing by leaving them at room temp for 10-15 minutes. Enjoy!
Notes
Nutrition
I only recommend products I love and use myself. In full disclosure, I may receive a small compensation if you purchase a product I recommend. Thank you for supporting Healthful Blondie!
Sharing is caring!


Anita B says
Fell in love at first bite, so good!
Lloyd Ramones says
I could not resist commenting. Exceptionally well written!
MaryAnn Grant says
This was SOOOOOO delish. If you haven’t made these yet you must! Everyone needs to try these.
Tati Chermayeff says
I am so thrilled you loved this recipe! It is by far one of my favorites 🙂
Dirk von der Ahe says
Amazing, delicious, easy to prepare and even healthy !!! I recommend these cups to everyone. There are so many ways to enjoy them: as a dessert after lunch or dinner, as a small snack when you have a coffee or tea, as a substitute for a chocolate bar when watching TV......and so on. You will find many reasons to eat the next one !!!! I love them !!!! :-))))
Tati Chermayeff says
Hi Dirk, thanks for your comment. This is one of my favorite desserts too! Absolutely delicious.
Bella P says
I loved these! They were so easy to make that it'll be hard for me to resist making them every night. As a college student freezing desserts is so much easier than baking them and these do the trick! Can't wait to make them again!
Tati Chermayeff says
Hi Bella! Couldn't agree with you more 🙂 this is one of my go-to desserts because it is so easy to make and tastes amazing!
Avery King says
These are AMAZING!!! they were so easy to make. I honestly couldn’t recommend these more to someone! 😋😋
Tati Chermayeff says
Avery, I am so excited to hear this!! This is one of my favorite treats/snacks ever 🙂
Tessa Widmer says
Solid 100000/10 ! The absolute easiest and quickest clean and healthy treat! These came out better than expected and were the perfect thing for my chocolate craving !
Tati Chermayeff says
Hi Tessa! I am so happy you loved these 🙂 they are my favorite too!